This article will guide you through setting up an automation (zap) with Snov.io in Zapier.
Before you begin, make sure to read this guide on the basics of integration ⇒.
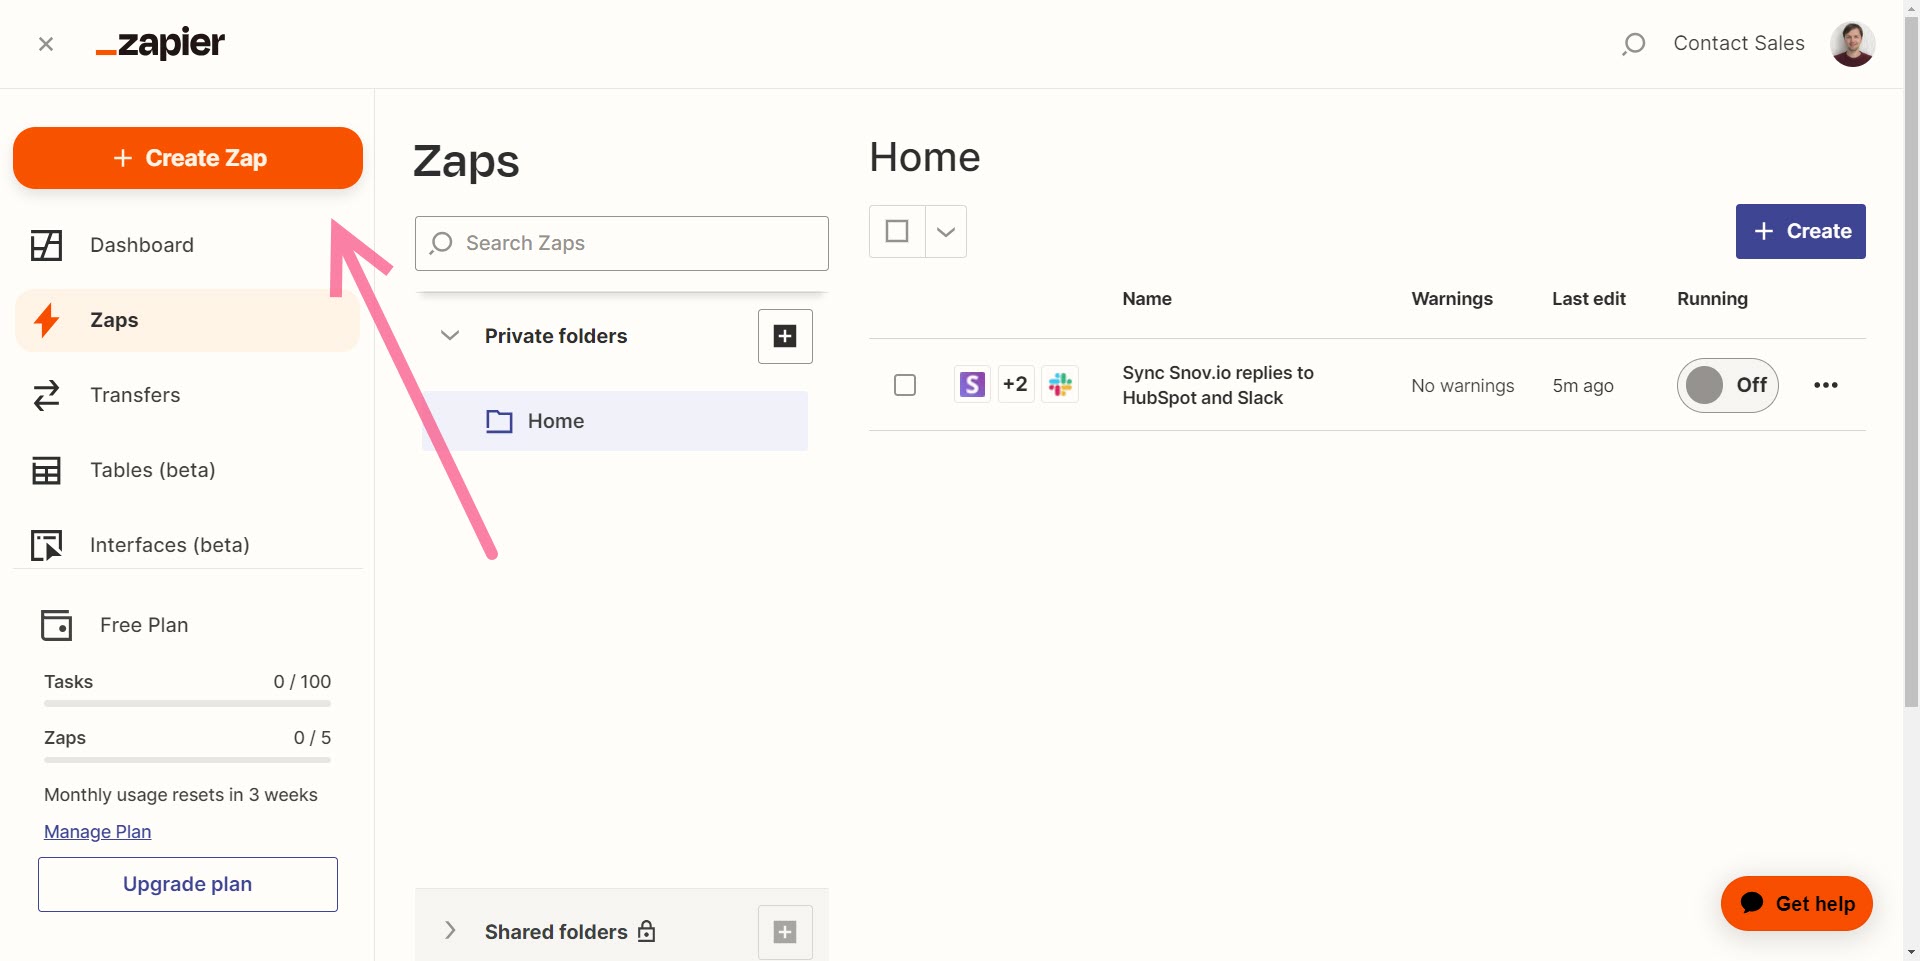
How to create zaps
A zap consists of two basic elements: a Trigger, which is an event in a chosen app that initiates the zap, and one or more subsequent Actions, which are events set off in another app by the initial trigger.
Let’s examine an example use case for integrating Snov.io with HubSpot.
Zap scenario example: Snov.io x Hubspot: Create new contacts in Hubspot from replies in Snov.io
This zap lets you to automatically create new contacts in Hubspot with prospects who replied to your Snov.io campaign emails.
Step 1: Create a zap
Begin by creating a zap template.
Log in to your Zapier dashboard –> click Create Zap in the top left corner.
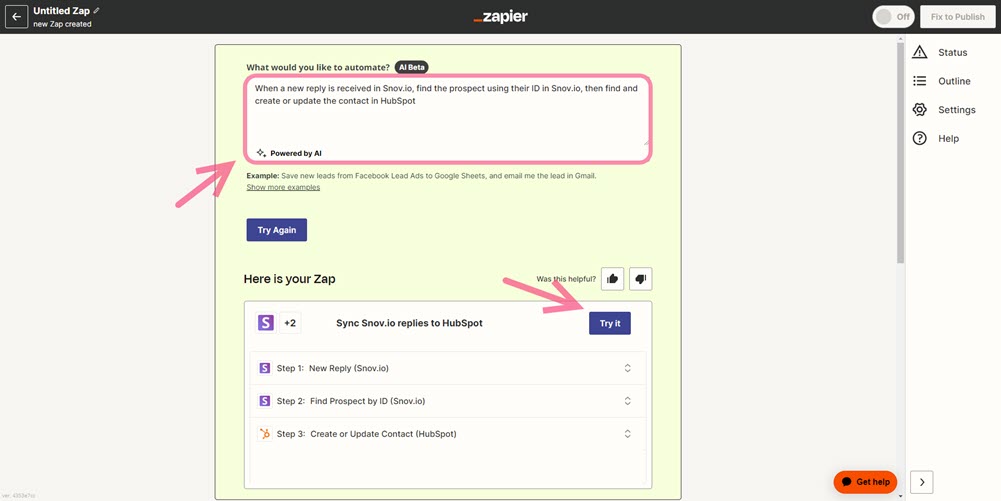
You can create a Zap template using the AI-powered text processor or manually select trigger and action steps.
To create a zap using AI:
- Copy and paste this prompt into the input area at the top:
“When a new reply is received in Snov.io, find the prospect using their ID in Snov.io, then create or update contact in HubSpot.”
- Click Try it to create a zap template based on this flow description.
Step 2: Authenticate Snov.io
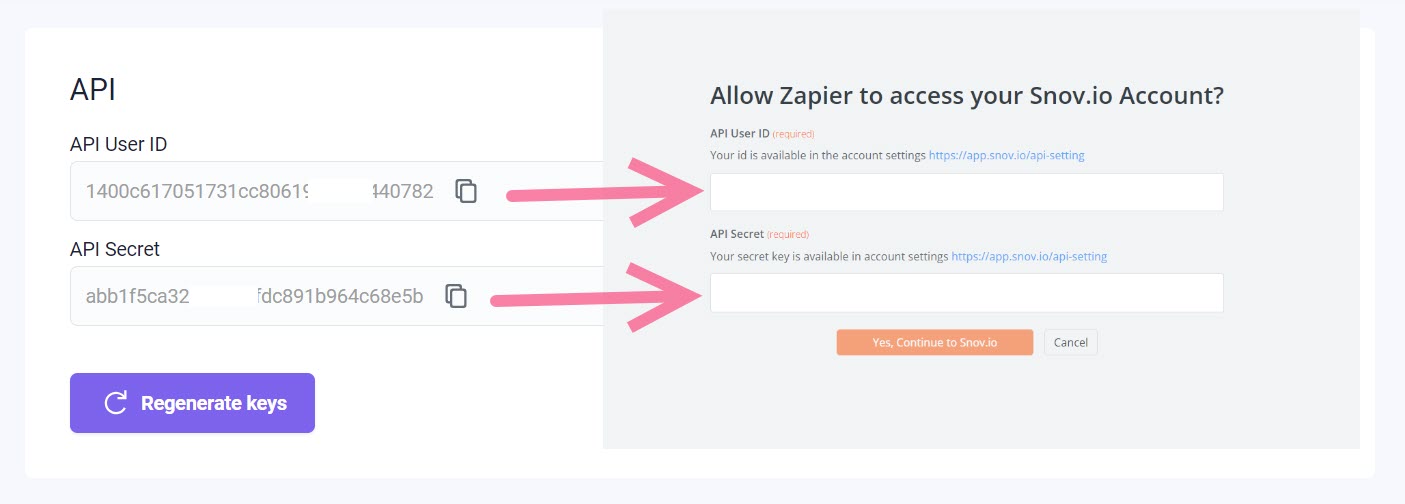
Next, grant access to use your Snov.io account in this zap.
Click Continue to proceed.
Next, click Sign in to connect your Snov.io account. Enter your API credentials in the pop up window –> Click Yes, Continue to allow access.
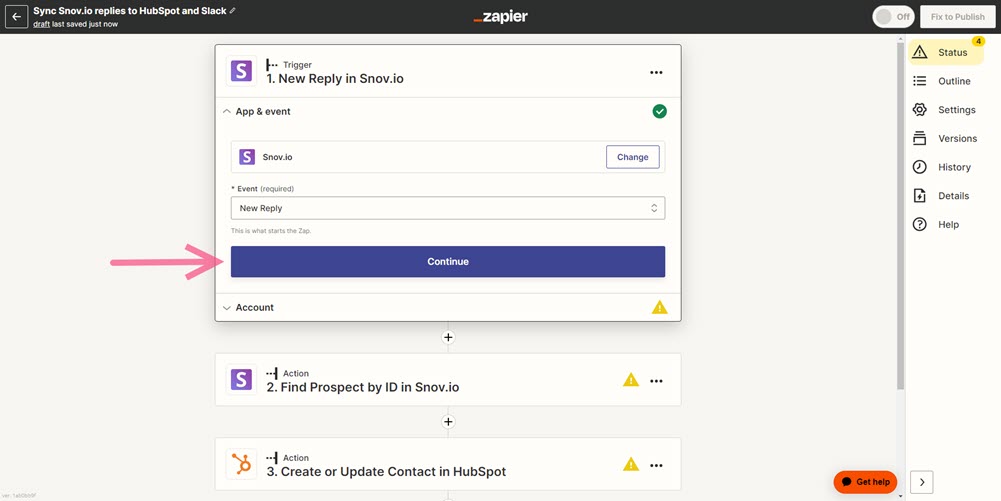
Step 3: Configure Snov.io trigger
The next step is to set up a Trigger event from Snov.io. In our use case, the triggering event will be a new incoming reply in a chosen Snov.io campaign.
Under Campaign value, select the Snov.io campaign in which Zapier will monitor for replies.
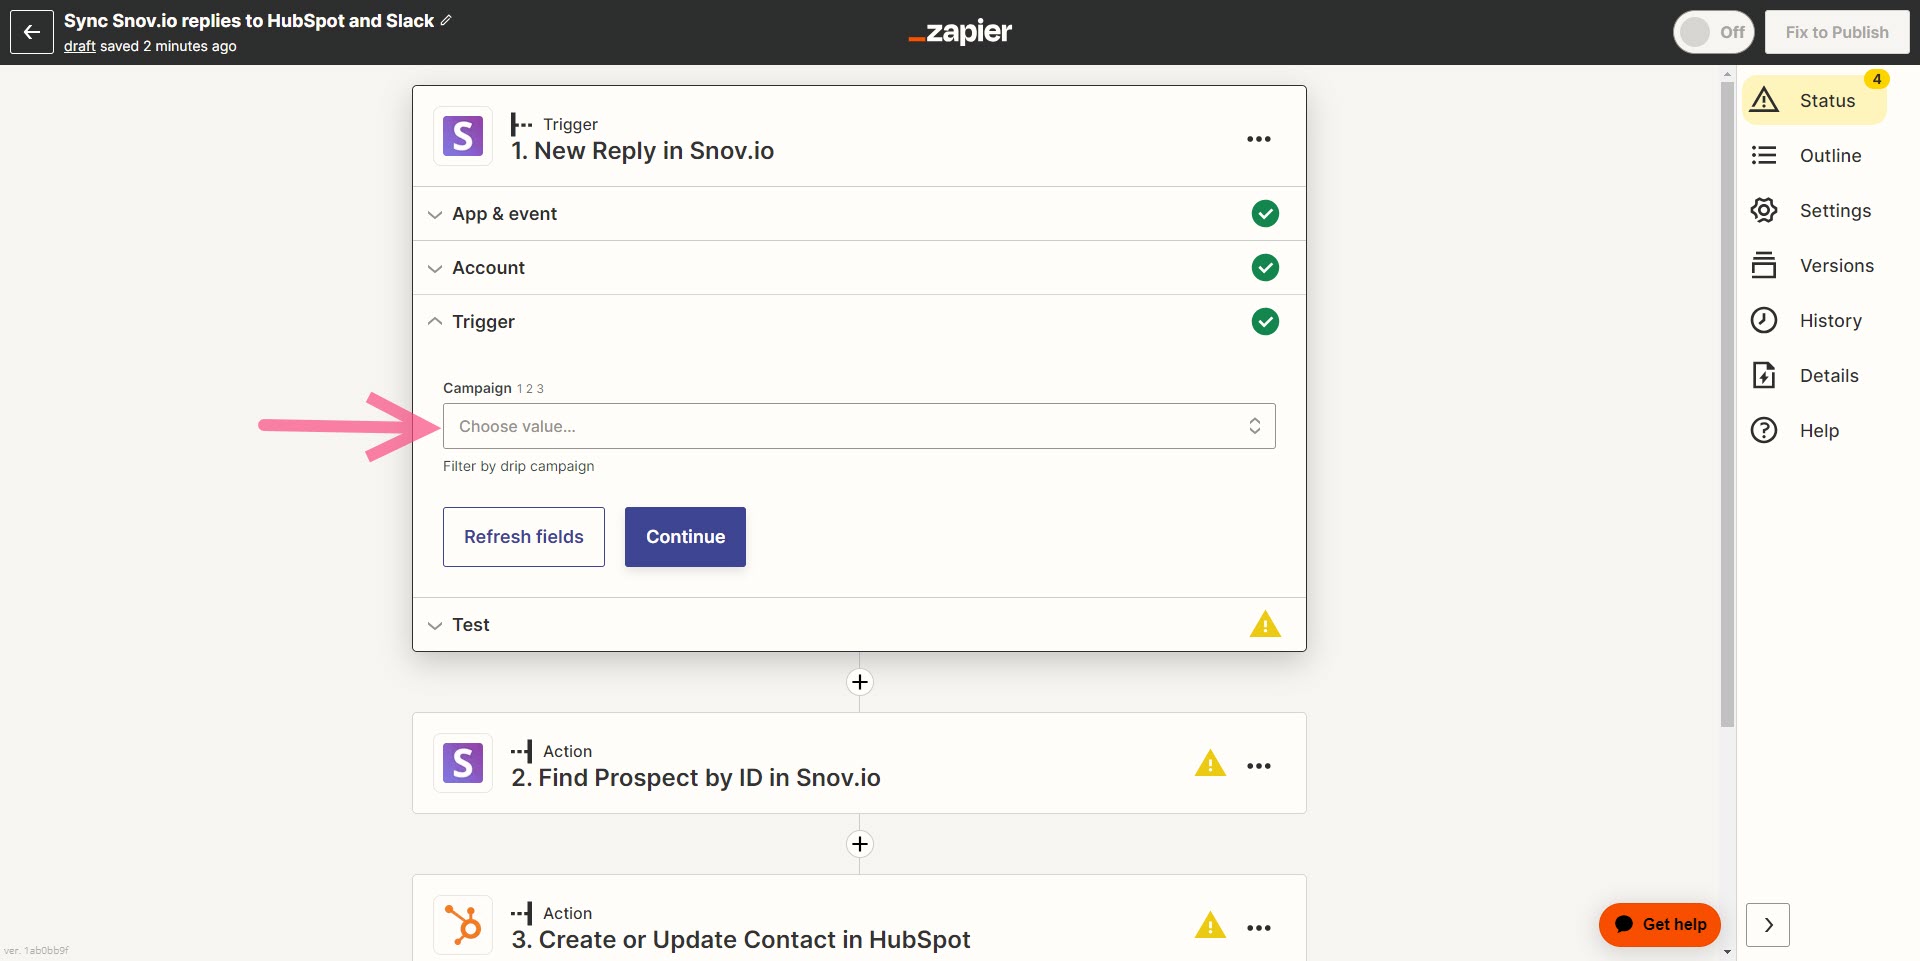
Click Continue –> Test your trigger.
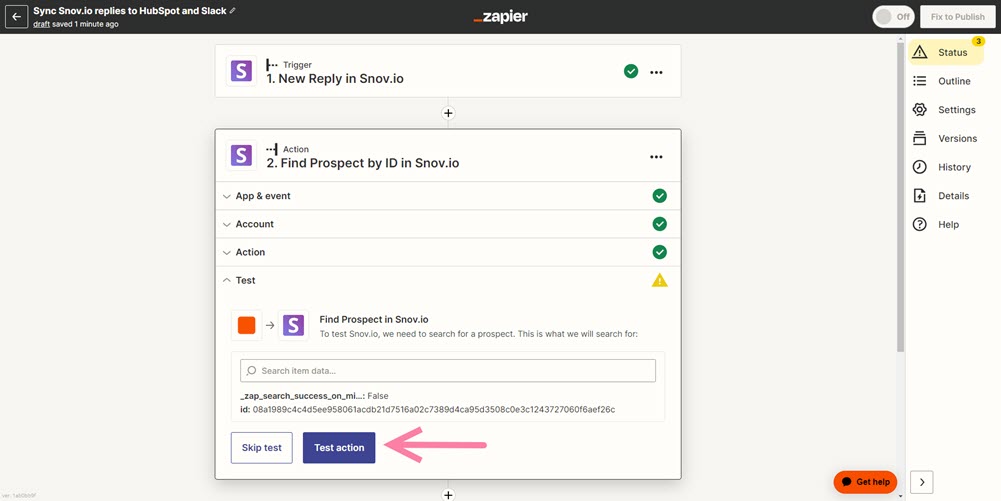
Step 4: Configure Snov.io action
If the trigger test was successful and a reply was found, the next step is to configure and test the first Action event: Find Prospect who replied in your Snov.io list by their ID.
Click Test action –> then Continue to proceed.
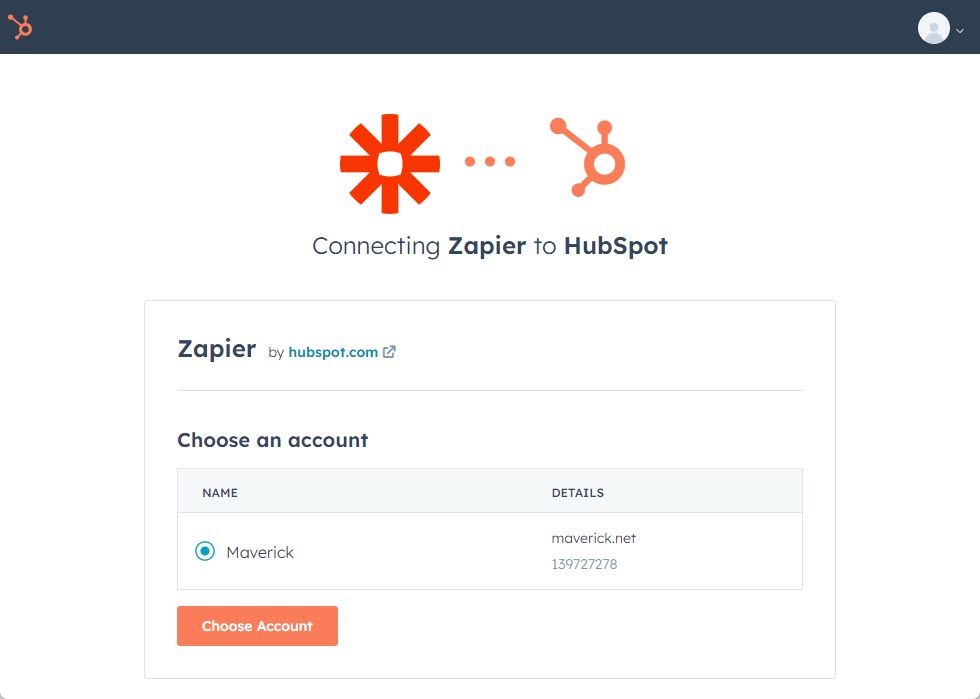
Step 5: Configure Hubspot’s Action
Next, authenticate your Hubspot account to grant permission for it to be used in this zap.
Click Sign in and select your account.
Once you’ve signed in, click Continue to proceed to setting up a Hubspot Action, which is to create a contact from a prospect who replied in Snov.io.
Map the fields in HubSpot with the prospect data from Snov.io. This will determine which fields are synchronized with the HubSpot contact.
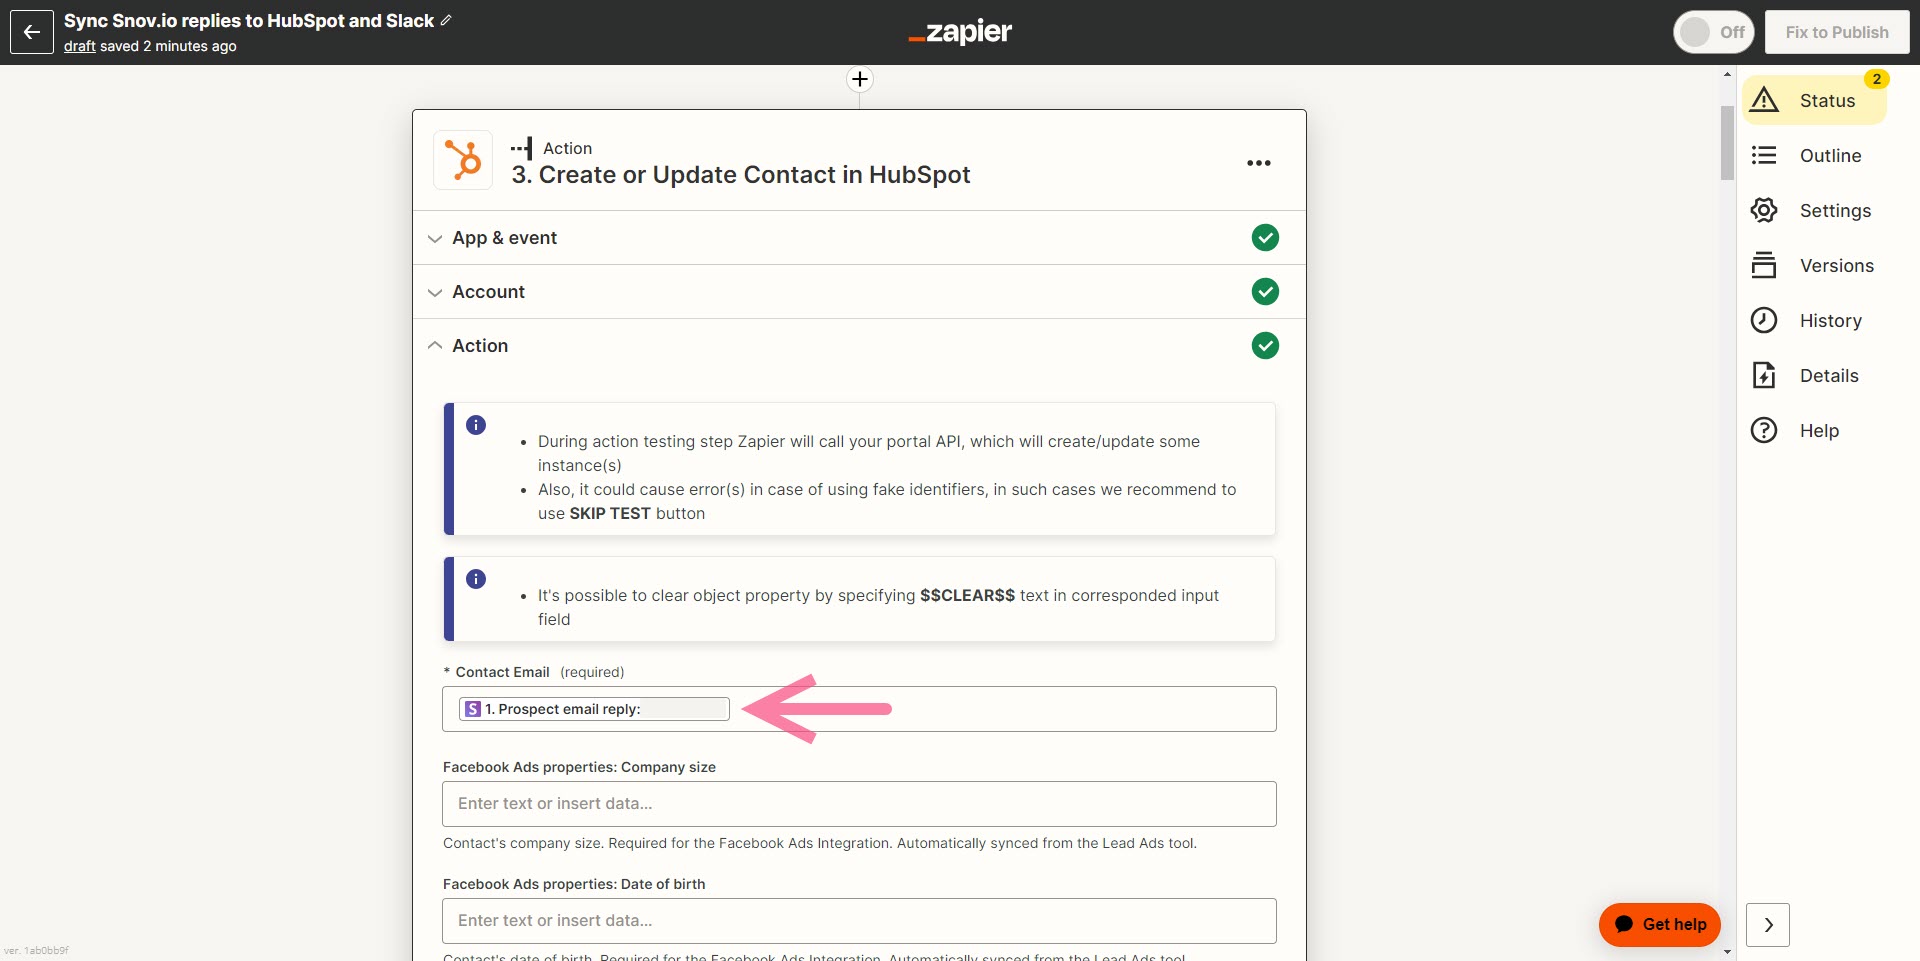
- Under Contact email (required) field find Prospect email property and select it.
- Match other necessary data fields.
Scroll down and click Test action –> Continue to proceed.
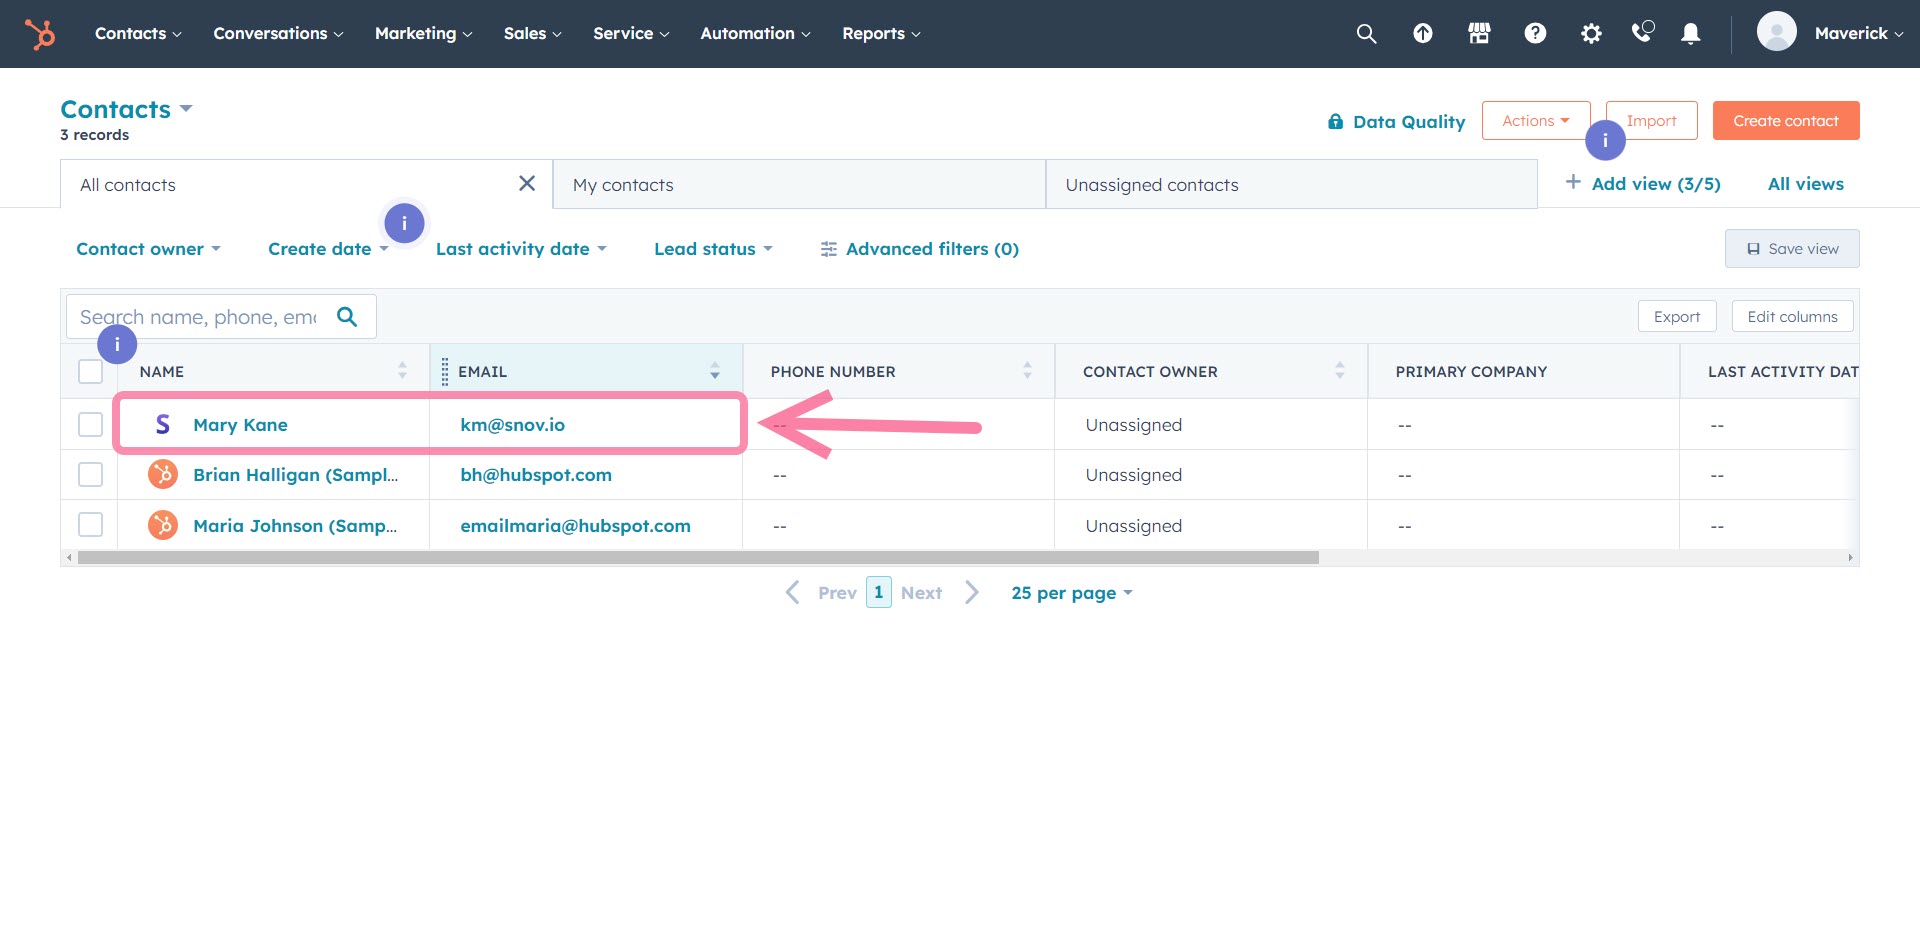
If the test is successful, you will see a newly created contact in your HubSpot account.
Now you’re all set to publish your zap and make it go live. This means that the zap scenario will run every time a trigger event occurs.
With the upcoming integration of Snov.io and HubSpot, you will be able to seamlessly synchronize contact databases between both applications.
Popular Snov.io x Zapier use cases
Looking for inspiration? Take a look at these popular Zap templates ⇒ to get started!


Sorry about that 😢
How can we improve it?