In this guide, you’ll learn how to use variables in Snov.io to personalize your email campaigns.
Variables in emails are snippets of text that are automatically replaced with information from the prospect’s profile when the email is sent.
Using variables you can personalize emails in bulk without inputting personal information manually and sending emails individually to each of your recipients.
For example, you can automate personalization for a whole list at once using {{first_name}} or {{position}} variables in your email copy, so each recipient gets an email with relevant data from their profile.
Adding variables to an email
Before we start:
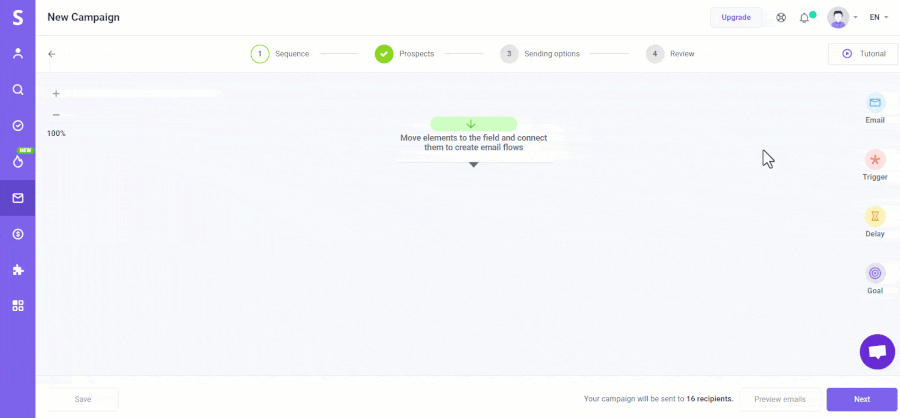
- On the sequence editor page, drag & drop an email element to the field
- click the email element to open an email editor on the right
There are two ways you can add a variable to your email content or a subject line.
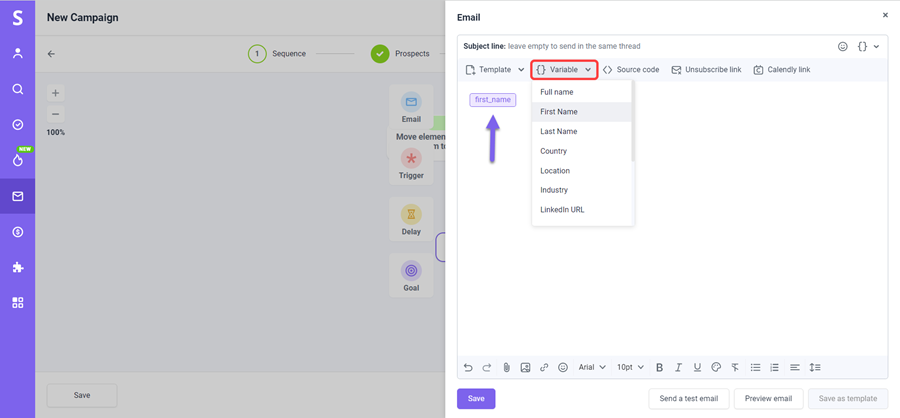
#1 From a drop-down variables menu
- Click the curly braces on the email editor toolbar or next to a subject line field
- Select a variable from the drop-down menu
The list contains all available variables: system and custom.
System variables represent default prospect fields in Snov.io: Full name, First name, Last name, Country, Location Industry, LinkedIn URL, Facebook URL, Twitter URL, Position, Company name, Company website.
Custom variables represent custom fields in the prospect’s profile. You can create up to 30 custom fields with data and use them as variables.
Read more on how to add and manage custom fields here ⇒.
#2 By typing it directly into the email editor or subject line field
You can type in the variable manually or copypaste it as you create your email content.
- Open a pair of curly brackets {{
- type the variable name
- close the brackets }}
Here are some examples of a valid variable code:
- {{first_name}}
- {{company_name}}
- {{position}}
A correctly added variable will appear as an icon ![]() which confirms the variable is valid.
which confirms the variable is valid.
If there’s a format mistake, or the variable (prospect field) doesn’t exist, we will highlight it in red ![]() to make sure you don’t have invalid variables in your email.
to make sure you don’t have invalid variables in your email.
To edit an invalid variable:
- Click the icon
- Type in another variable or edit it to a correct format
- Click Save
To delete a variable, place a cursor after it and press Backspace or Delete button on your keyboard.
Adding fallback to a variable
Using fallback text, you can assign a fixed value to a variable when a particular piece of information is missing in the prospect’s profile.
If there is no fallback, a variable will be replaced with a blank space in your email content.
To add a fallback or edit its value:
- Click the variable icon
- Type in the fallback text
- Click Save
If you’d like to add a fallback text while typing out the variable manually, insert a colon : after a variable name and type in the fallback text. Enclose the variable and the fallback with curly braces.
For example, {{first_name: friend}} or {{position: your position}}.
A correctly added variable with a fallback will appear as follows ![]() .
.
![]() Adding a fallback to your variable will help to fill in the missing data with a fixed value and avoid blank spaces.
Adding a fallback to your variable will help to fill in the missing data with a fixed value and avoid blank spaces.
Managing missing variables
You can define how a campaign will process it if a prospect has a missing variable:
On the Prospects step in campaign builder, scroll down and select an appropriate option:


- Send it to the To check list
If a prospect’s profile is missing the necessary data, the campaign will be on hold until you add variable contents manually on the To check list.
- Send campaign anyway
Campaign starts without checking for missing variables and uses a fallback text if it can’t find the necessary data in the prospect’s profile.
![]() To summarize, here’s what you need to know about variables:
To summarize, here’s what you need to know about variables:
- Use opening brackets {{ at the beginning and closing brackets }} at the end of the variable. For example, {{variable_name}}.
- Variable contents are retrieved from the prospect’s profile when the email is sent to a recipient.
- Variable name should correspond to the existing field in the prospect’s profile.
- If there’s a lack of necessary data in the prospect’s profile, add a fallback text to replace missing variables.
- Email variables can be system or custom.
Have more questions? Contact our support team at any time at help@snov.io.


Sorry about that 😢
How can we improve it?