

Unibox is a single inbox for all your email communications with Snov.io prospects. It combines emails from different accounts and campaigns into one place.
Why use Unibox:
1) You no longer need to switch between email clients.
2) It will sync all emails, even those from external mailboxes.
3) You can monitor replies, manage prospects and assign interest levels right from your Snov.io account.
Unibox is available on all plans, giving you the ability to connect as many email accounts as you need. For Trial users, Unibox allows syncing up to 1 month of inbox history. Trial users have 30 days to check out the demo. If you want to unlock even more possibilities, upgrade to a Premium plan.
How to connect your accounts to Unibox
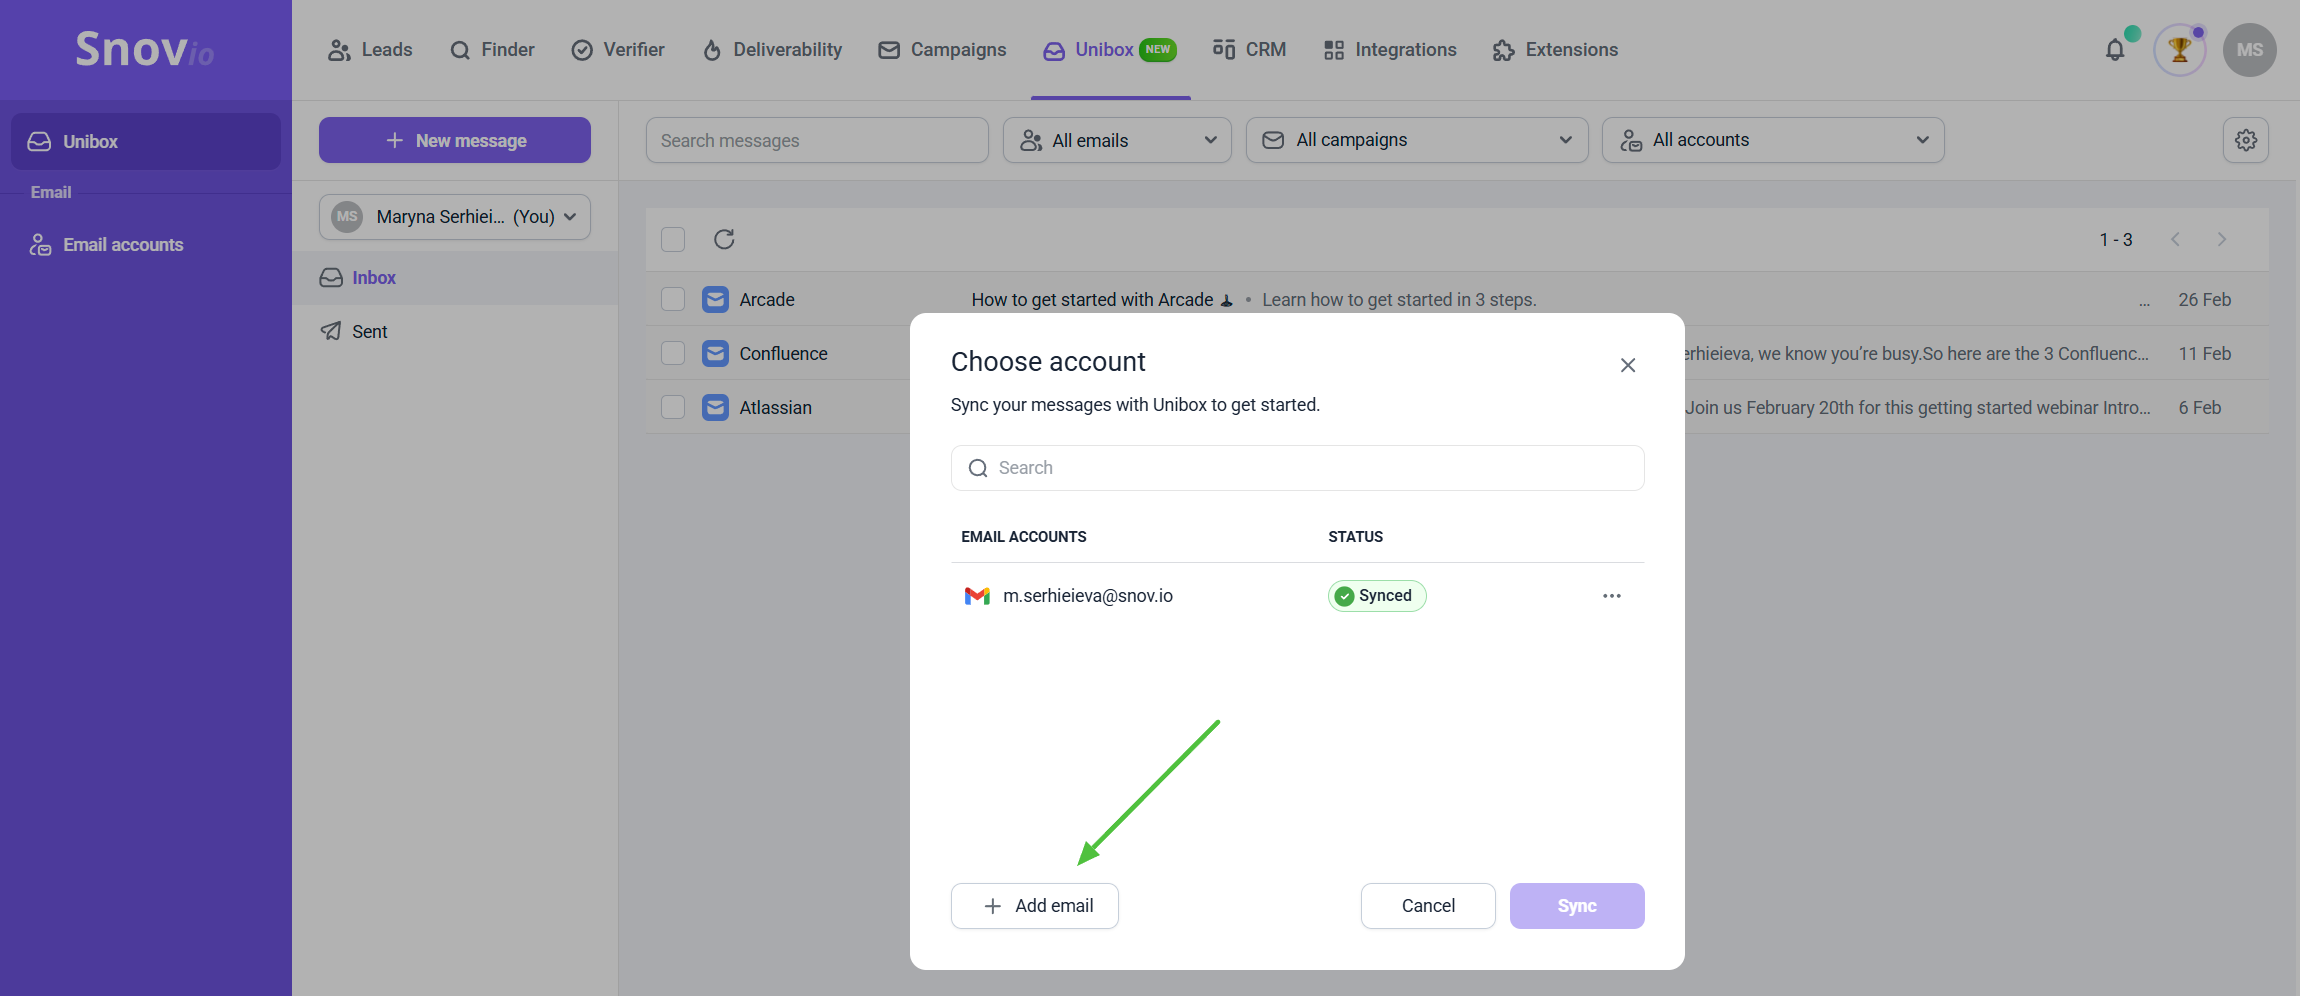
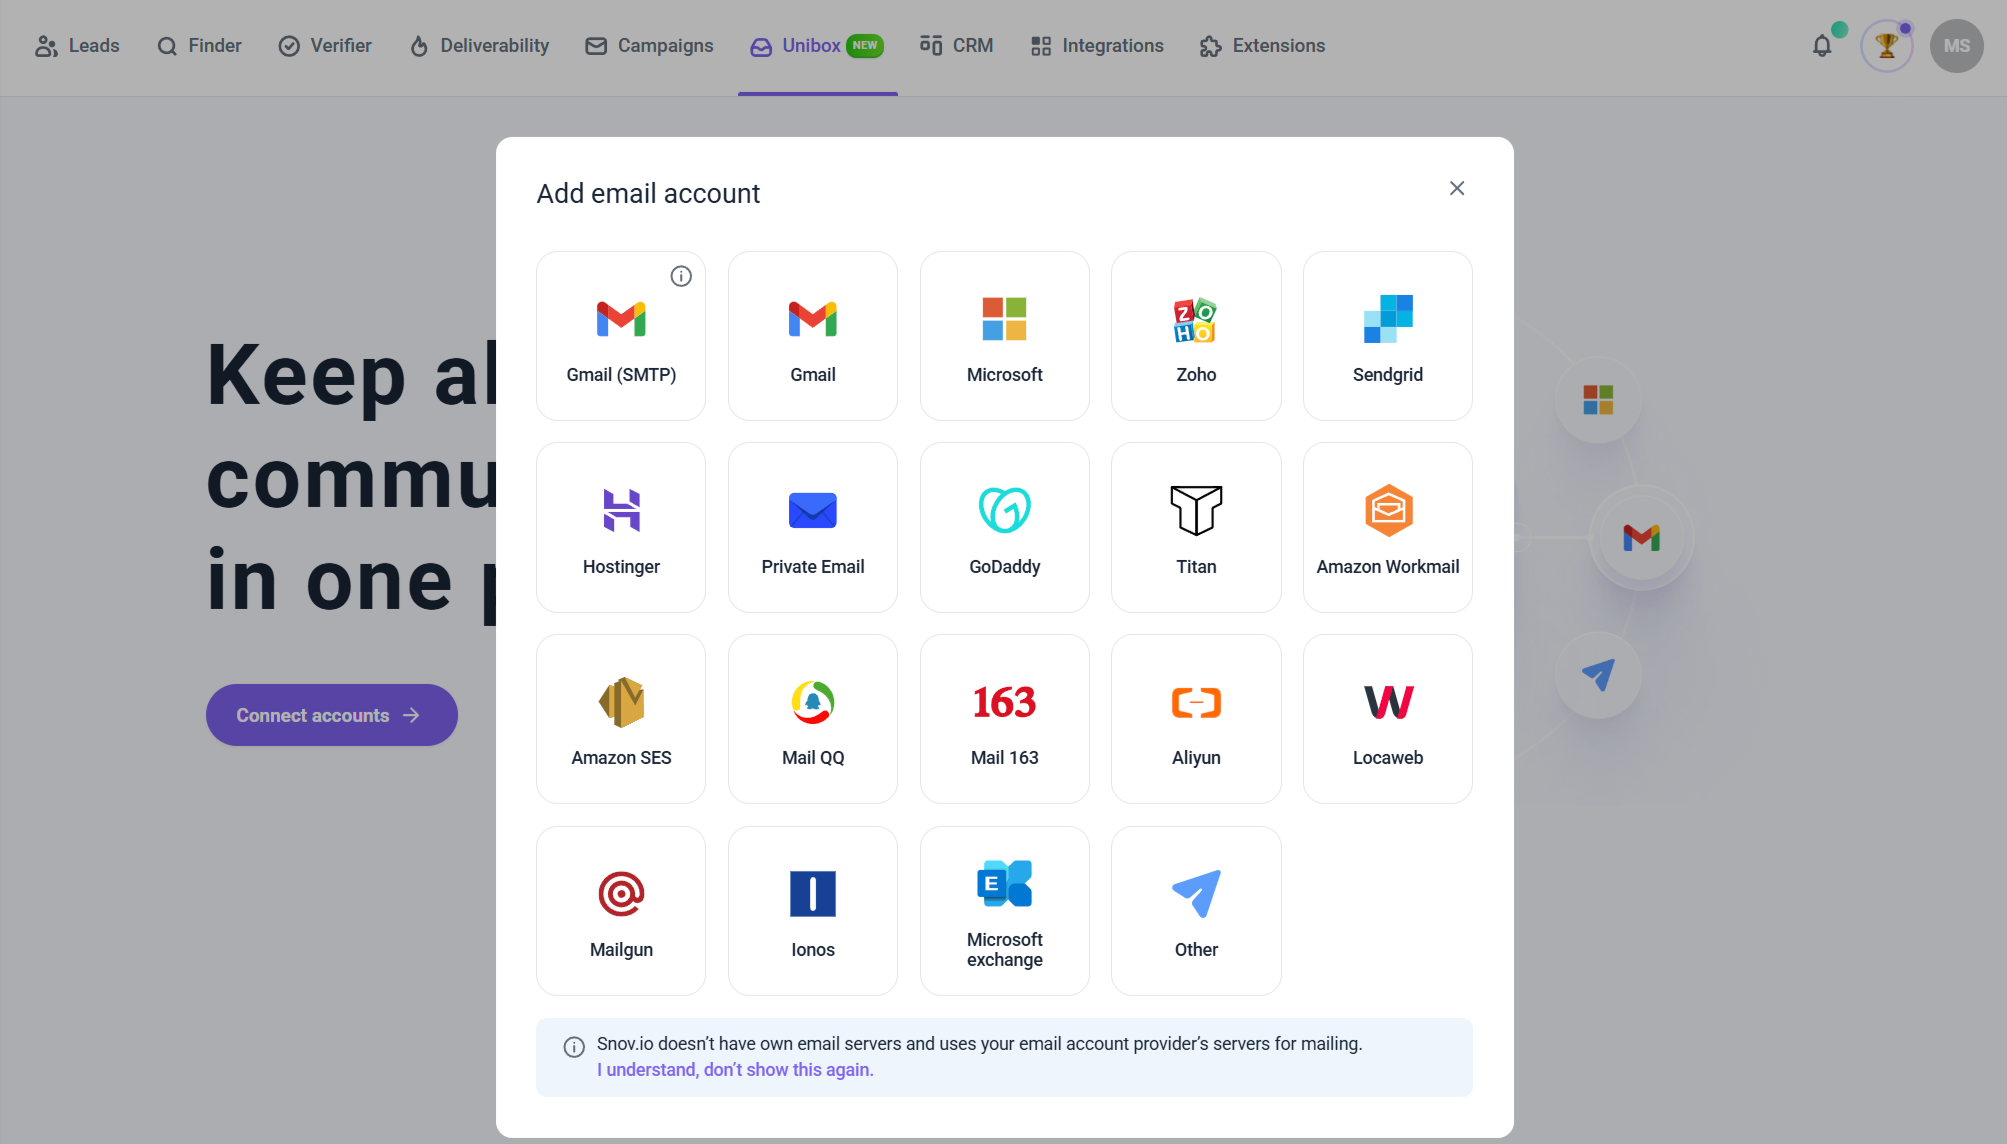
Step 1. Add sender accounts
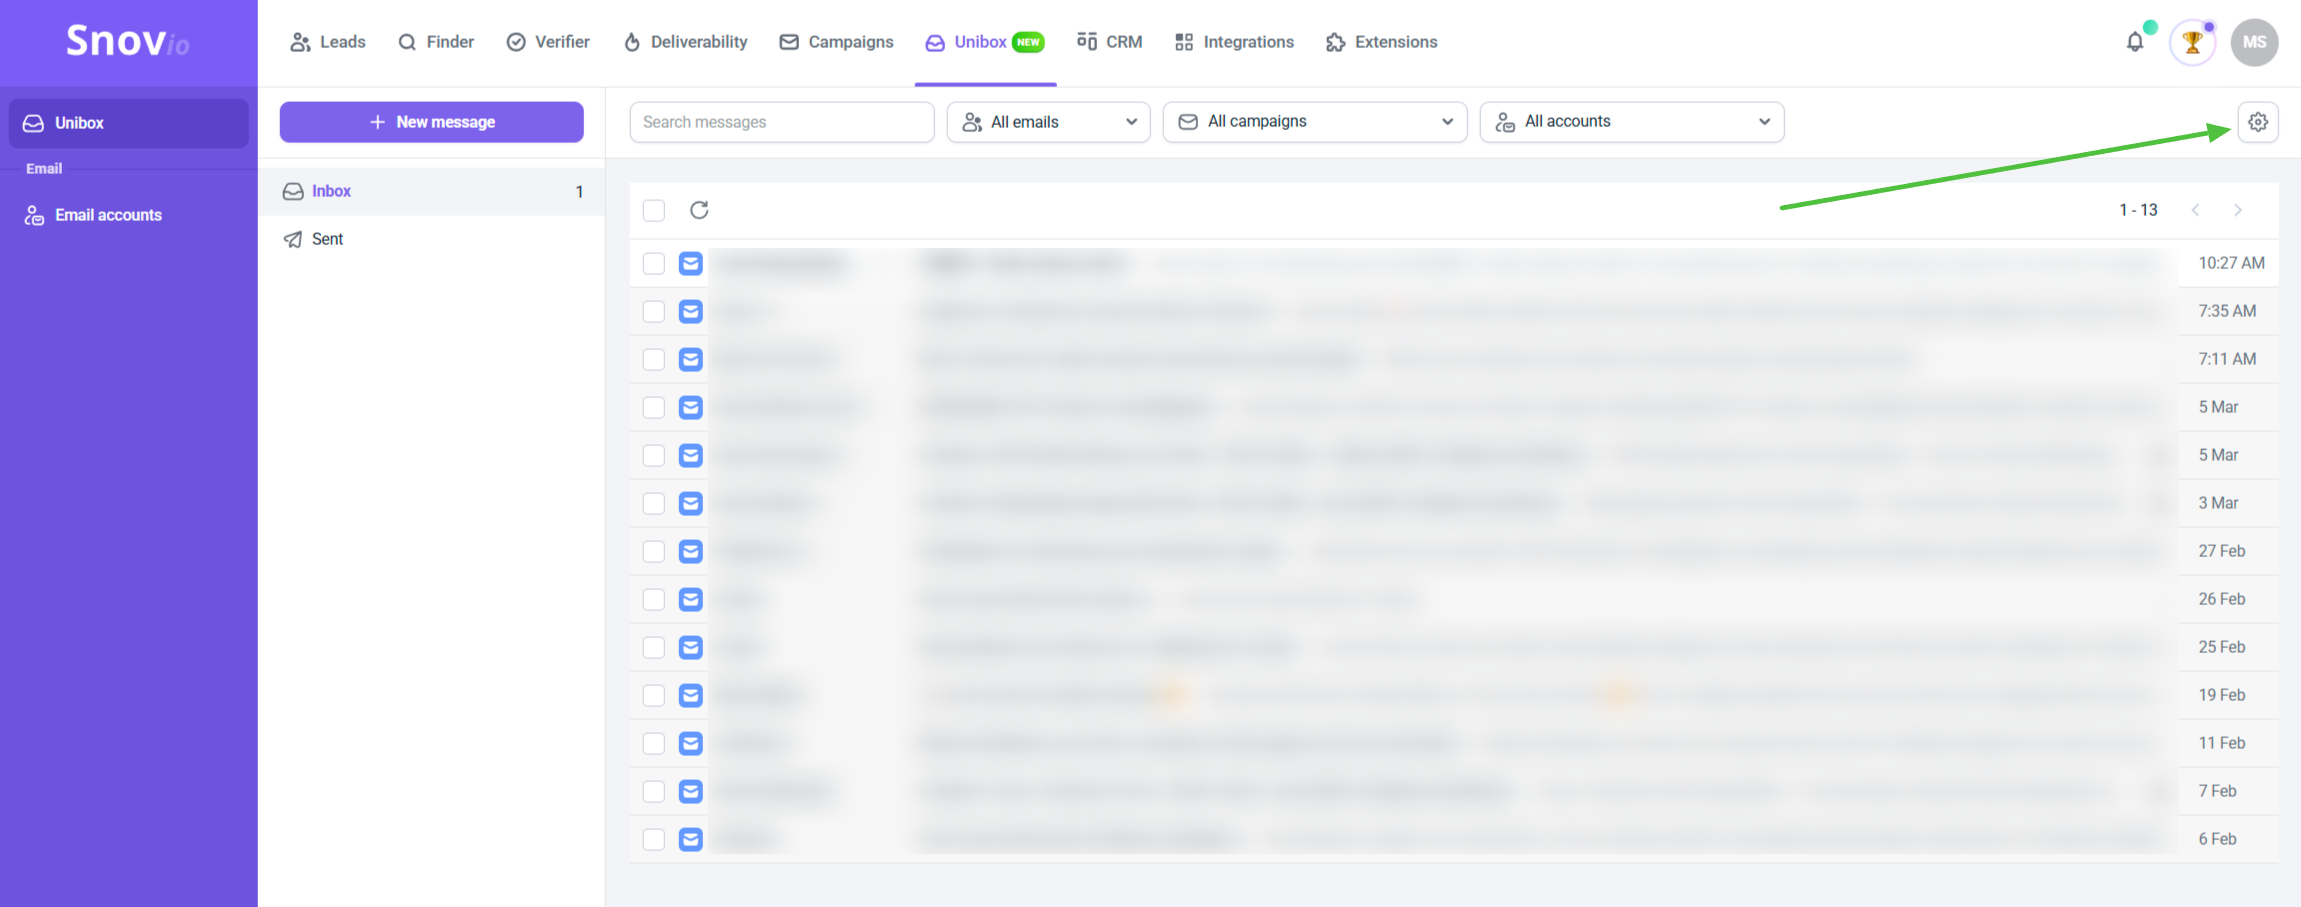
Go to Unibox by choosing the icon in the header and click to connect.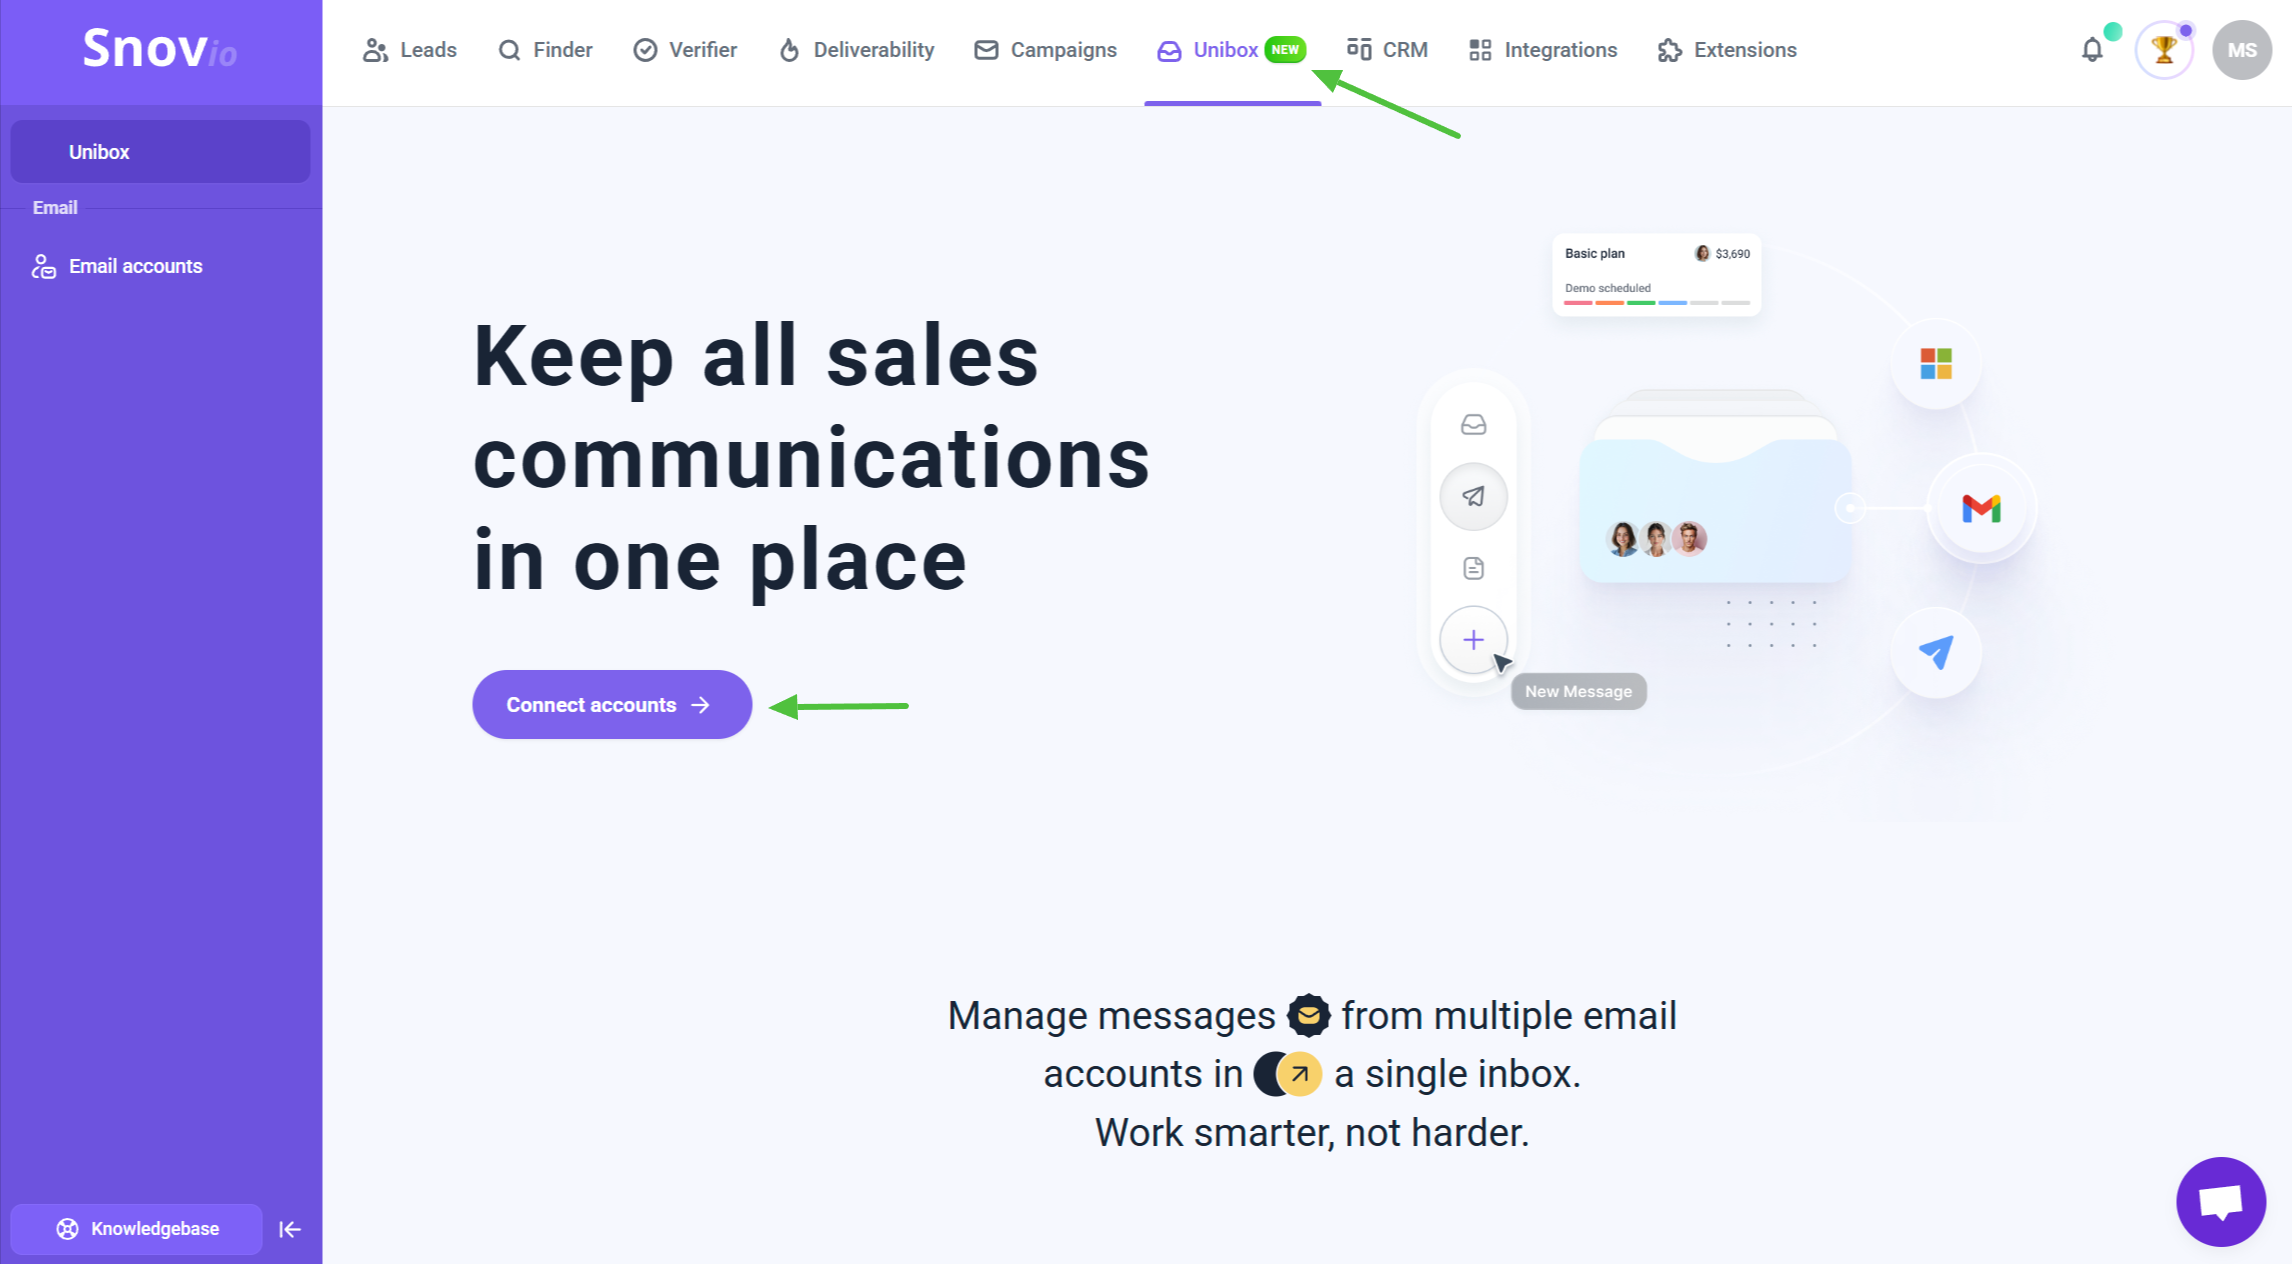
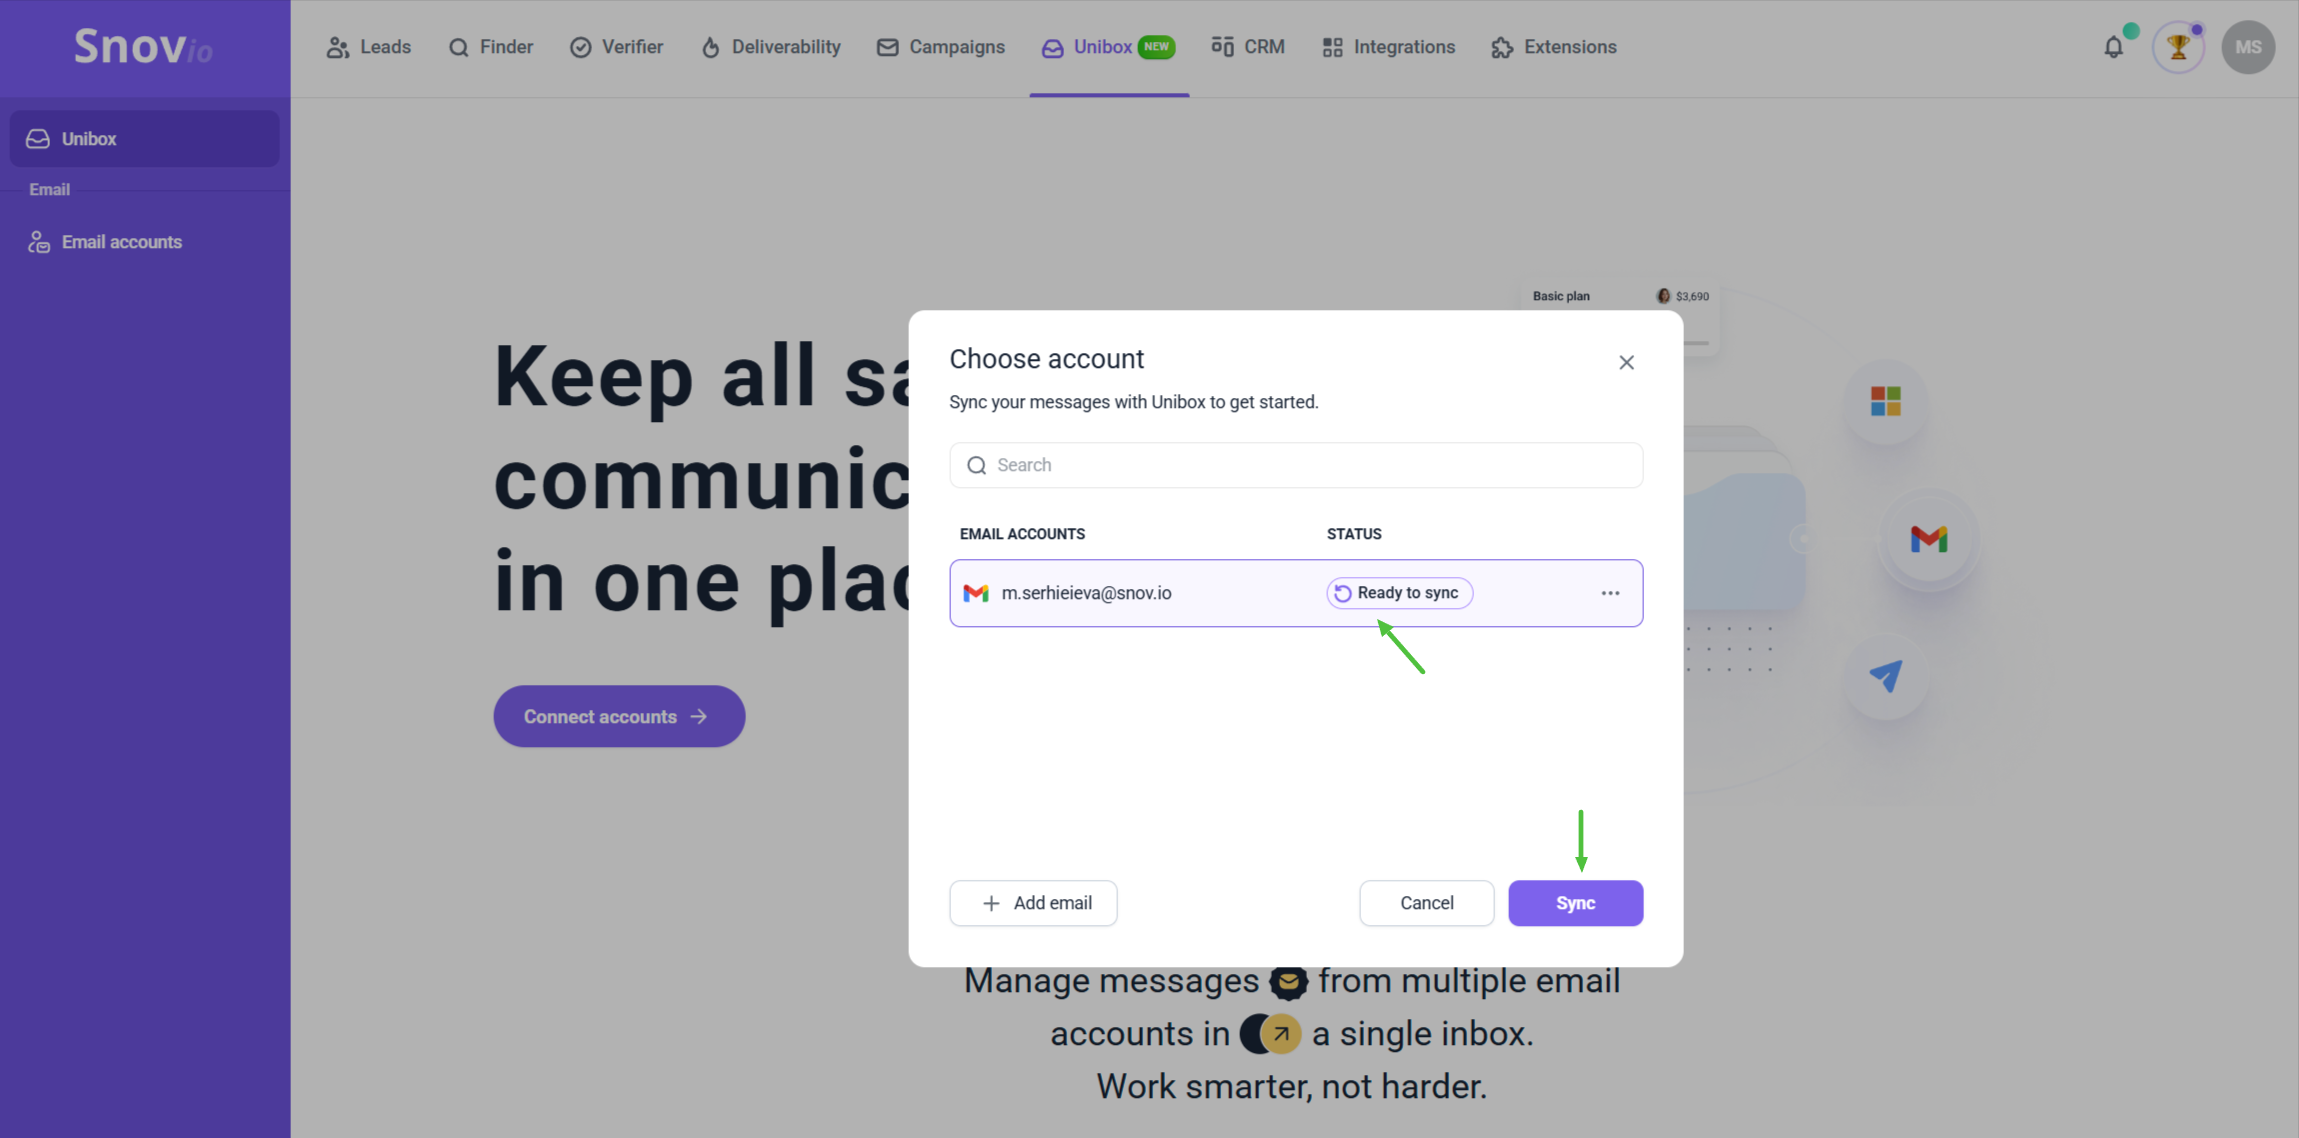


Step 2. Set or change syncing settings
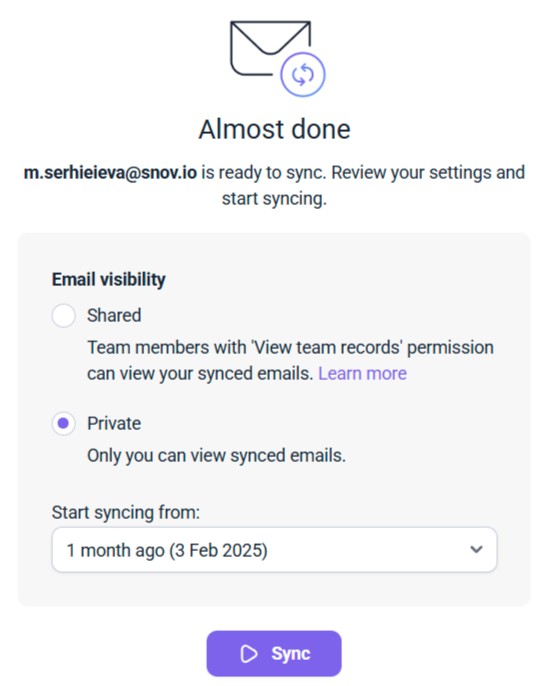
Now, you’ll see the setup window where you need to choose the following parameters:
- Default email visibility. The shared status makes all synced emails visible to all members (or only the team lead). The private status grants access to the synced emails only to you.
- Time period for email syncing (3 days, 1 month, 3 months, 6 months)

Trial plan allows syncing up to 1 month of inbox history. You may consider upgrading to Premium, if you want to:
- Sync up to 6 months of inbox history: you don't have to begin with an empty Inbox – once you add an account, we'll retroactively sync 6 months of your emails. All synced data will be stored as long as you keep using Unibox
- Unlimited storage and accounts: no more worrying about running out of space or how many accounts to connect
You can always manage sync history in settings. You can change the syncing date anytime, but you need to clear email history first.
After setting up the sync parameters, click the Sync button to start the process. Emails synced from the mailbox will be added sequentially to the main Unibox page.
If you ever need to change visibility or sync history, Unibox settings are always accessible through Email accounts.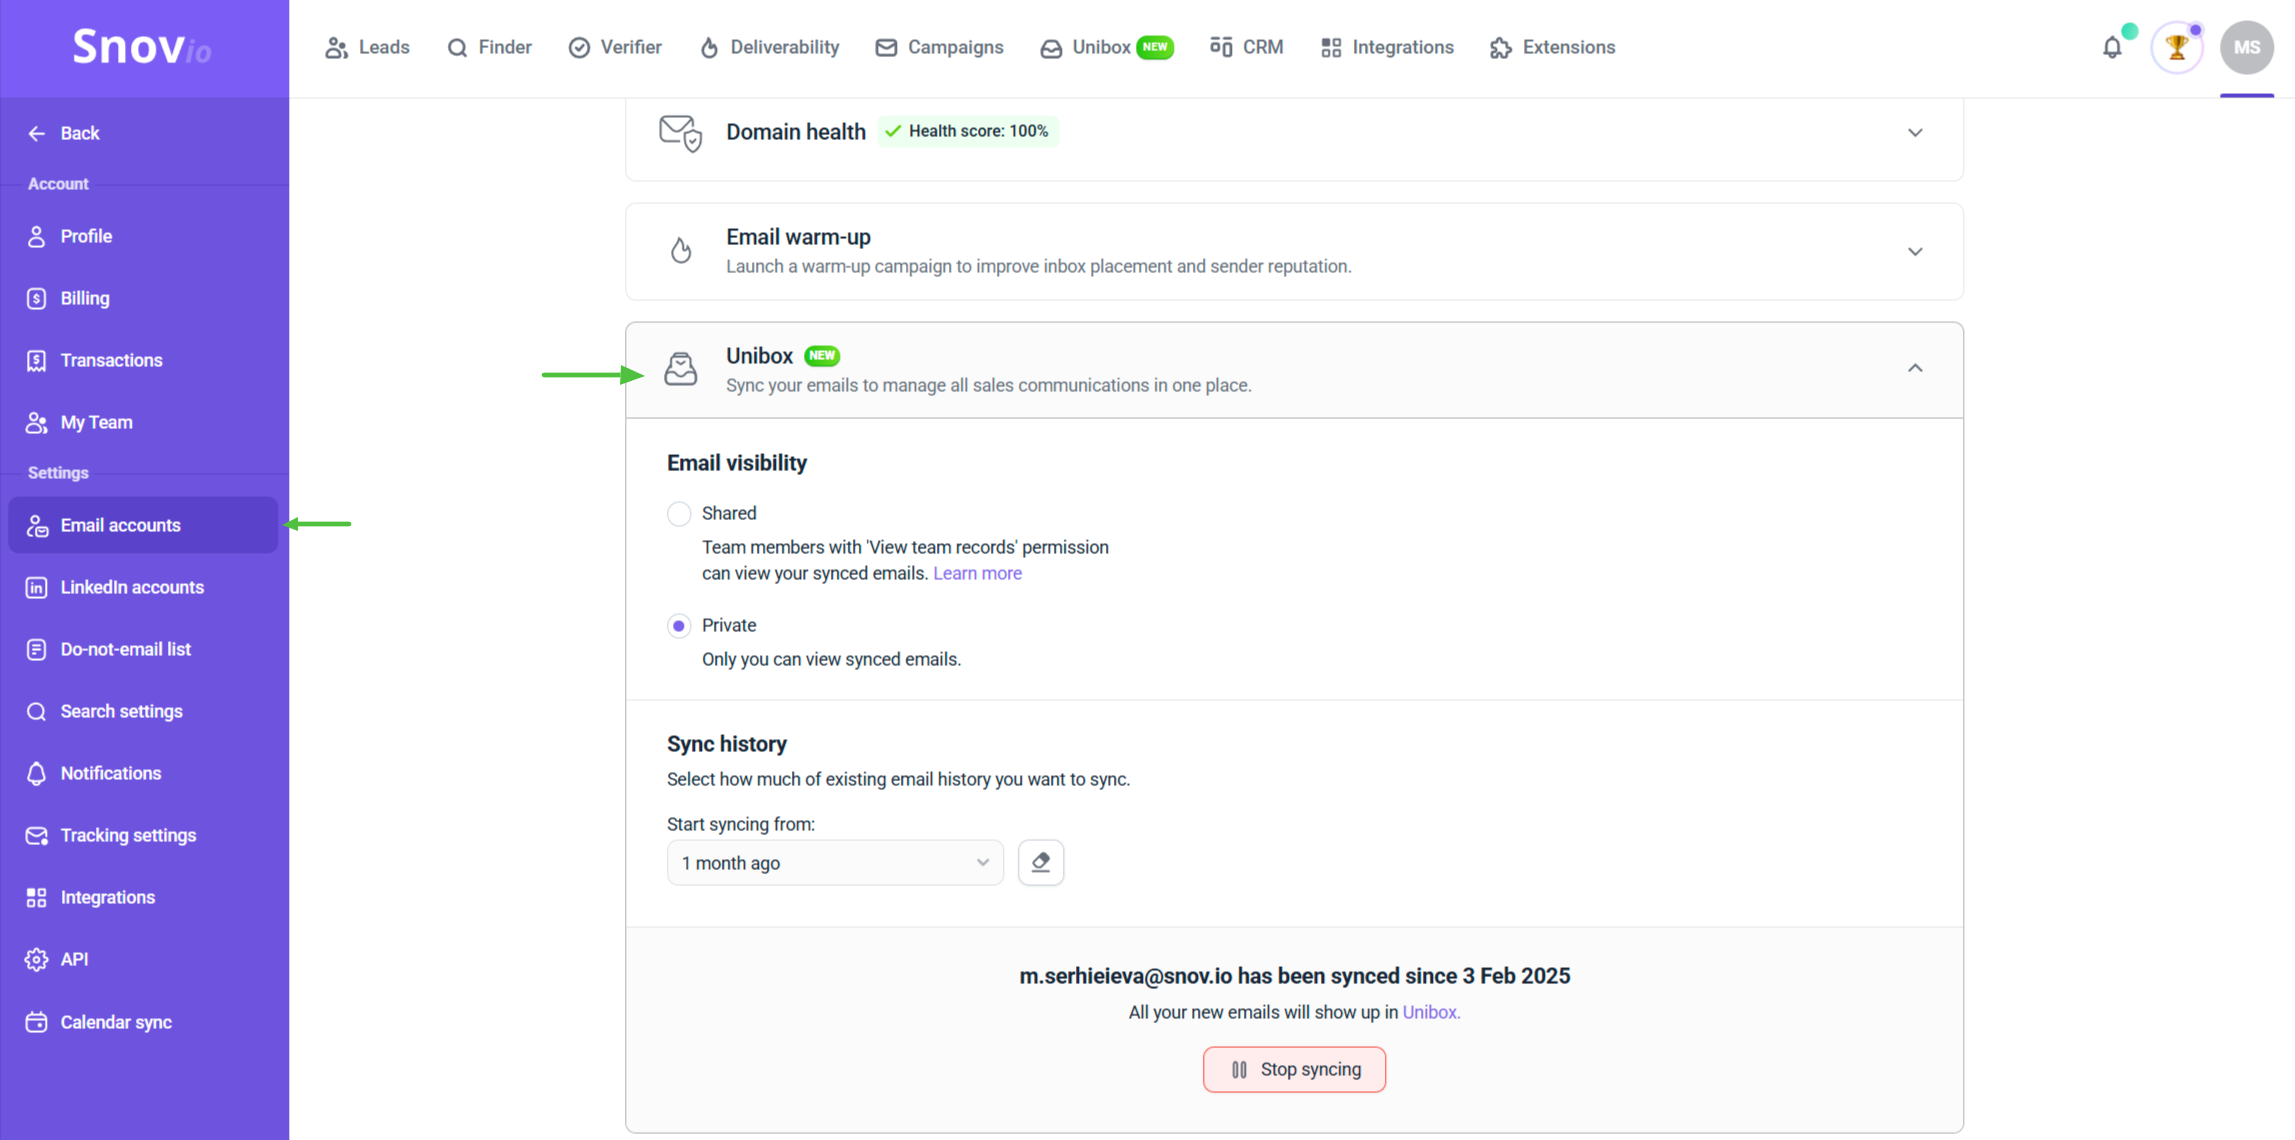

Step 3. Check the sync status
On the Email Accounts page you'll see Unibox status for each email sender.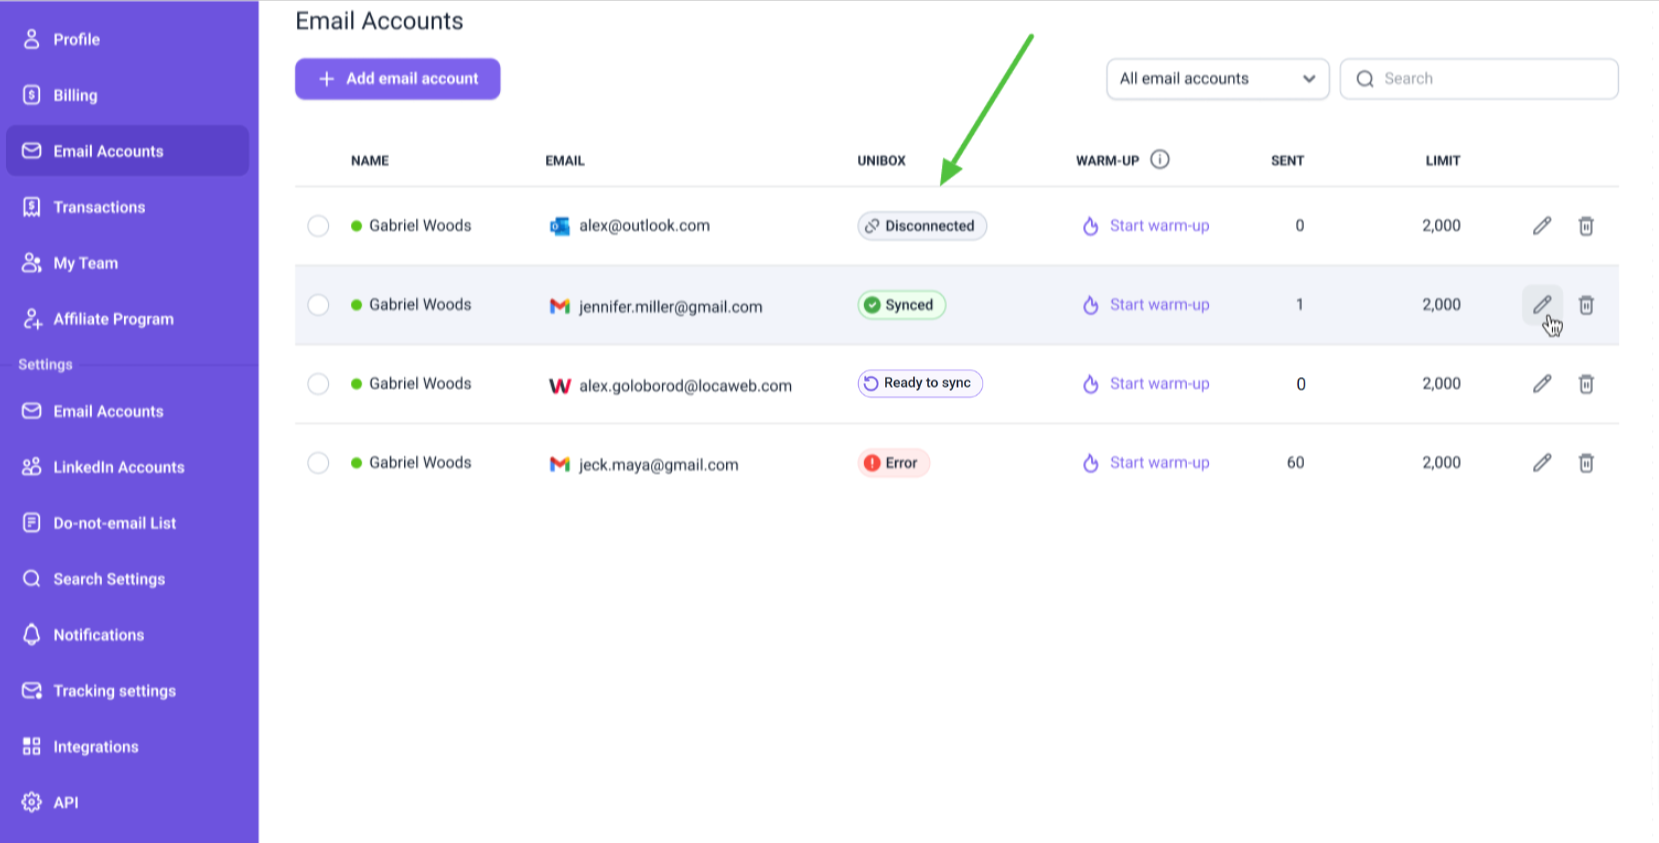

Synced: the account is connected to Unibox and synchronization is working
Disconnected: the account was connected to Unibox, but got disconnected when a user manually stopped syncing
Error: there is a connection error with the sender account, at which point syncing to Unibox is paused. To fix this, check for connection errors with your mailbox and verify account credentials
If you connect a sender to Unibox with a large number of emails, the first synchronization may take a long time, potentially up to several hours.
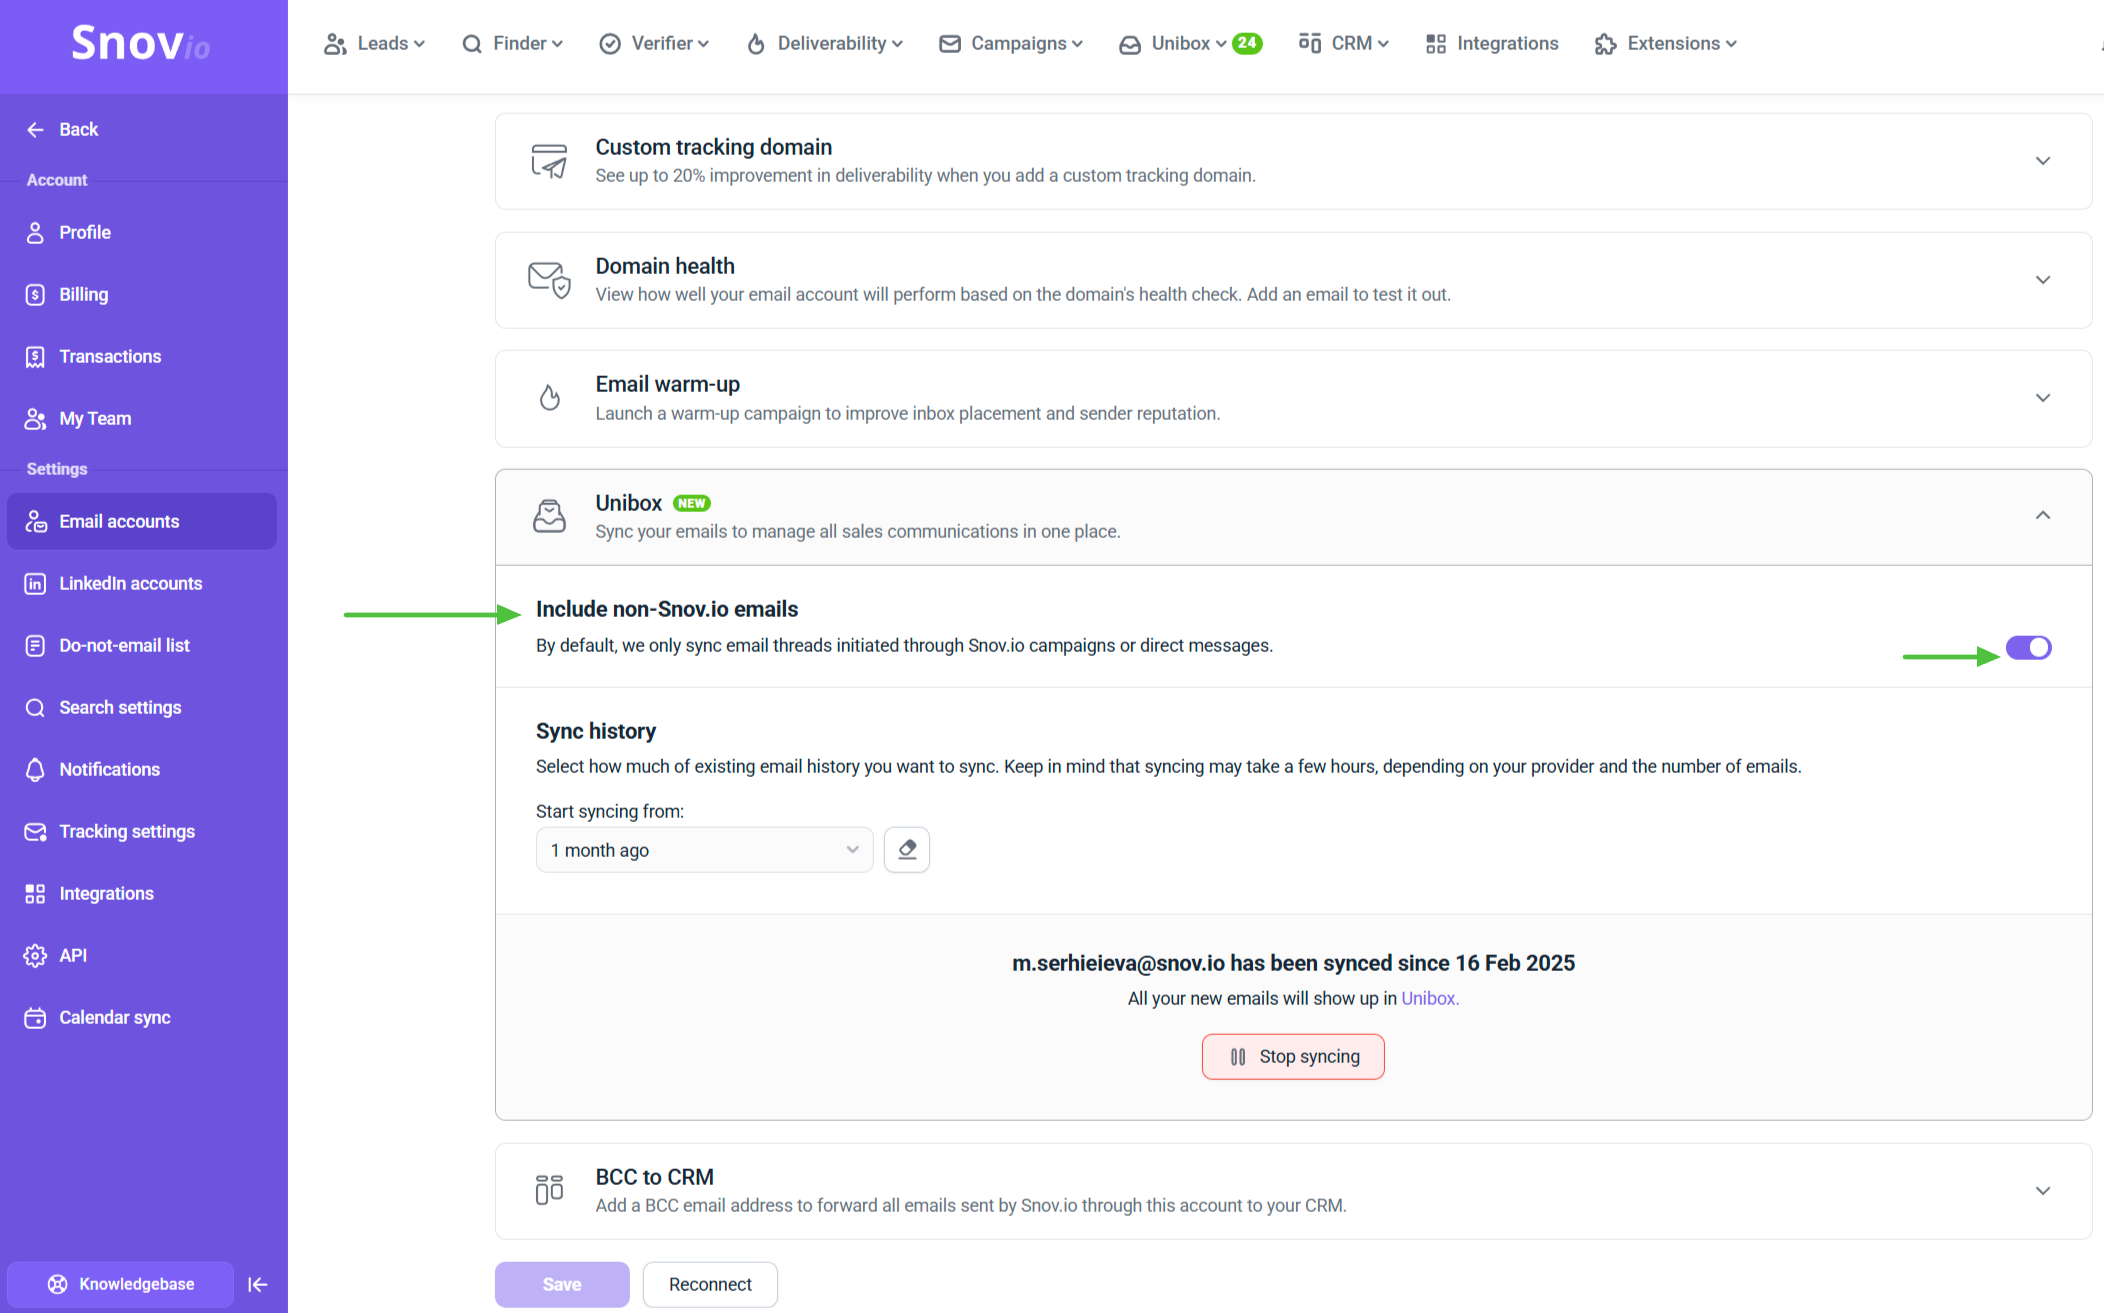
How to control which emails get synced to Unibox
You can choose what types of emails show up in Unibox. By default, we only sync messages sent through Snov.io campaigns or direct messages, along with any replies to them.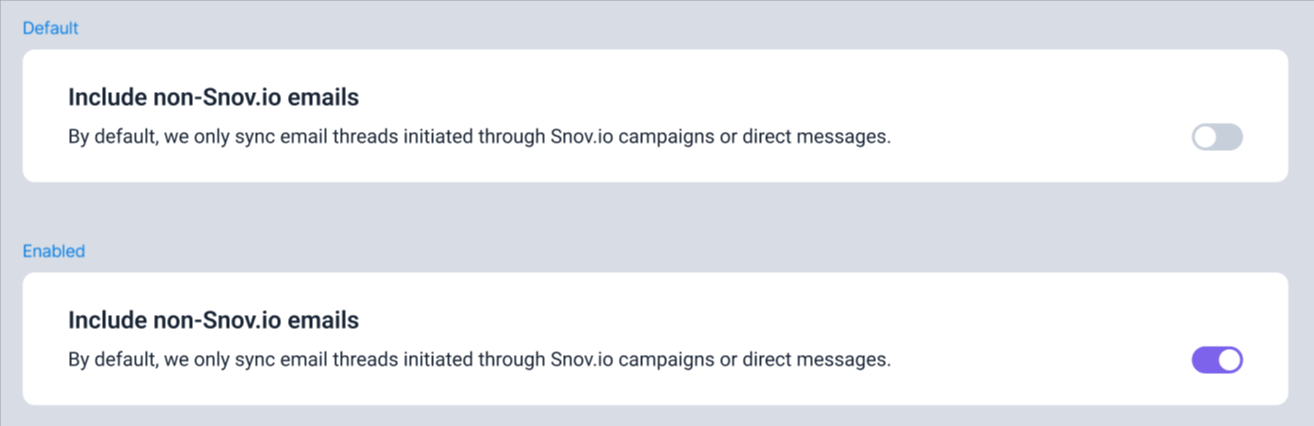
Go to your Unibox settings and choose:

- On – syncs all messages from your mailbox
- Off – syncs only messages sent via Snov.io, plus their replies

How to clear all sync history
To manage sync history, go to Email accounts and choose the needed sender account to open settings. Click Unibox.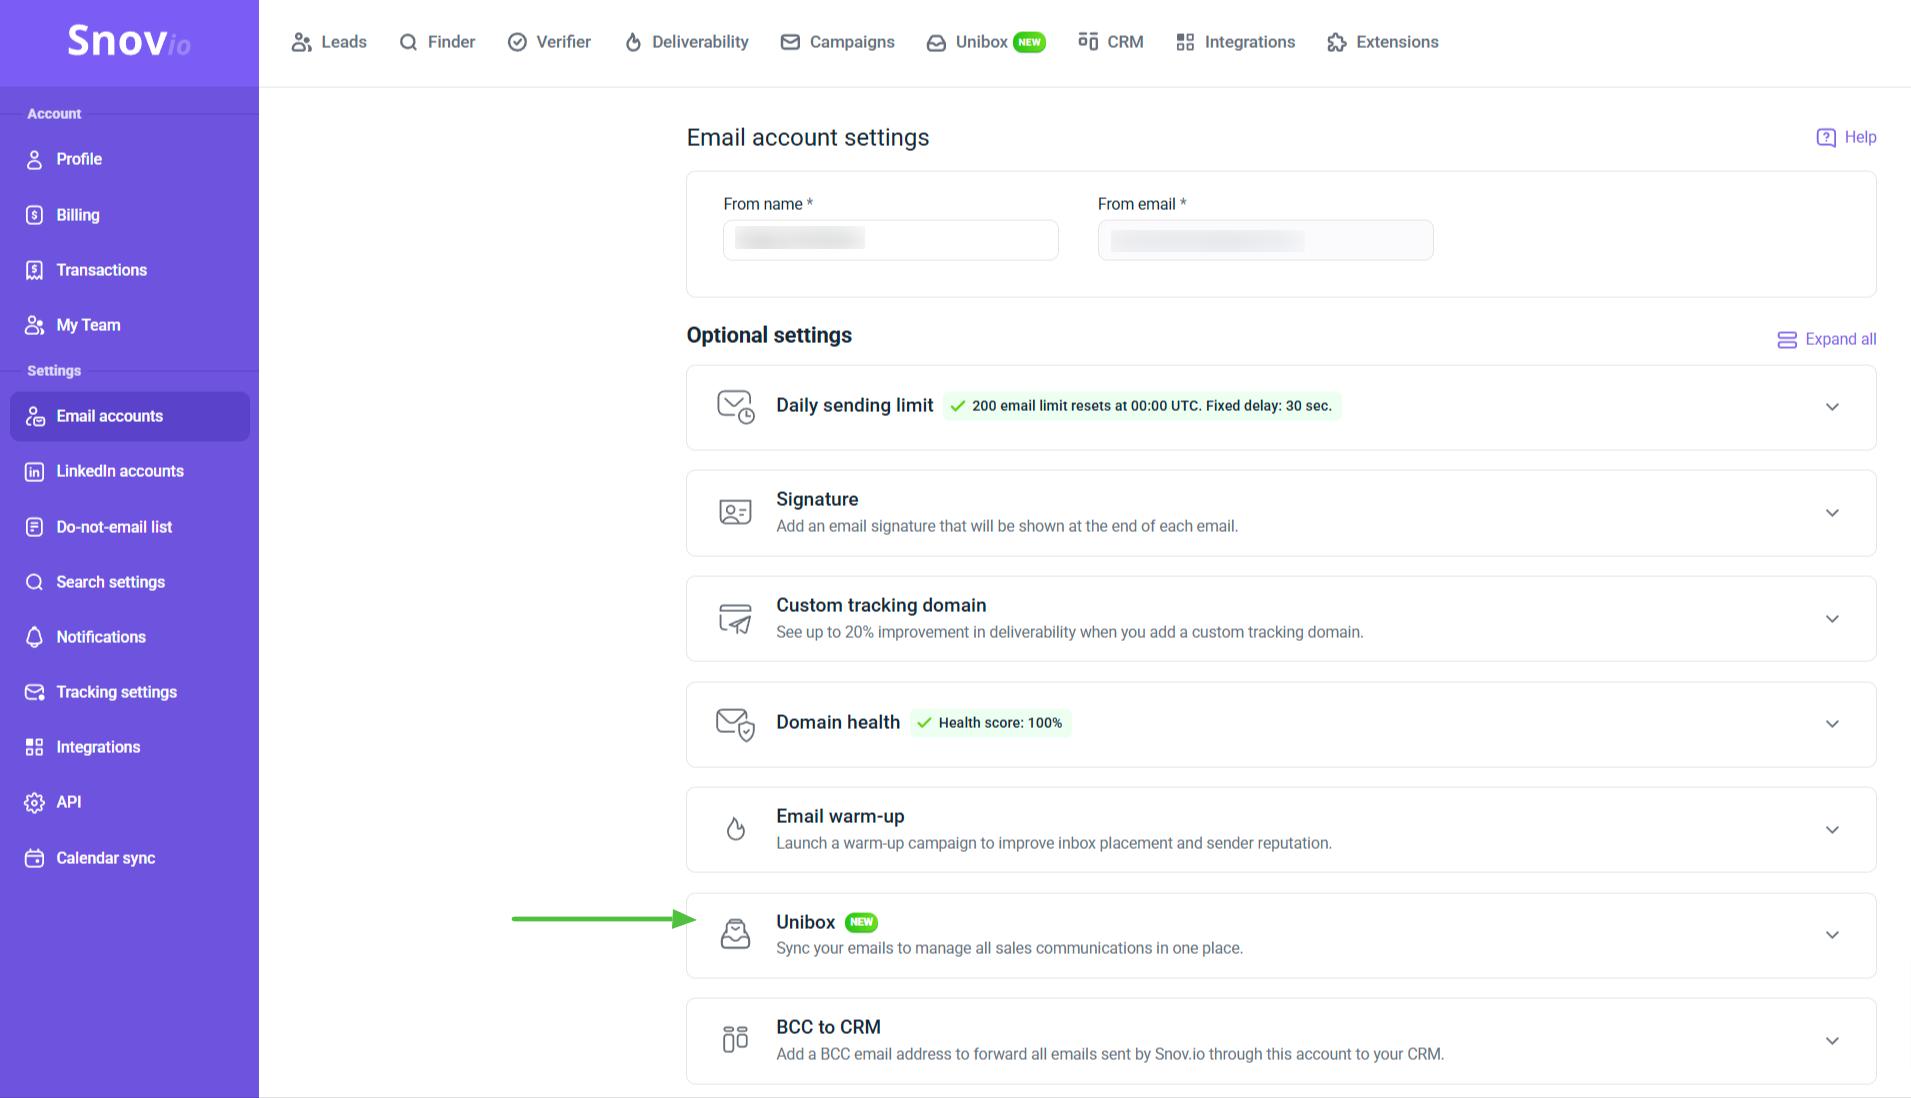

Note that any active syncing will stop in this case. All synced emails and email threads will be removed from Unibox, but you can always re-sync later. ![]()

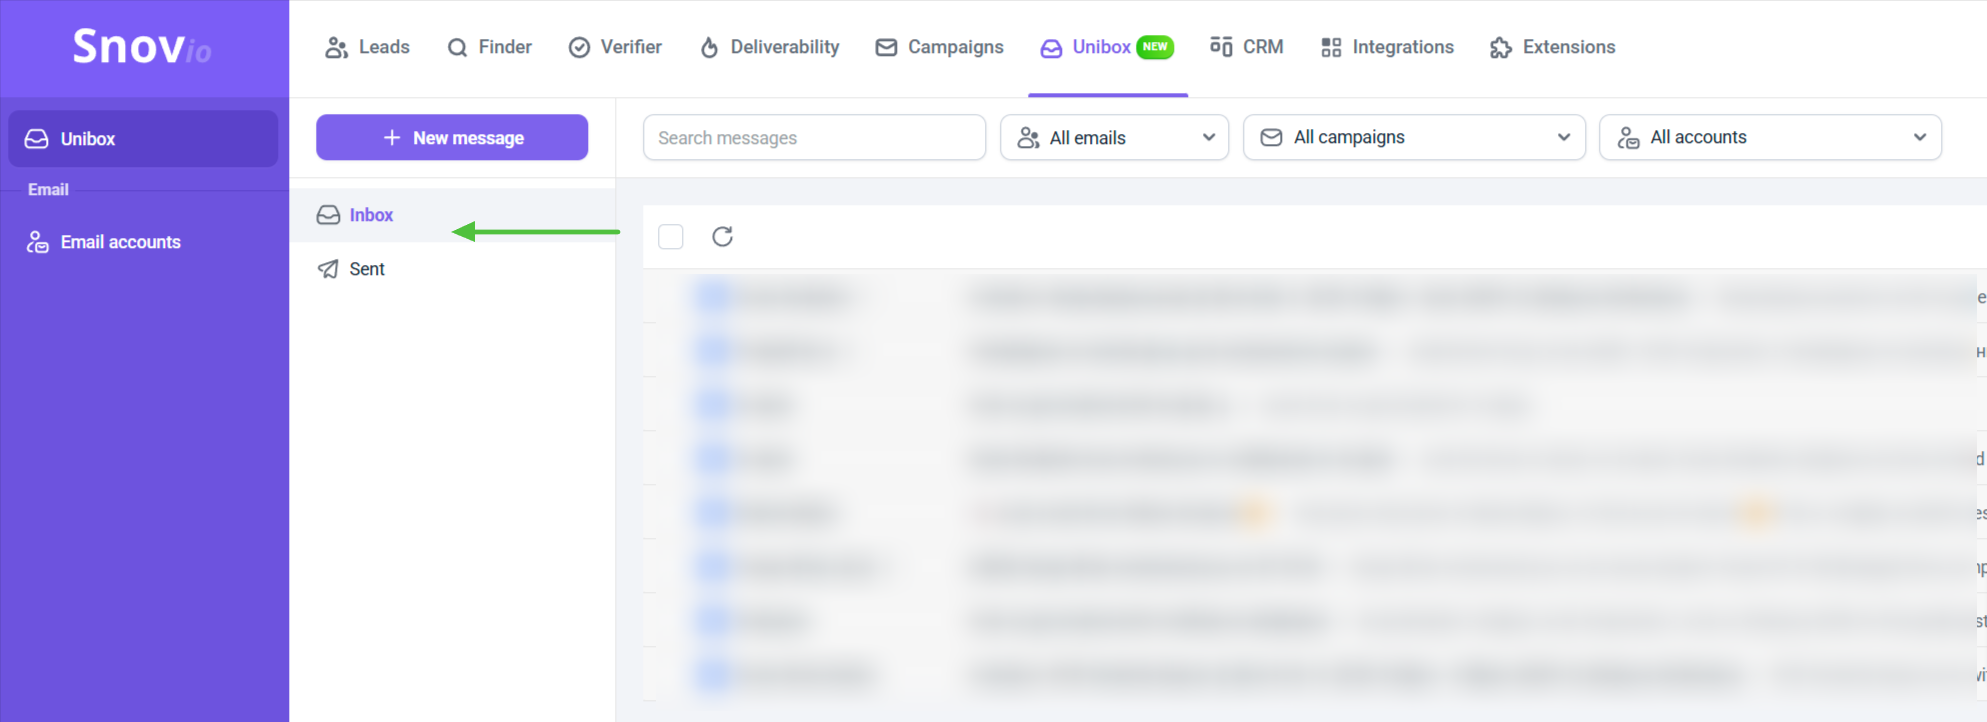
Unibox contains the familiar folders you have in Gmail or other email providers. You can find them on the left of the main Unibox page:
- Inbox contains all incoming messages synced from your connected mailboxes, including replies received within campaigns
- Sent shows a list of all emails sent from connected mailboxes, including campaign emails, single emails and emails sent from the email provider’s interface

If you have a question that wasn’t answered here, don’t hesitate to contact our Customer Care team. You can reach them at help@snov.io or through live chat.