

In this article, you'll learn how to view and update prospect details, track their activity history, add notes, and send individual emails and LinkedIn messages directly from their profile.
How to access a prospect profile
After importing your own list or collecting prospects with Snov.io tools, they can be found in the Leads --> page. This page provides a general overview of prospects in the list.
To view detailed information and manage specific prospects, go to their profile.
There are several ways to find a specific prospect's profile.
From the prospect list: Open the desired list, browse to find the required person, and click on their name.
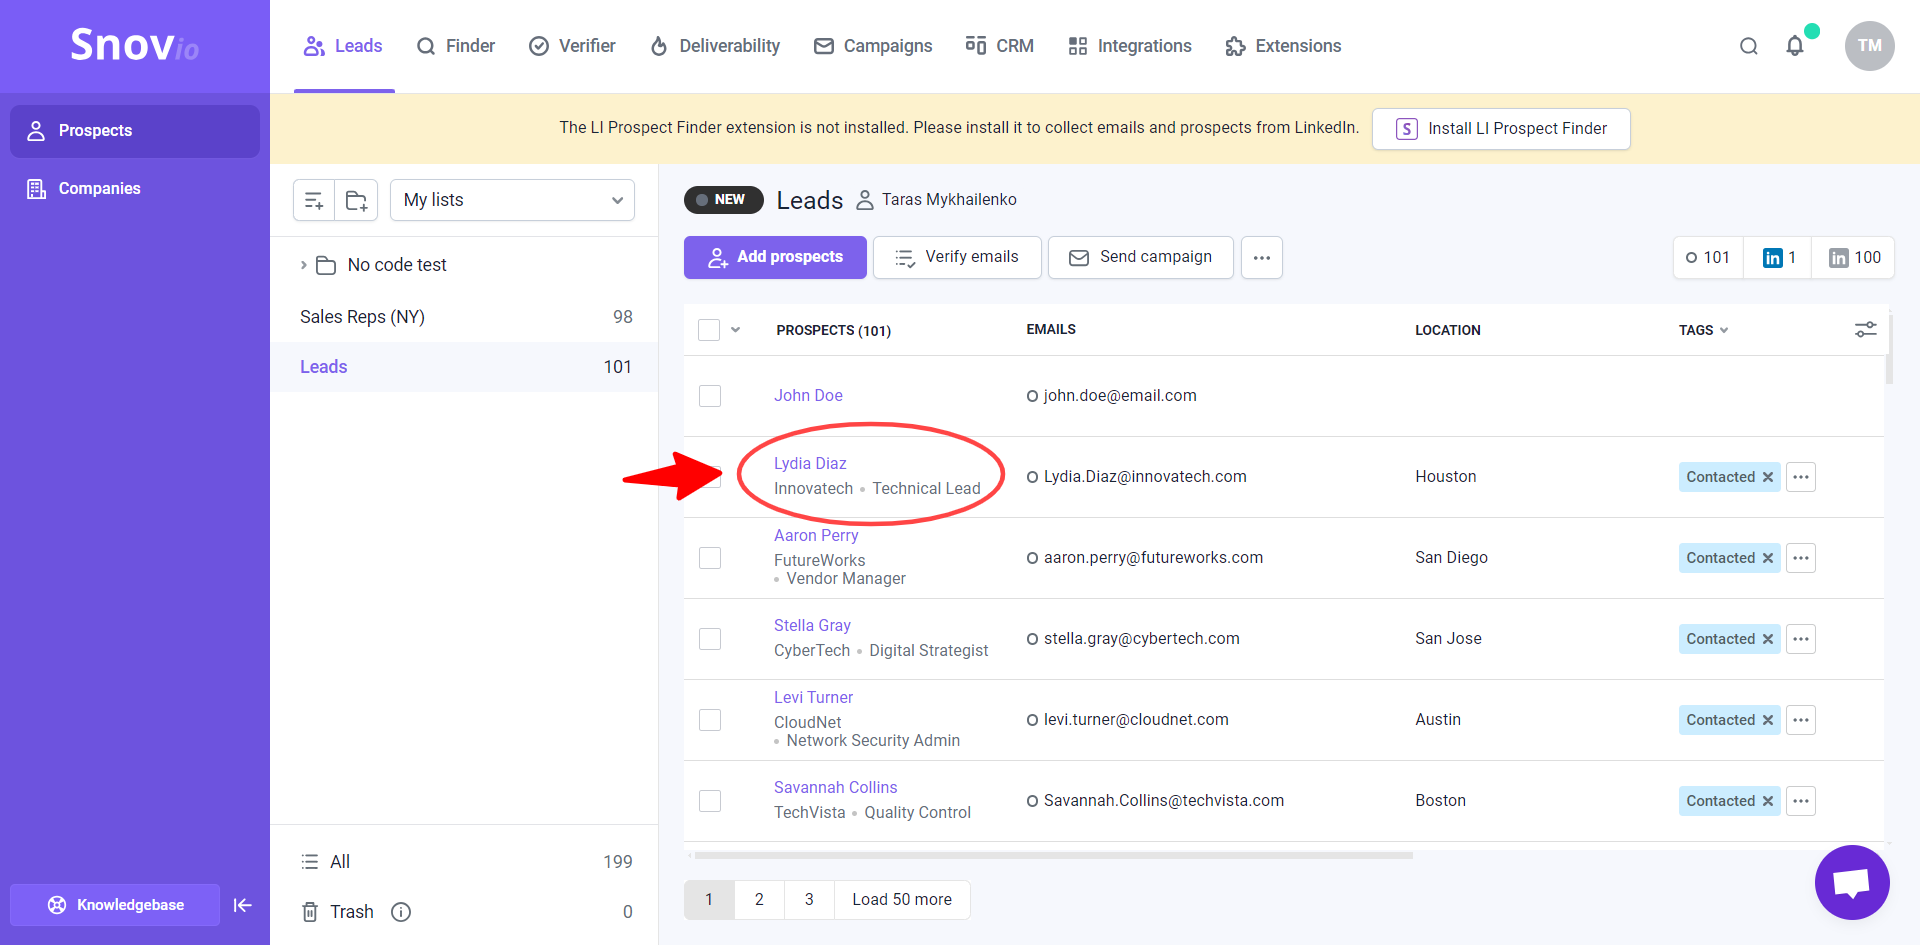

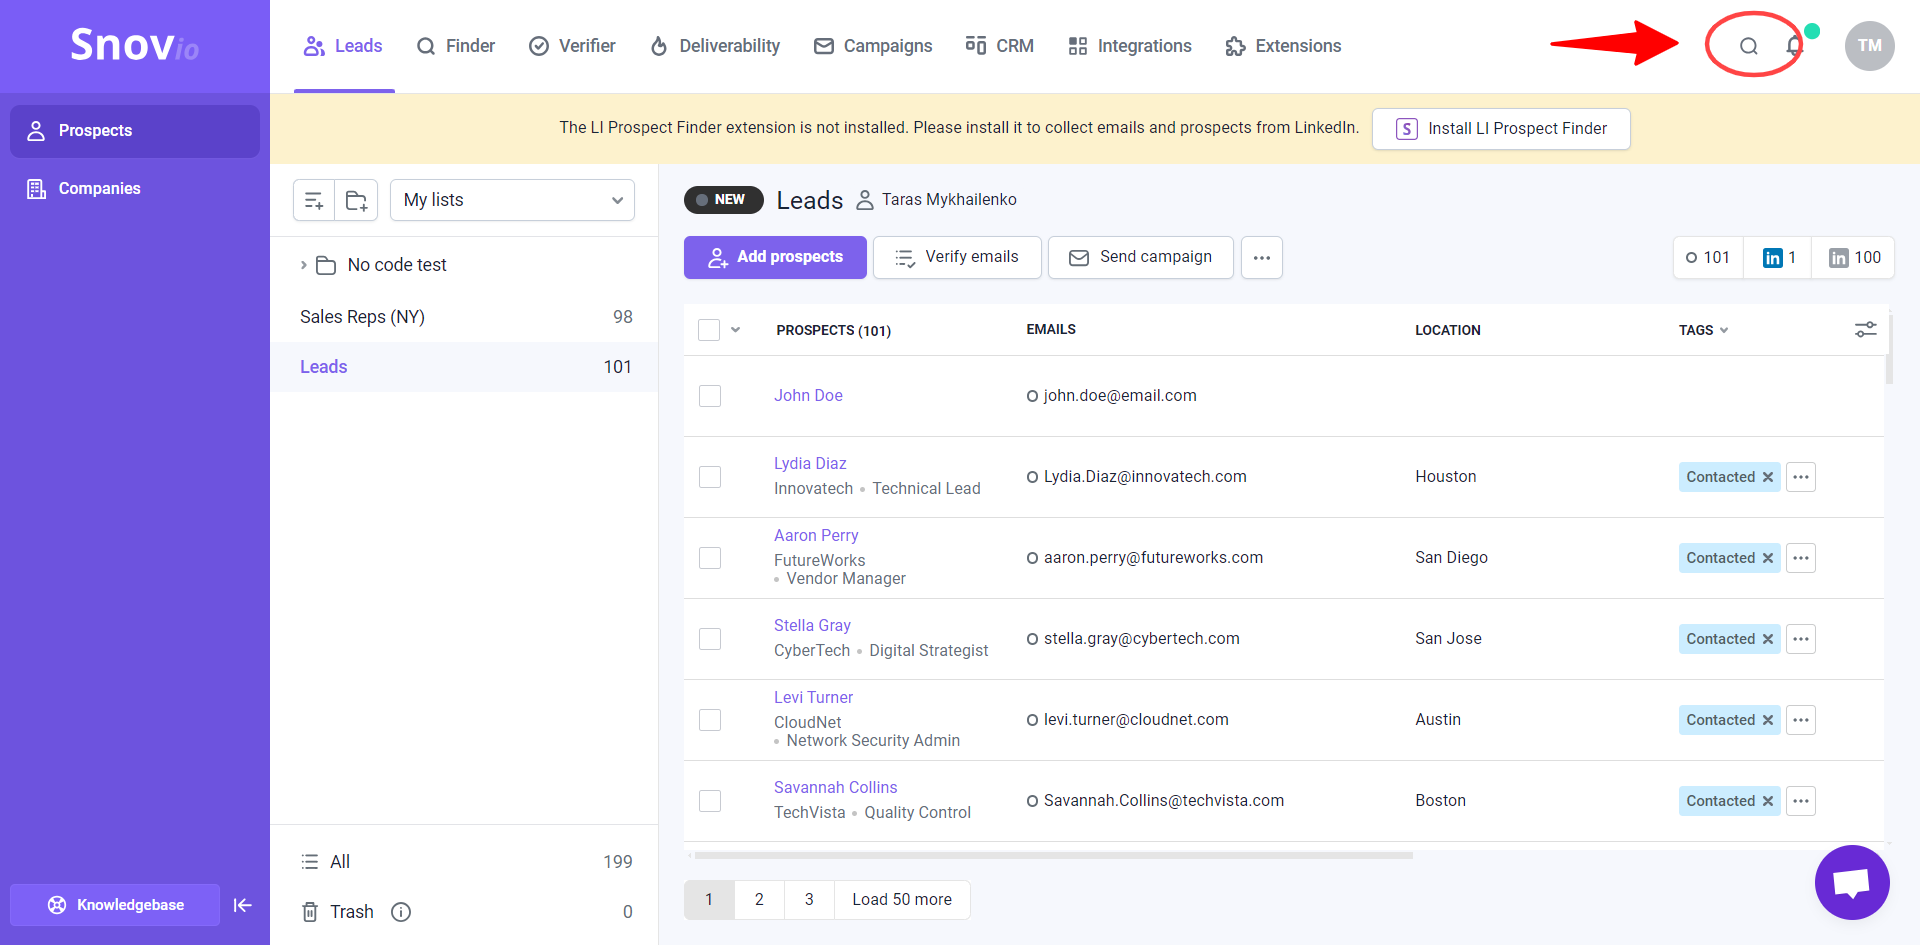
Using general search: In the upper right corner of the Leads page, click on the search icon, then type their name or email address.
The general search looks through all your prospect lists, not just the one you're currently viewing.
View prospect information
On a prospect's profile page, you have access to all their information and can take various actions to manage them directly within the profile.
In the Details tab, you'll find default fields such as Email, Location, Phone, Industry, and Country.
In the Employment section, you can view the prospect's company details, including Company, Job Position, Website, and HQ (office) phone number.
In the Deals tab, you can add the prospect to a deal and automatically transfer them to your CRM for further management.
At the top, near the prospect's name, you'll find a few useful details. View automatically applied tags or add custom labels to use as filters later. If the LinkedIn link is available, view prospect's LinkedIn page and automate LinkedIn activities.
Assign interest level
Manual interest level assignment is available on all plans. You can assign interest levels to recipients in campaigns or prospects in the prospect lists manually.
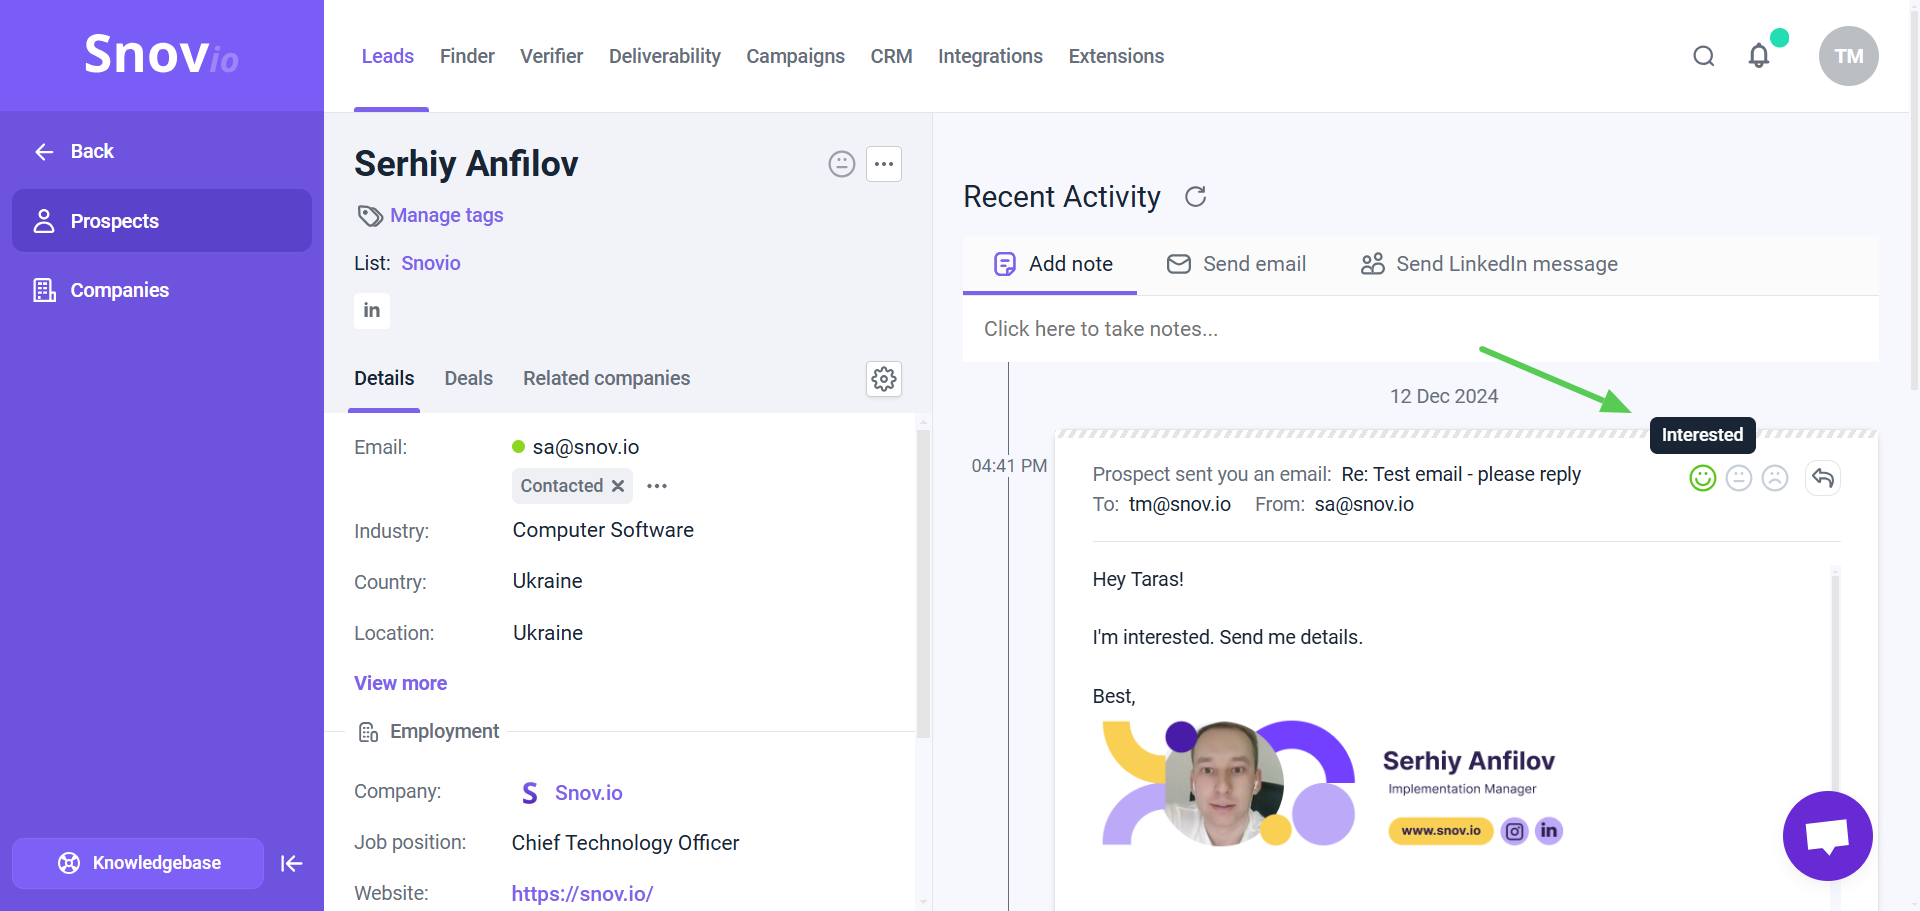
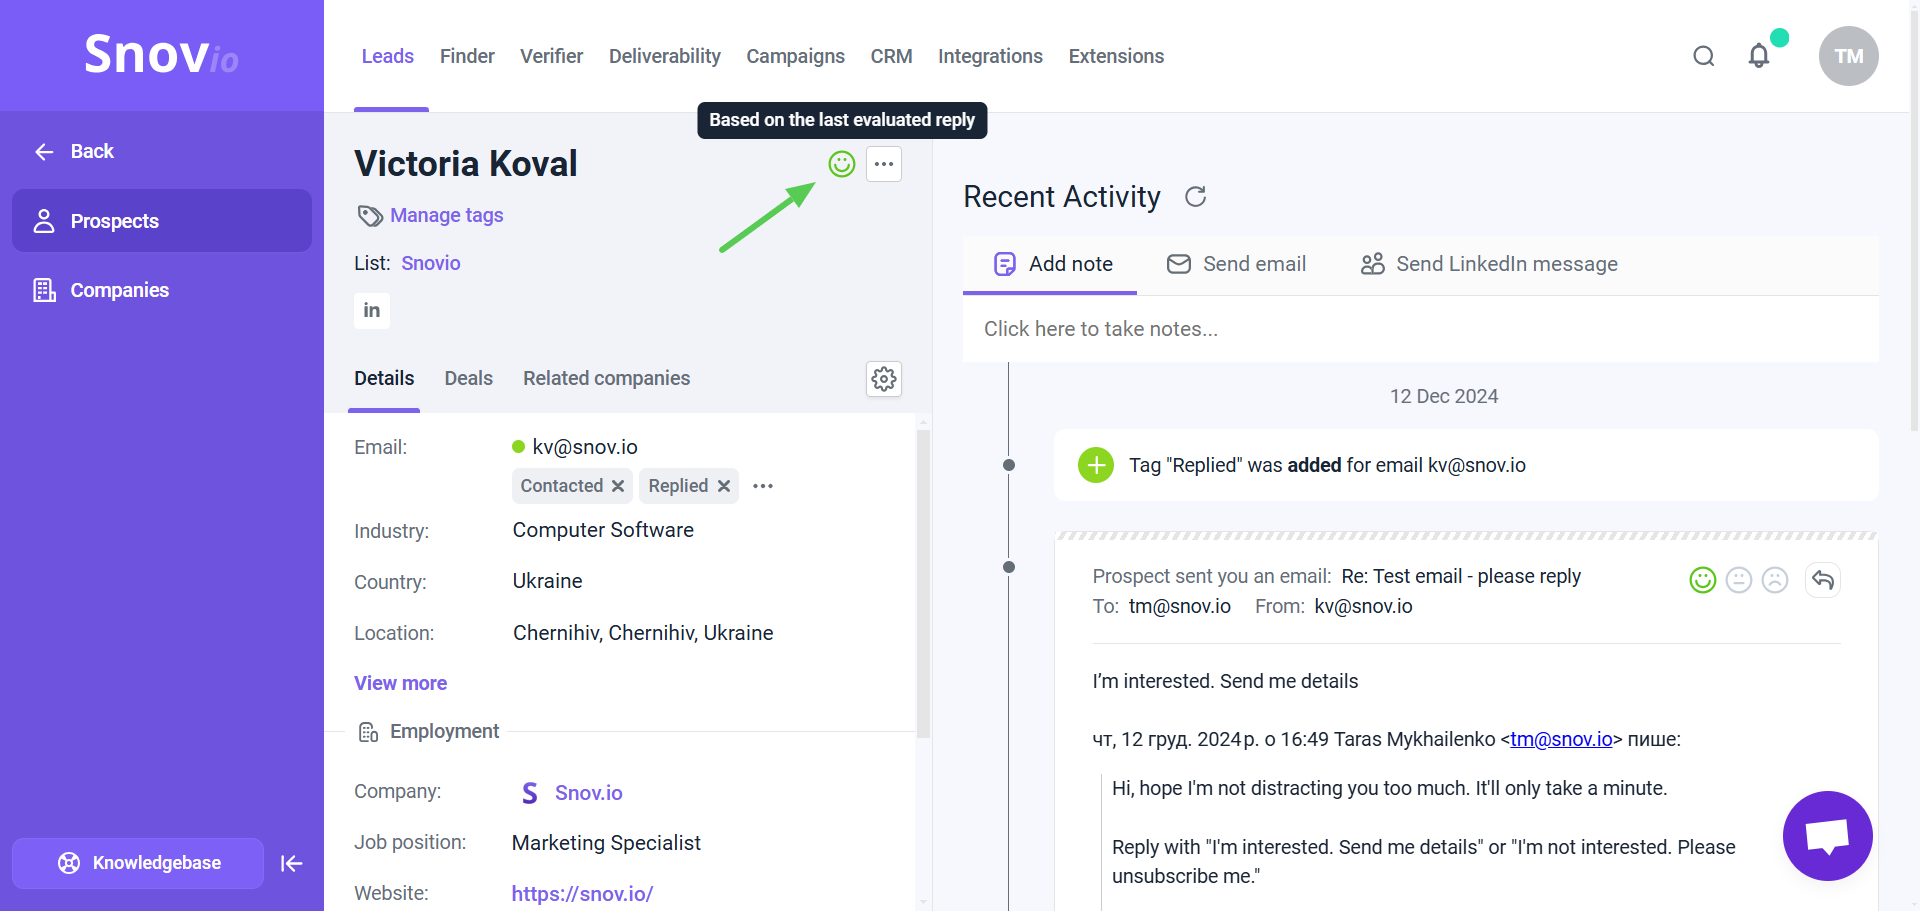
To do this, click on the prospect's name in the list to open their profile, find their reply in the Recent Activity, and select the emoji that matches the sentiment.

To enable automatic analysis with AI, upgrade to the Pro 5K plan or higher.
After you upgrade, the AI will analyze all replies from the last 30 days across all your campaigns and assign an interest level to each prospect who replied.
When reviewing your list, click on any prospect to open their profile. If the prospect hasn’t replied yet, the interest level emoji will appear grayed out.
The prospect's mood shown in their profile is based on the sentiment of their last reply to any email you’ve sent. This could be a campaign email, an email sent directly from their profile, or from a deal in the CRM.
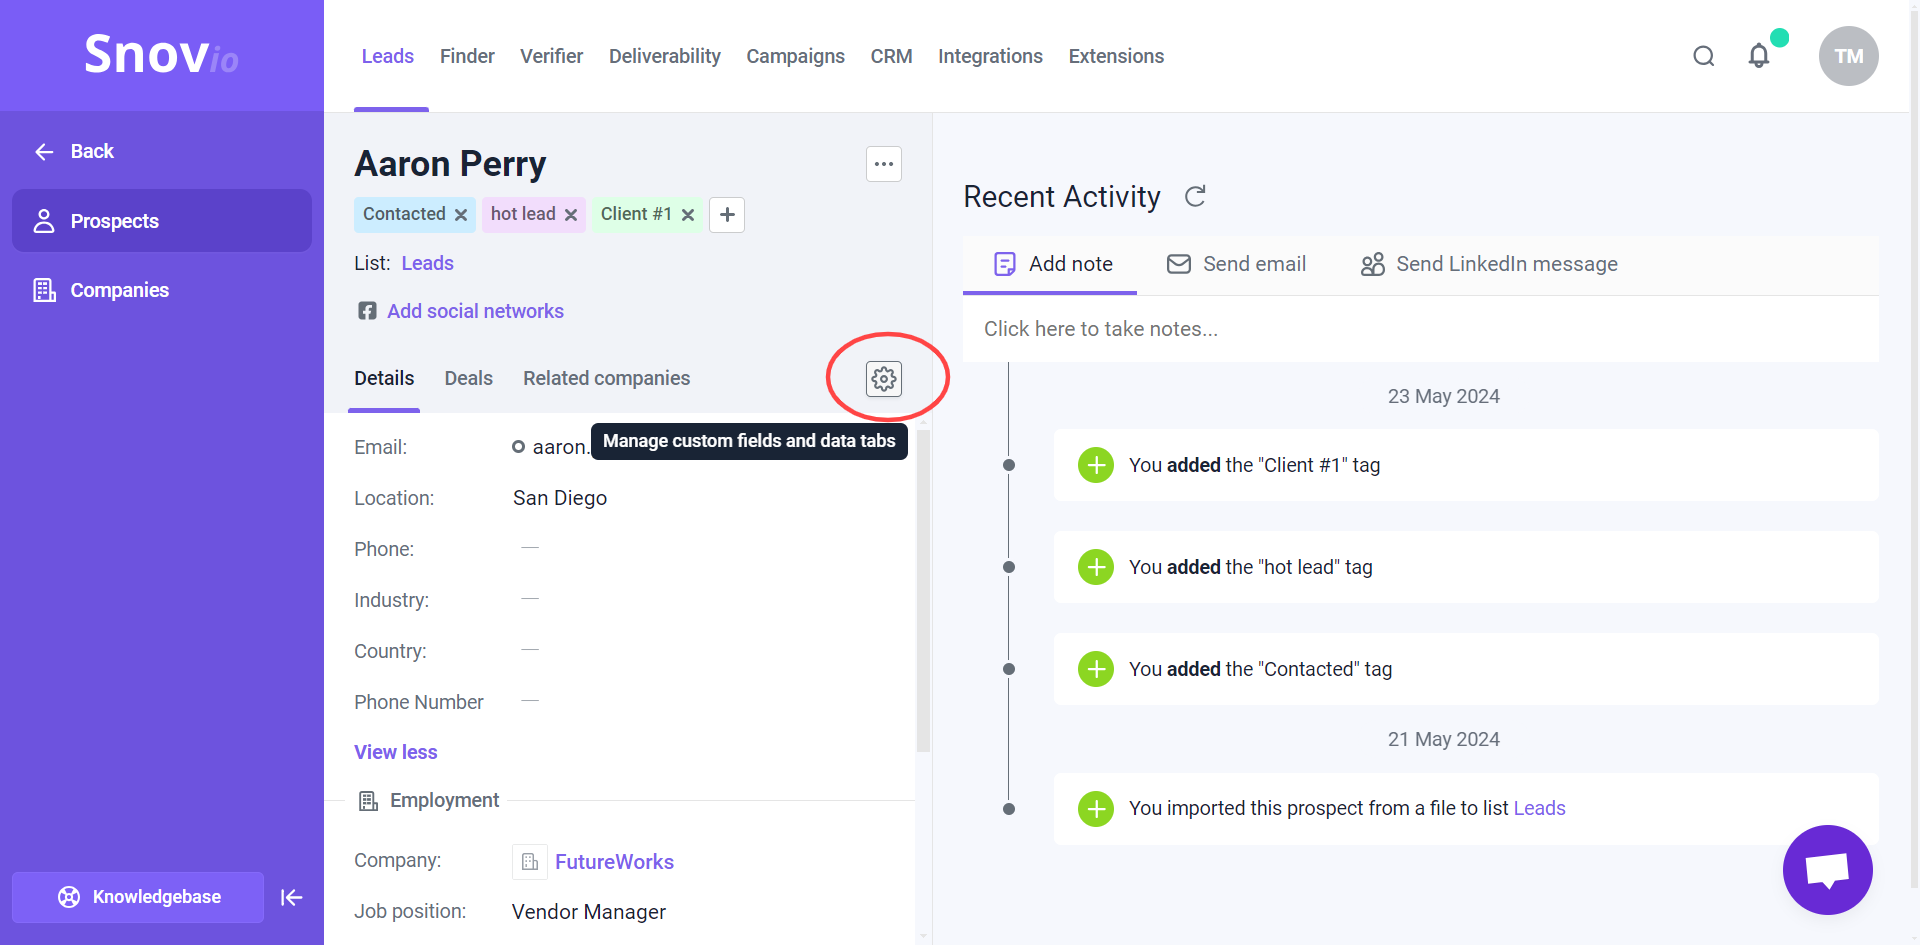
Add custom prospect fields
In the prospect profile, you can create custom fields to add specific information that can be used in future communication with the prospect.
For each custom field, we generate variables (placeholders) that you can insert into email content. This allows you to use data from custom fields to personalize emails in bulk.
To add a custom field, click the settings icon on the right. Enter a field name and select its type based on the content, such as text or number.
You can populate custom fields with data by either manually entering it (edit fields) or updating fields in bulk using the import option.
Custom fields you create in one profile are automatically applied to all prospects in the same list.
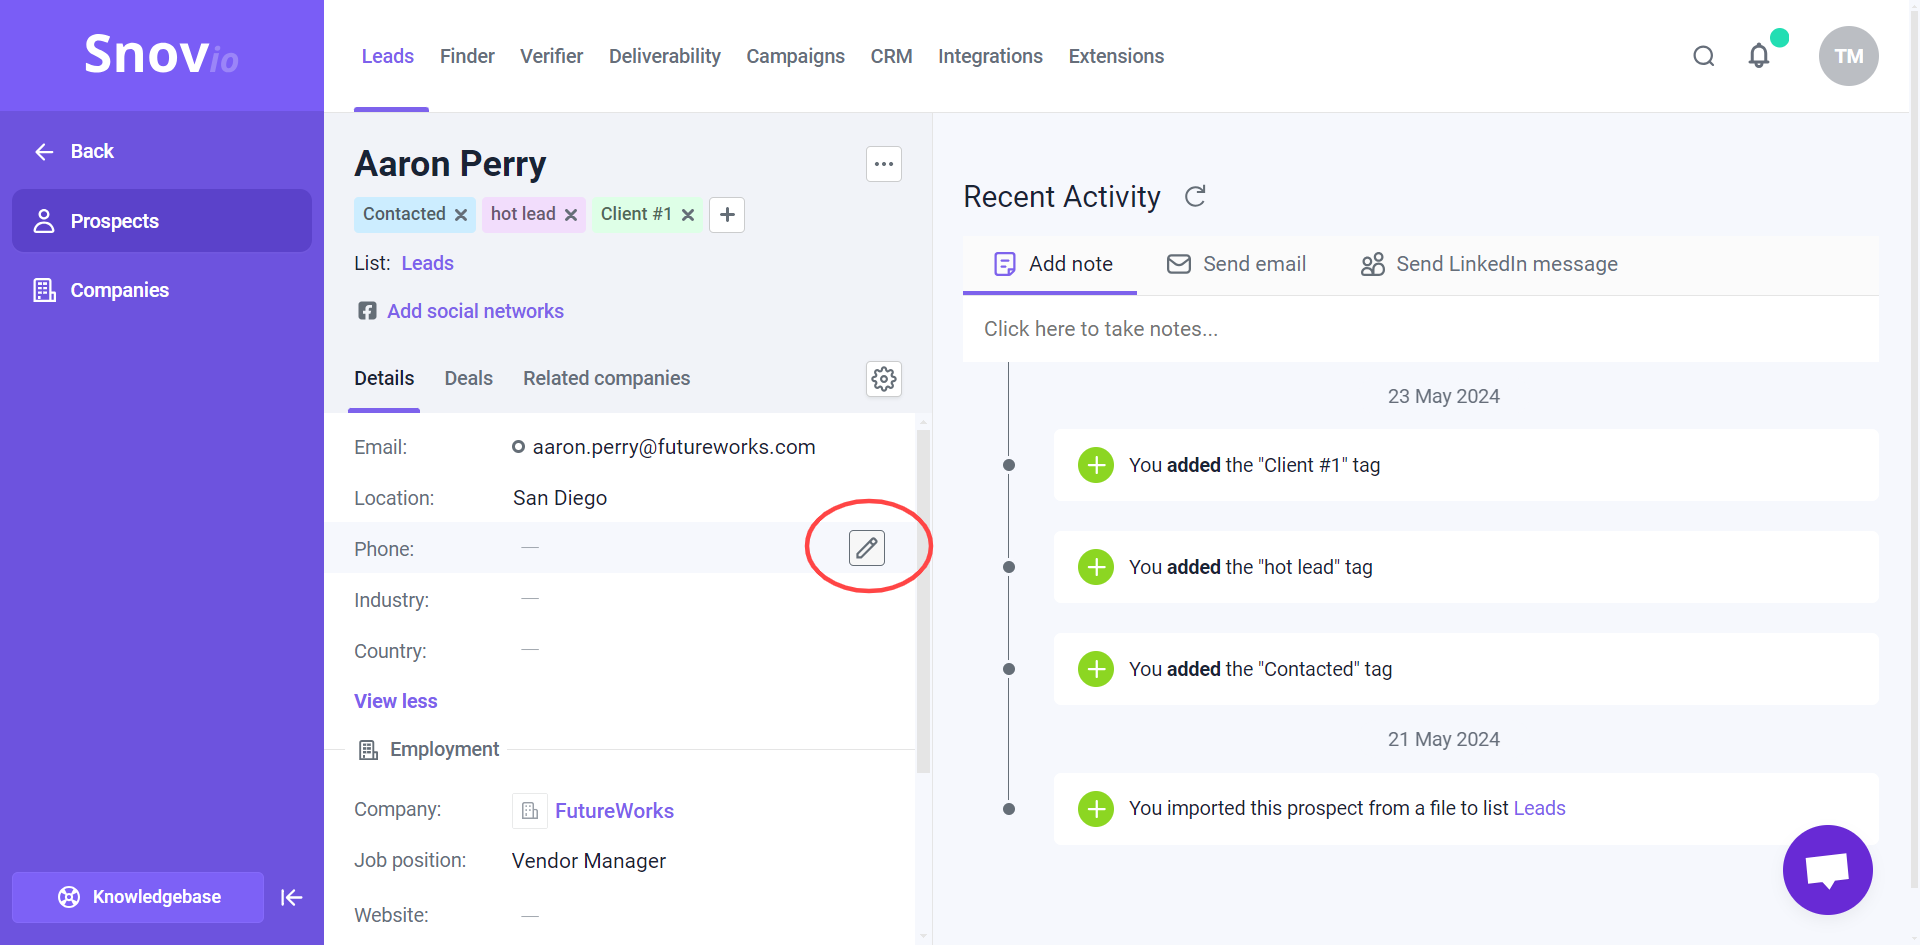
Edit prospect profile
You can edit default or custom fields to update or add new information about your prospects.
To edit a prospect's profile, click the edit icon next to the field you want to change. After making your changes, click the Save button at the bottom of the page to update the profile.
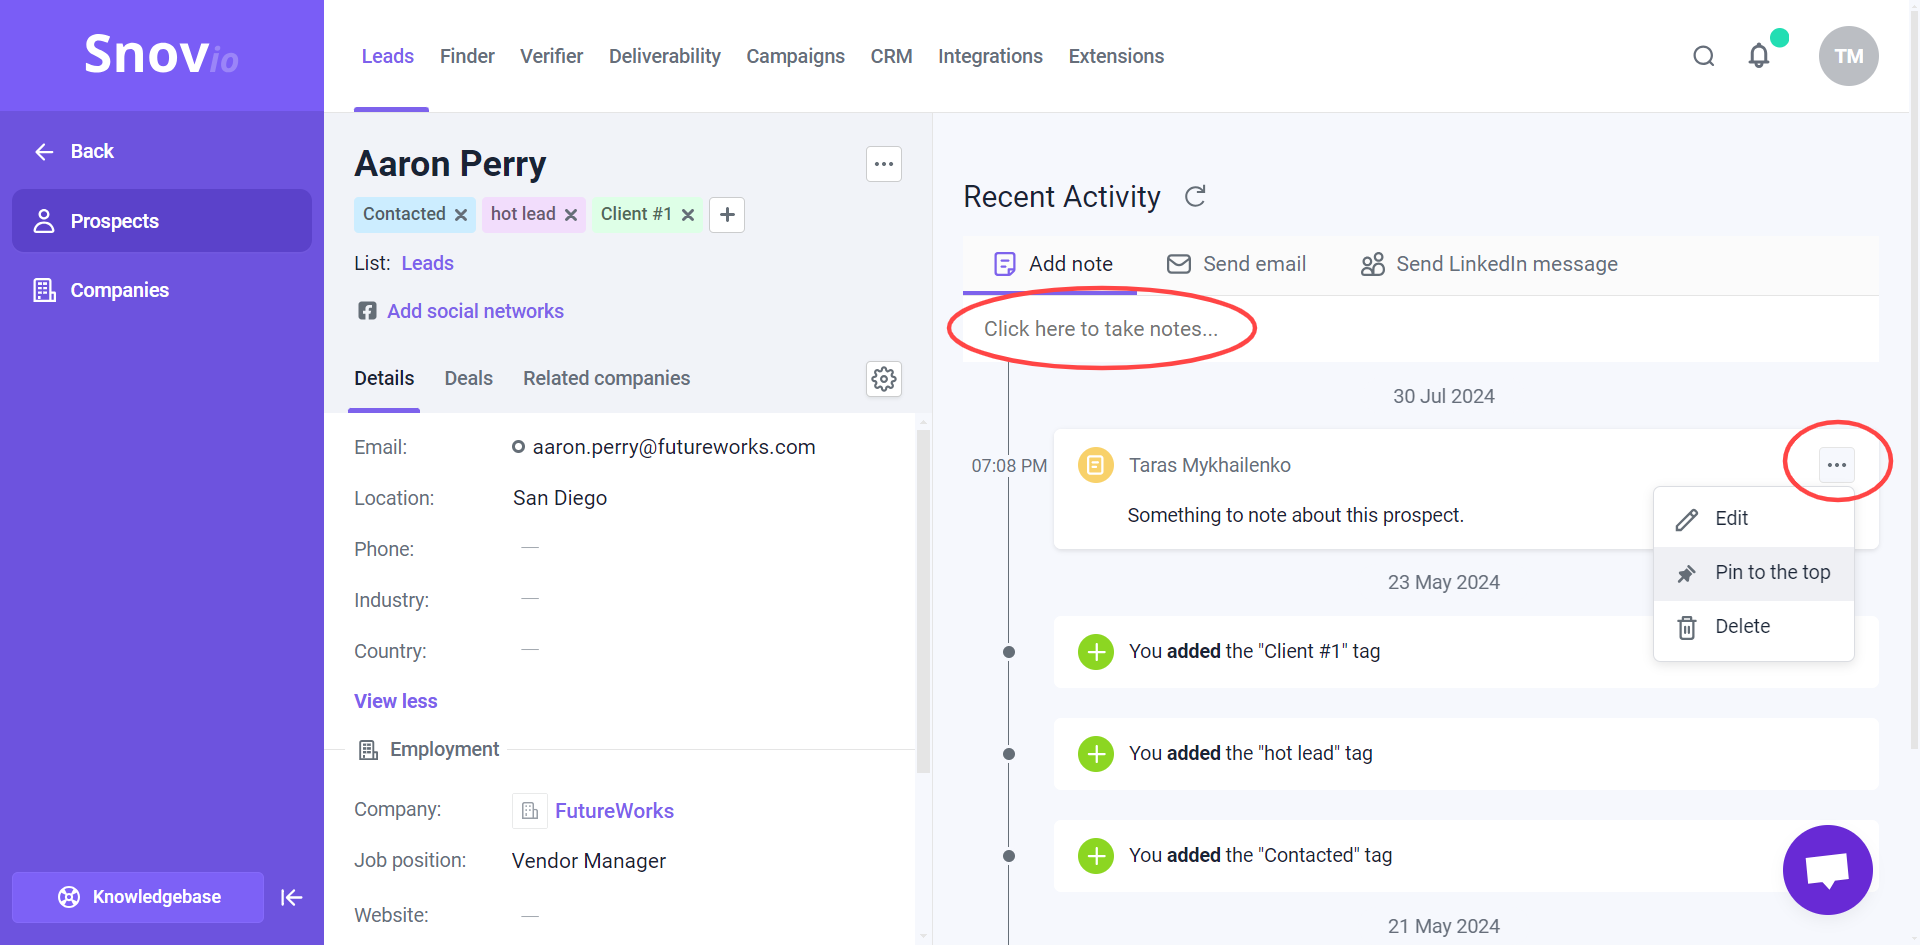
Review interaction history
The activity timeline, located on the right side of the profile, shows the history of interactions with the prospect in Snov.io. It helps you track engagement and actions with the prospect after they are added to your list.
The timeline records actions you took to manage the prospect, such as adding tags or updating information, as well as the prospect’s activities, like opening emails or replying, in chronological order.
Examples of timeline events include:
- The source of the prospect (e.g., imported, added manually, or collected with finder tools)
- Emails and LinkedIn messages sent through automations
- Prospect replied to email, connection request, or LinkedIn message
- The prospect added to campaign
- Email verification status updated
- Tags added to the prospect
- Prospect information updated
Each timeline event includes a timestamp, so you can check when exactly it happenned.
Add notes
You can add notes to a prospect to record observations, thoughts, or reminders from your communications.
To add a note, click the Add Note tab at the top. Important notes can be pinned to the top of the activity timeline to keep them always visible.
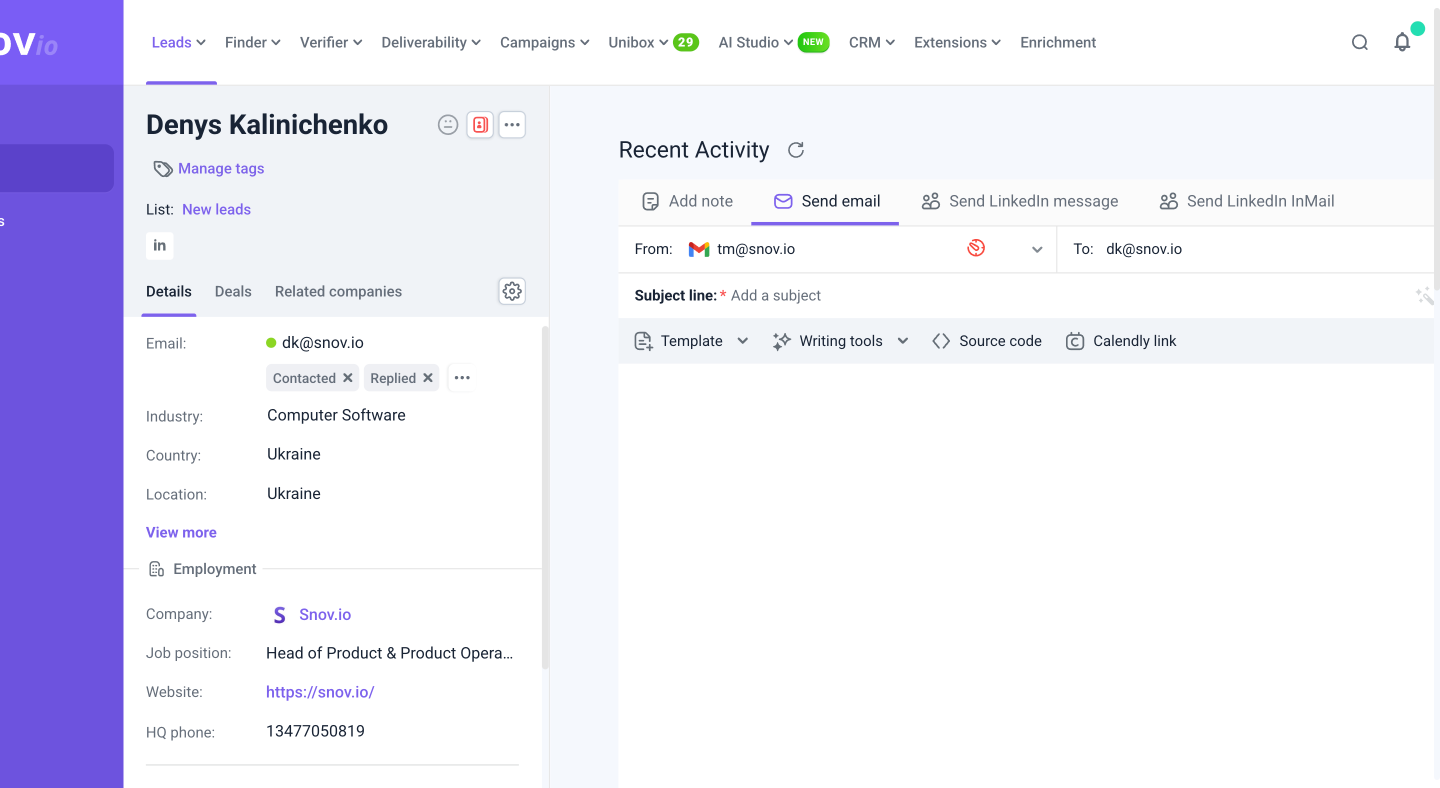
Send emails, LinkedIn messages and InMails
In a prospect’s profile, you’ll find options to contact them directly without leaving Snov.io.
Emails and LinkedIn messages you send are recorded in the prospect's activity timeline, and any replies also appear here and in Unibox, letting you track the full communication history.
To contact a prospect, open their profile and choose the option at the top left of the page.
You can send an email, a direct LinkedIn message, or a LinkedIn InMail.
Select the sender account from which the message will be sent — the recipient will be the prospect’s main email address.
When writing your message, you can include text, images, videos, links, or attachments. For LinkedIn messages, only text and emojis are supported.

FAQs
Below we will list a few more things to know while working with a prospect profile.
- Click the prospect's name at the top of the profile page to edit it.
- Click three-dots at the top left to move or delete a prospect.
- Lists field below a prospect's name shows the list names this prospect is currently in.
- If we find a duplicate of this prospect in other lists, a Merge duplicates icon next to a three dot menu will notify you about it.
- Manage tags option under a prospect's name lets you quickly add a tag to use in filters later.
- You can view a full list of leads from a company where the prospect is employed. Under Employment section, click three-dots --> View company.
Still have questions? Contact our support team at any time at help@snov.io or live-support chat.