Email Warmup
Done Right
Say goodbye to a spam folder.
Warm up your email and always land in the Inbox.
Quick set-up. No credit card required.


Say goodbye to a spam folder.
Warm up your email and always land in the Inbox.
Quick set-up. No credit card required.
46% of sent emails land in spam. Make sure yours don't.
When you don't warm up your email
you risk your deliverability and sender reputation. The stakes are too high to ignore something as simple as warm up.
With automatic email warm up
any cold campaign you send will land in the Inbox where it gets the most engagement and converts better!
with the Snov.io email warm up tool
Fully automated
Set it and forget it. Your deliverability and sender reputation are in good hands.

Quick 2-minute set-up
No complicated settings: set-up is fast and simple.

Warm up strategies tailored to you
Preparing a new account for cold campaigns? Trying to fix your domain reputation? Or simply want to improve your inbox placement? There's a strategy for any scenario.

Authentic AI-powered conversations
Our email warm up tool boosts your sender reputation by crafting realistic same-thread conversations with the help of hyper-intelligent AI

Immediate results
Improved sender reputation, better inbox placement and open rate growth after just one warm up campaign.

No more spam and promotions
Always land in the Inbox where your email will get the attention and engagement it deserves.

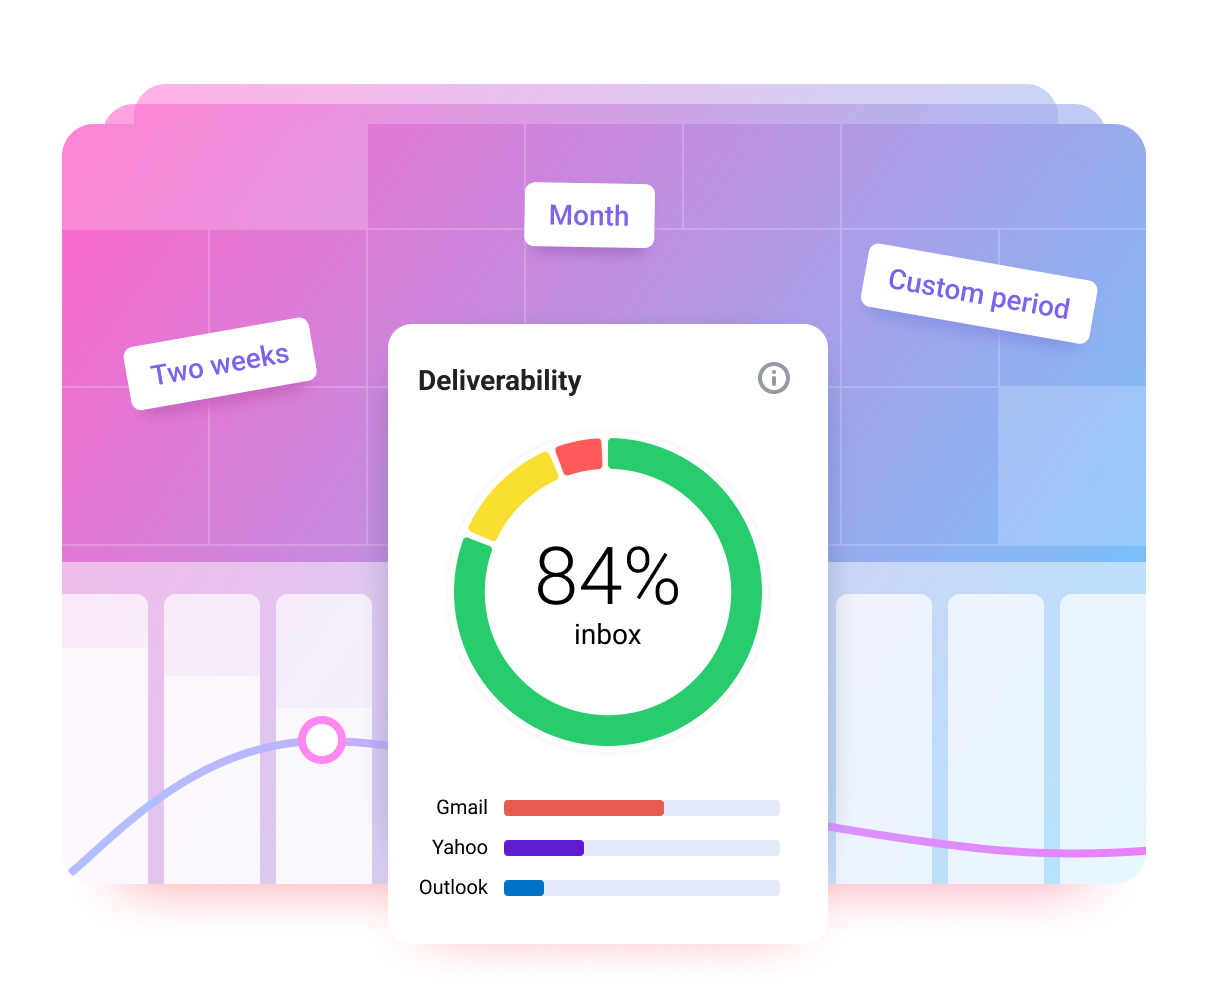
Watch your deliverability grow
Monitor your campaign on a simple dashboard with placement insights and warm-up progress status by provider.
Achieving great deliverability has never been simpler.
Connect your mailbox
Snov.io Email Warm-up supports all major email service providers.
Personalize your warm-up
Pick a warm-up strategy specific to your case and we’ll do the rest!
Automatically grow your deliverability!
We’ll take your emails from Spam and Promotions to Inbox to make sure they always get seen.

Level up your reputation with Premium warm up pool
Exchange emails only with business or corporate mailboxes for faster, more reliable improvements in deliverability.
Reach the right inboxes with Specific provider warm up
Build rapport with select providers, like Outlook, to overcome domain-specific issues, enhance your sender reputation, and expand your outreach.

Put your improved sender reputation to good use with other top email marketing tools
Gather email addresses from anywhere on the Internet. Find thousands of relevant leads for your business with one of the best lead finders in the market.
Find pre-verified email addresses on LinkedIn, company websites, and other sources in a few clicks. Collect leads while browsing the web with our Chrome extension.
Don't waste time on irrelevant addresses. Clean your email list to reduce bounce rate and reach your leads with our top-tier verification tool.
Engage with your leads and convert them into paying customers. Run highly custom and cost-effective email campaigns with our all-in-one outreach automation solution.
Frequently asked questions
Here's everything you need to know to launch your first email warmup campaign.
Why do I need to warm up my email?
If you want your emails to always land in the Inbox right before your leads' eyes, you must prepare your sender account first. It isn't a step you can ignore. Fresh accounts that don't have good sender reputation or history will always look suspicious to email service providers. An email warmup tool will help you achieve good deliverability, avoid the Spam folder, improve email reputation, restore domain reputation, and prepare your account for larger sending volumes.
This doesn't mean email warmup tools are just for new email accounts. If you have an old email account that is suddenly underperforming, our email Warmup service can help you get back on track and improve your deliverability and email engagement.
Why choose Snov.io’s email warmup tool?
Snov.io Email Warm-up combines leading warmup technologies with our team's extensive experience in email outreach. From an AI-powered dialogue builder to 100% automated warmup campaign sending, it's the warmup tool for achieving great deliverability and better engagement.
How many emails can I warm up at the same time?
With the Snov.io Pro S plan and higher, you can simultaneously warm up an unlimited number of email accounts. Note that Snov.io’s Email Warmup operates under Fair Use Policy in order to prevent potential abuse.
Can I warm up any email?
You can warm up both custom and free accounts from all major email service providers, from Yahoo to Zoho Mail and beyond. Our tool can help you improve your sender reputation and email engagement, leading to better inbox placement. Email warming service is not provided for Google accounts.
Will it help me get past the Spam folder?
Our email warmup tool can help you improve your sender reputation and email engagement, leading to better inbox placement. After just one campaign your emails should no longer land in Spam.
Can email warmup help me avoid the Promotions tab?
Yes! During the warmup campaign, Snov.io Email Warm-up will make sure your emails are tagged as important and placed in the Inbox. This will signal to email service providers that that's where recipients prefer to see your emails, helping you avoid both the Promotions tab and the Spam folder.
Can I create an email warmup campaign for a specific email template?
Yes, you can! Our software lets you create a warmup campaign for a specific email template. Creating a great engagement history for a specific email template can help avoid the Spam folder and improve the Inbox placement.
Is Snov.io Email Warmup more cost-efficient than other tools?
Yes! Starting from just 75$/mo you can warm up an unlimited number of email accounts and reach 99%+ deliverability hassle-free.
I have more questions!
If you have any questions, don't hesitate to email us at help@snov.io or contact us via live chat! We're always here to help 💜
Never land in Spam or Promotions again!
Sign up and start warming up your email in just a few minutes
Warm up my email