This article offers a detailed guide on setting up and managing sales pipelines within Snov.io CRM.
Pipeline is a sequence of stages that guide a prospect toward conversion.
In Snov.io CRM, you can set up to 20 customizable pipelines, each reflecting your unique sales process. 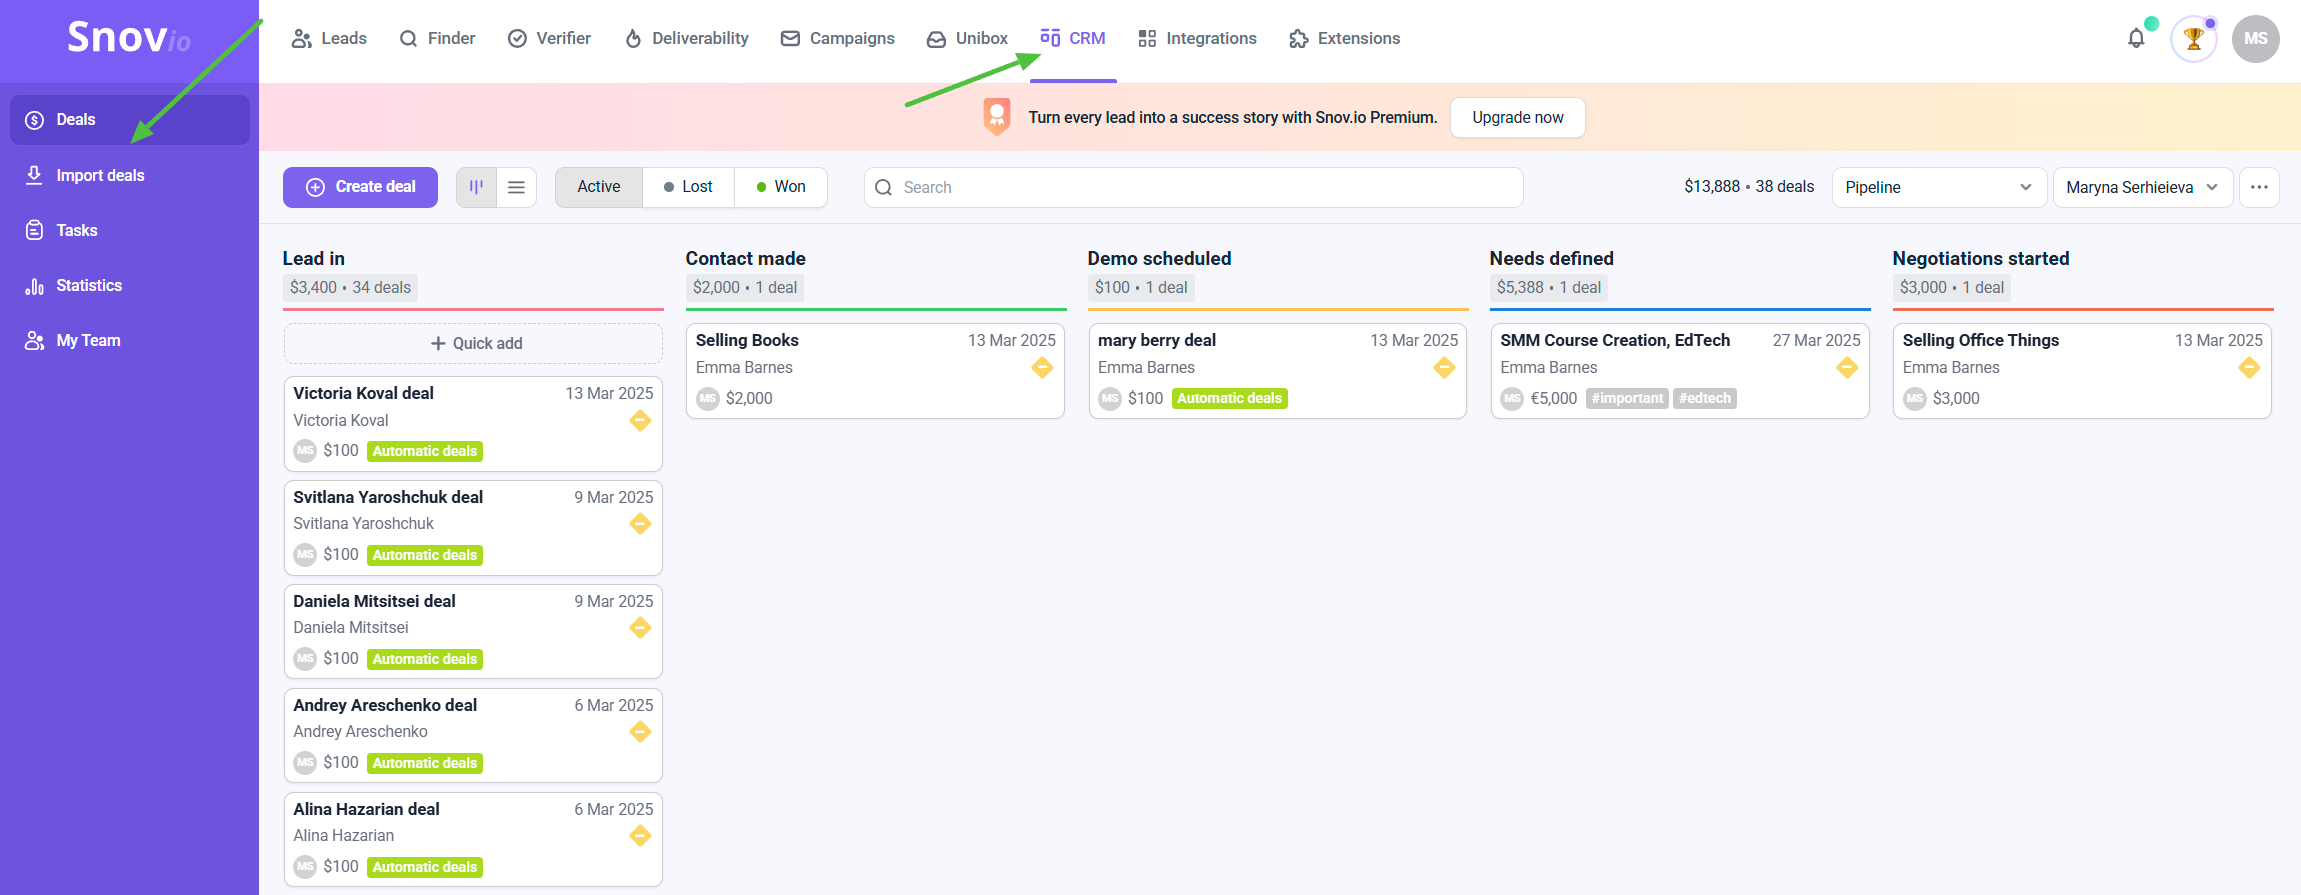 Within each pipeline, you can add stages that represent a deal status. As you work on your deals, they will be sorted in the pipeline according to their status.
How to create a pipeline
Go to CRM, click Pipeline in the top right corner and select New pipeline from the drop-down.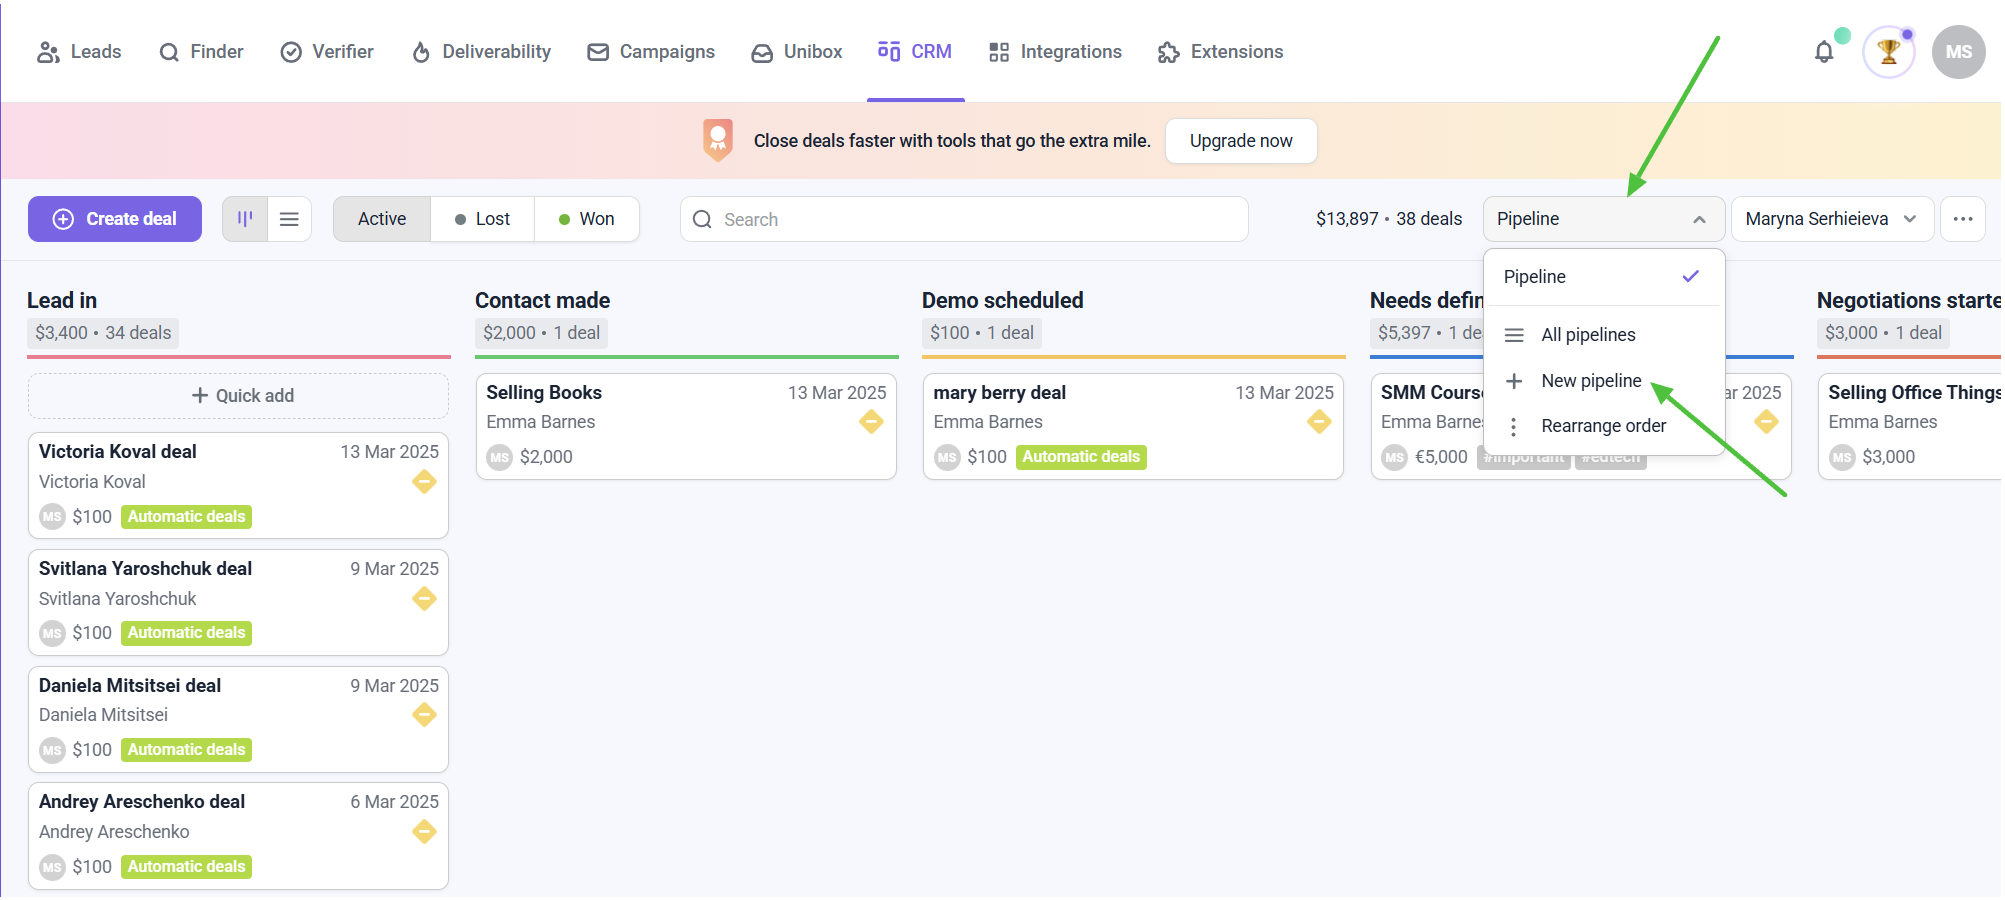 Name your new pipeline and click OK.
 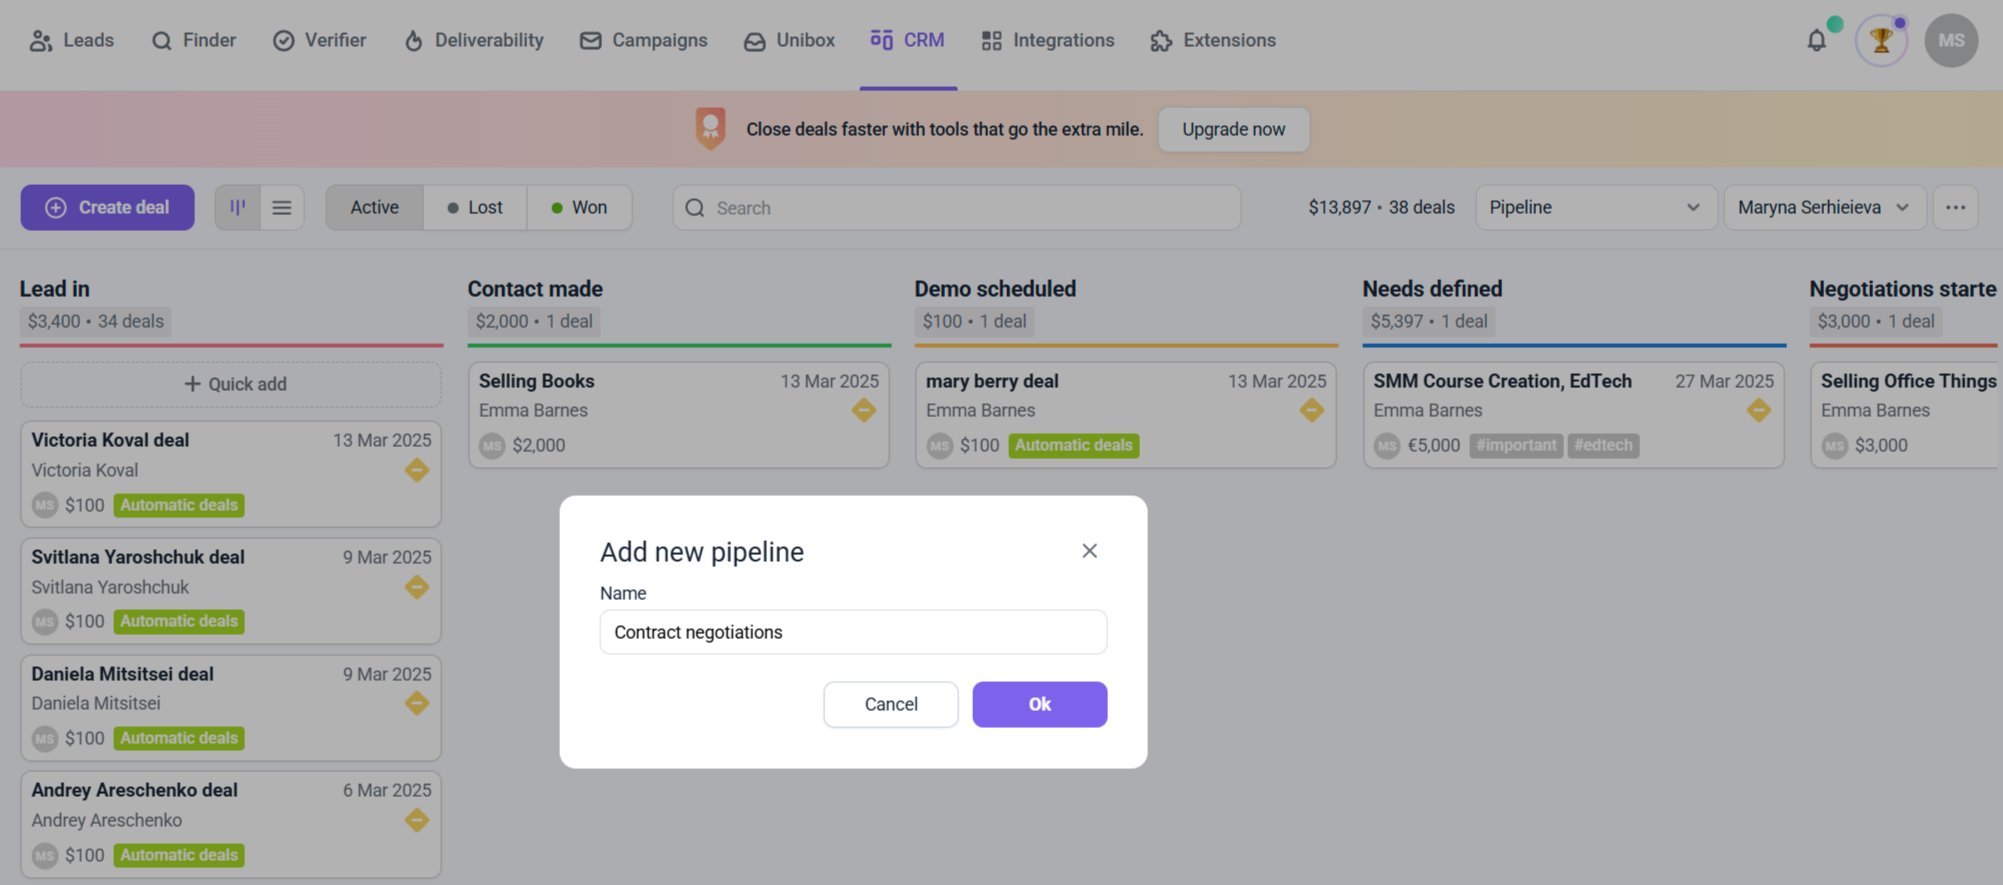 Now, the new pipeline is listed in the same menu. You can switch between pipelines or rearrange their order.
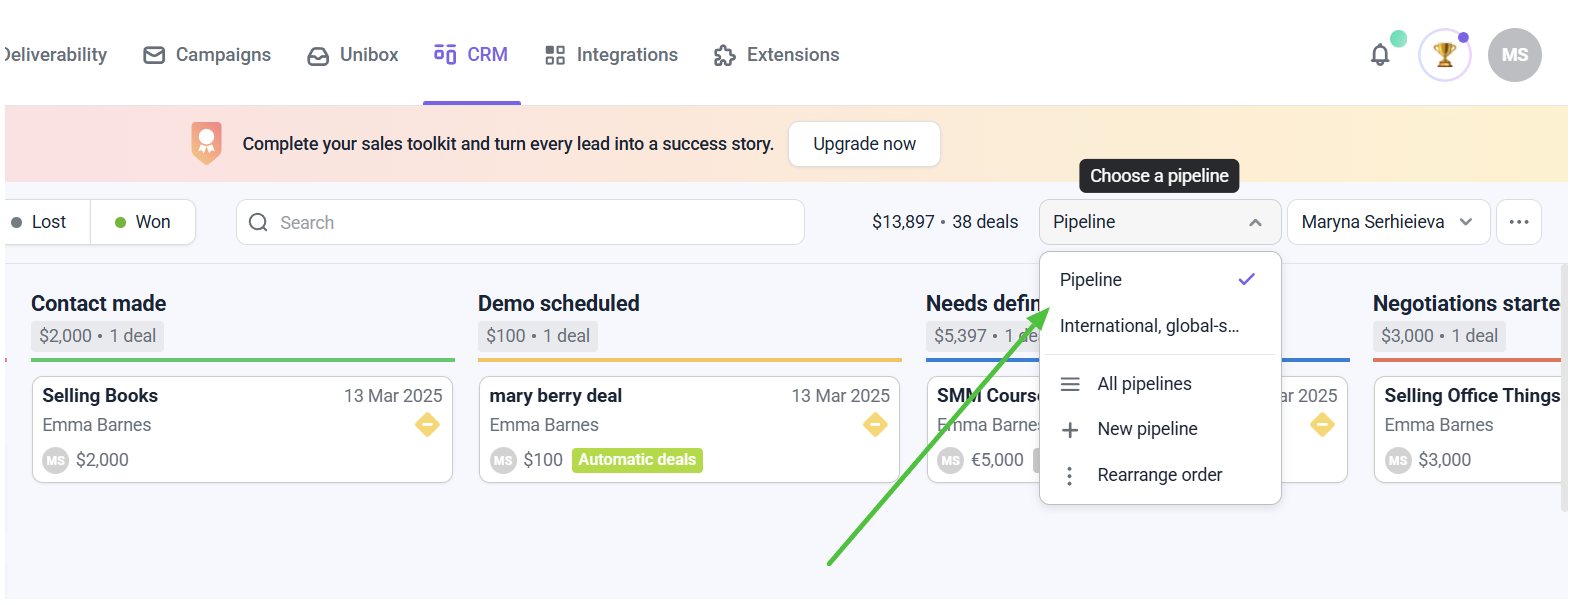
In CRM you can control the quality of your leads by verifying their emails, automate follow-ups and manage deal stages.
How to edit pipeline stages
To add, delete or edit stages, go to Pipeline settings by clicking the gear icon in the top right corner.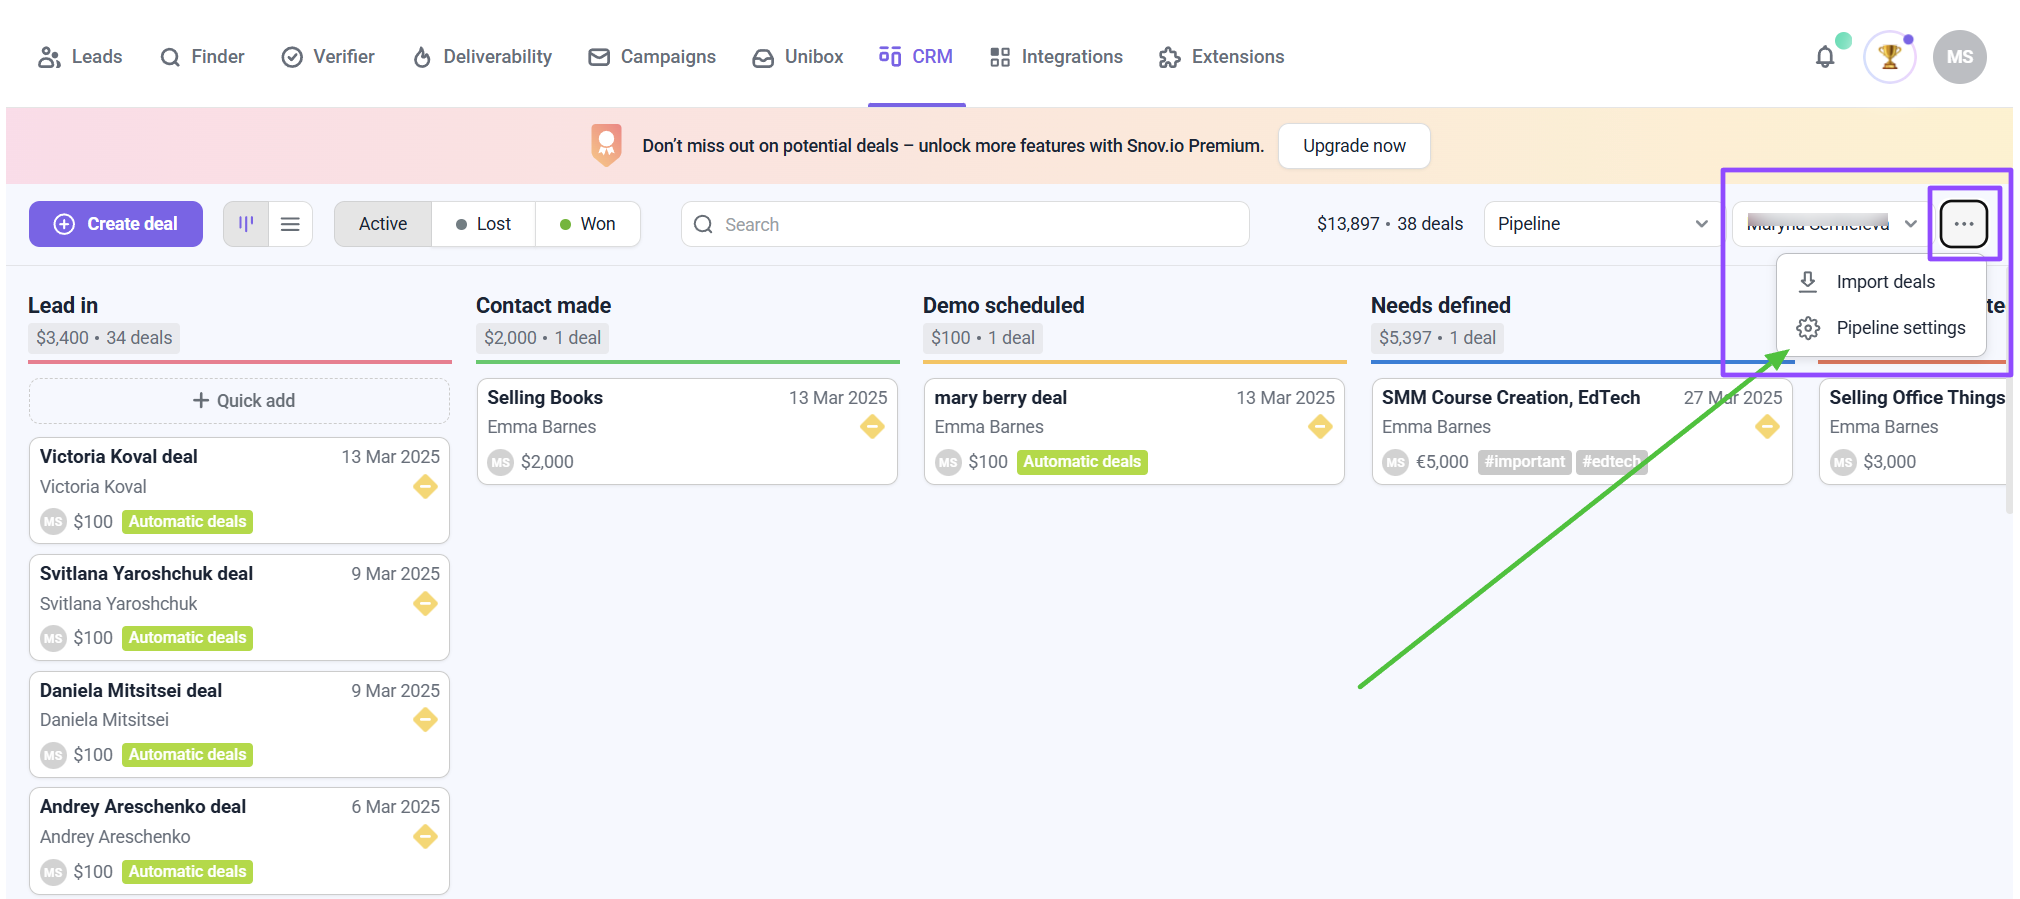 Here you can rename pipeline stages, change their color, move or delete them. All changes will be saved automatically.
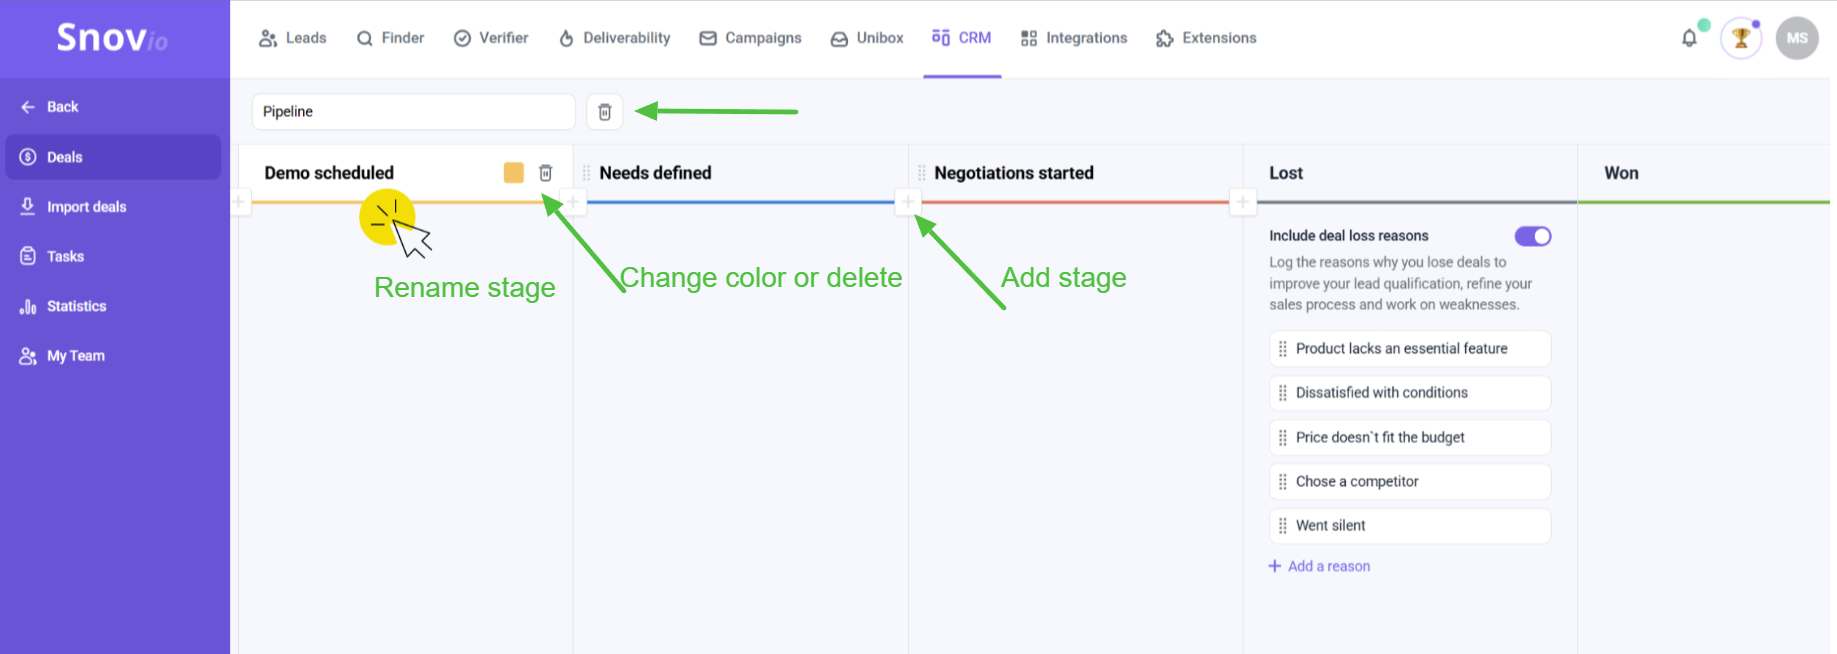 To rename a stage, click on it and type in the new name.
To change the stage color, click the color icon that will appear next to the stage name.
To delete a stage or the entire pipeline, click the trash bin icon.
If the stage you’re trying to delete has active deals, you’ll get a warning notification. You’ll be able to confirm deletion or cancel it.
You can also add your custom stages (click the plus icon) or re-arrange them by using the drag icon to change the order.
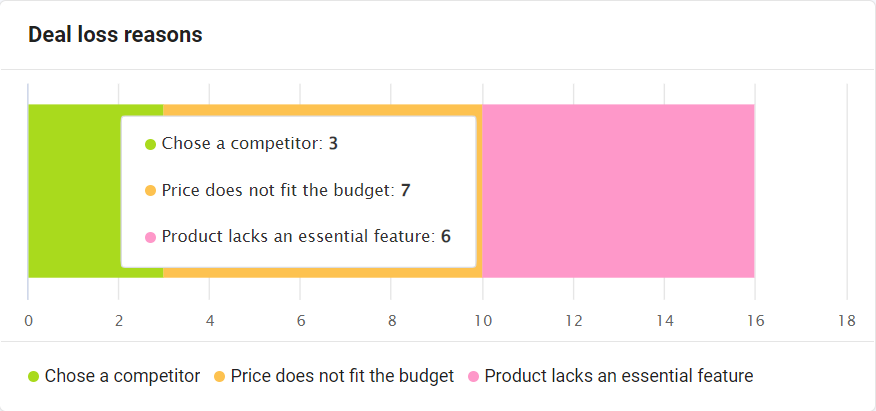
Lost stage has some templates for recording the reasons for lost deals. You can add your custom reasons too. By logging the reasons you can improve your lead qualification and refine your processes for better results.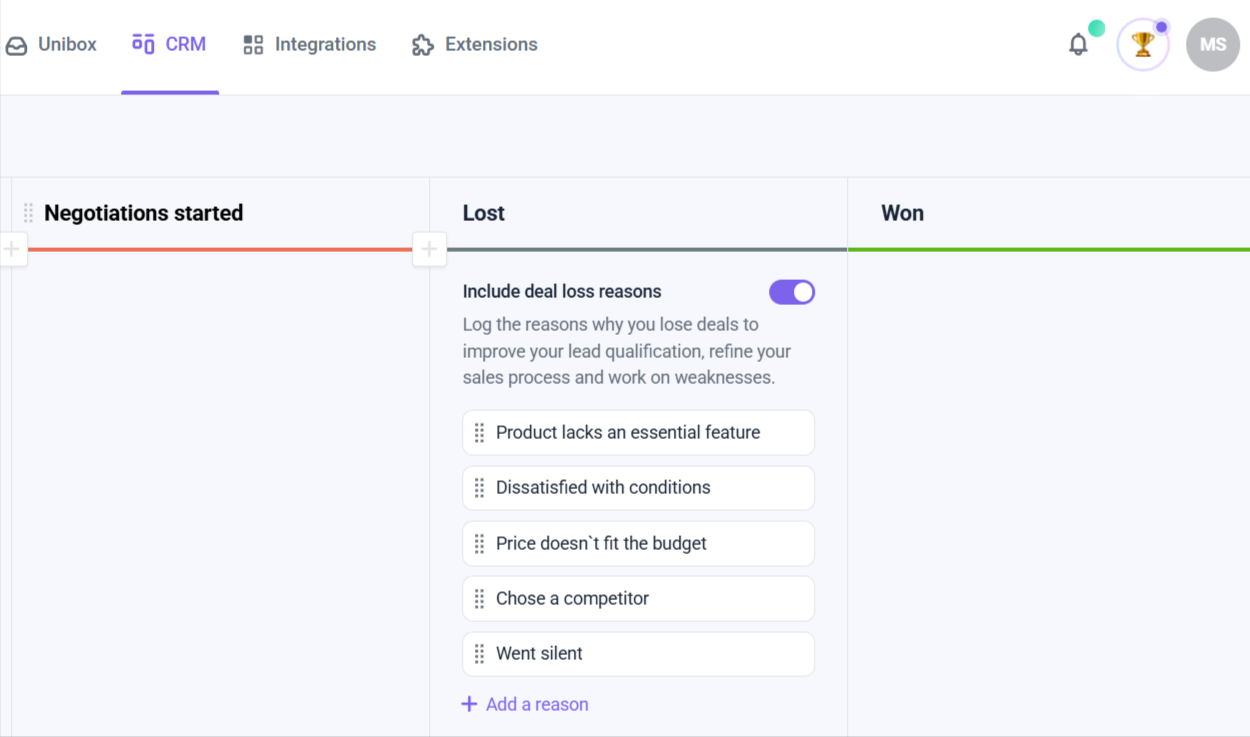 You will be able to see the graph with the most common reasons behind your lost deals in Deals statistics. Learn more about managing deal loss reasons in this article.
If you have any other questions, don’t hesitate to contact our Customer Care team via live chat or at help@snov.io. We’re always here to help!

Sorry about that 😢
How can we improve it?