This article explains the purpose of the Goal element in email campaign sequence.
Are you building a sequence with conditions and multiple flows to qualify leads based on their engagement?
Add Goals to put a logical end to your sequence and pick out recipients who've completed a certain email sequence path.
How goals work
After completing the sequence path, recipients enter the Goal element so you can see how many have reached it.
Goal can be placed after any element in the sequence. When you have multiple email flows within one sequence, goal is especially useful.
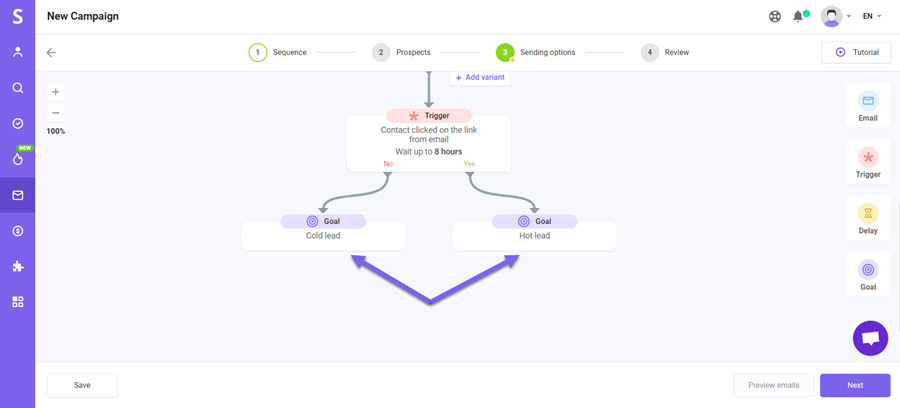
As an example, in a sequence with conditional triggers, you can place a goal for recipients who engage along the way and a goal for those who don't to qualify them as cold leads or hot leads.
1) Add sequence goal
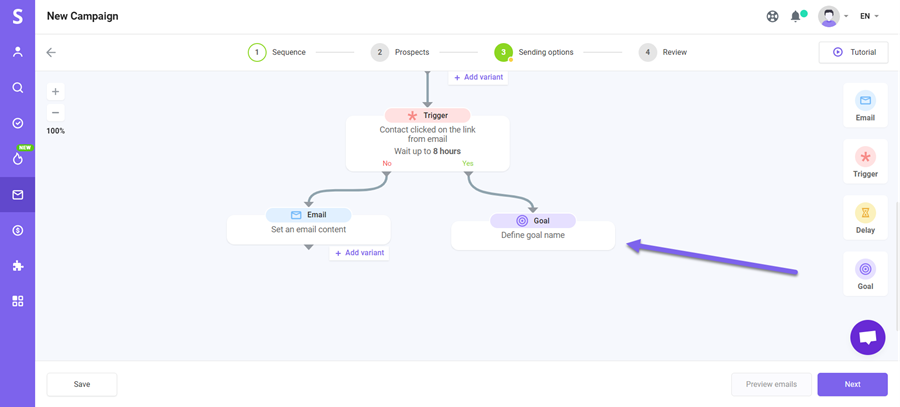
On the sequence editor page, drag & drop a goal element to the field:
- drag it onto the field below the previous element until you see a dotted line
- drop to connect with the previous element
In the email flow, the Goal must be the last element that finalizes the sequence. After the goal, you cannot continue the sequence with other elements.
2) Define Goal name
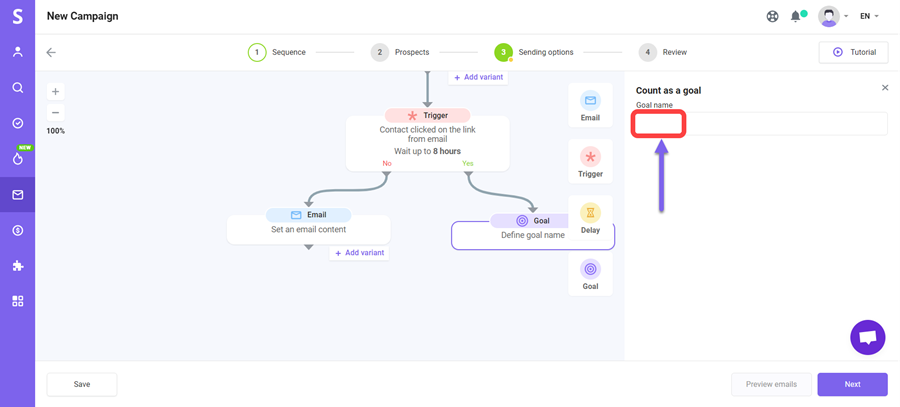
- Click the goal element to activate settings pop-up.
On the right, enter a Goal name to the field.
![]() Goal names are simply informative and don't affect the function of the Goal element. Name it for your own convenience based on how you'd like to qualify your leads in a campaign.
Goal names are simply informative and don't affect the function of the Goal element. Name it for your own convenience based on how you'd like to qualify your leads in a campaign.
3) Filter recipients by Goal
You can access a list of recipients who've reached a Goal using the filtering option.
Learn how to filter recipients based on the Goal and other parameters in this help article.
Have more questions? We’re here to help at help@snov.io or live-support chat.


Sorry about that 😢
How can we improve it?