In this guide, you'll learn how to upload your lists for bulk email verification.
Step 1: Open Bulk Email Verification
By using Bulk Email Verification, you can run verification checks on your entire email list in bulk and remove any invalid addresses before starting a campaign.
How to verify and clean email lists in bulk
Step 1: Open Bulk Email Verification
To access Bulk Email Verification, select it from the Verify emails menu on the navigation bar in your account.
Step 2: Add emails for verification
Next, select the option for adding your emails. You will find two options:
1. Add from file
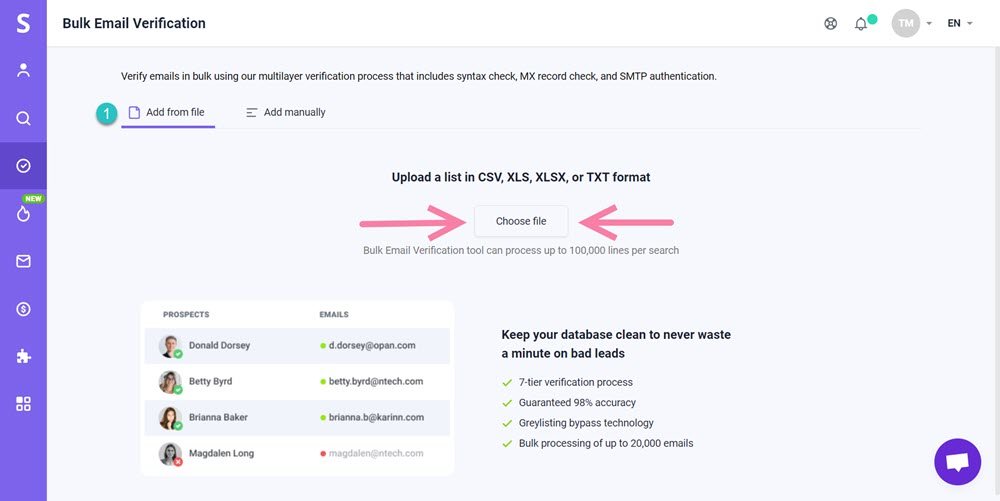
To upload a file with the emails for verification, select the Choose file option.
Bulk verification capacity:
Bulk Email Verification tool supports CSV, XLS, XLSX and TXT file formats and can process up to 100,000 lines per search. The file size should not exceed 10 MB.
Next, when you see the file preview, click on the column that contains the emails you want to verify.
If the first line of the column contains headings, check the box that says Use first row for headers.
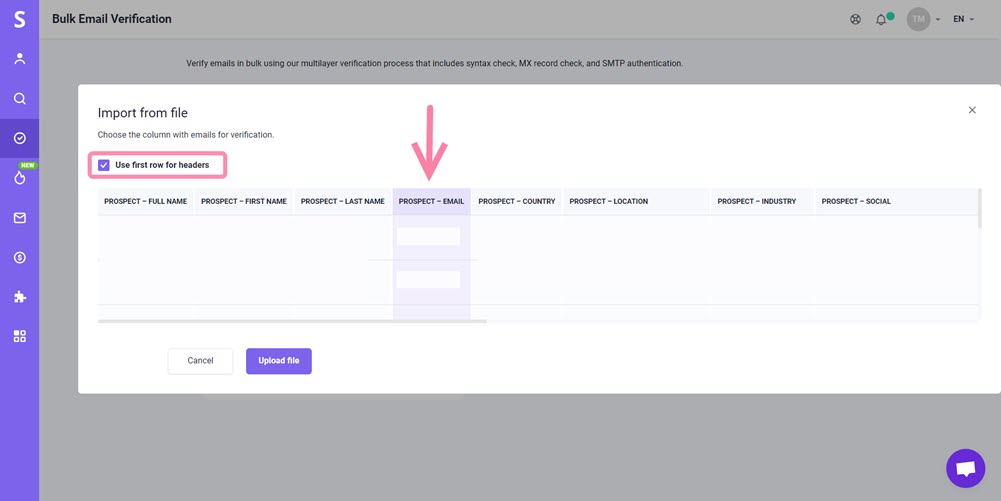
Finally, click the Upload file button to start processing the file.
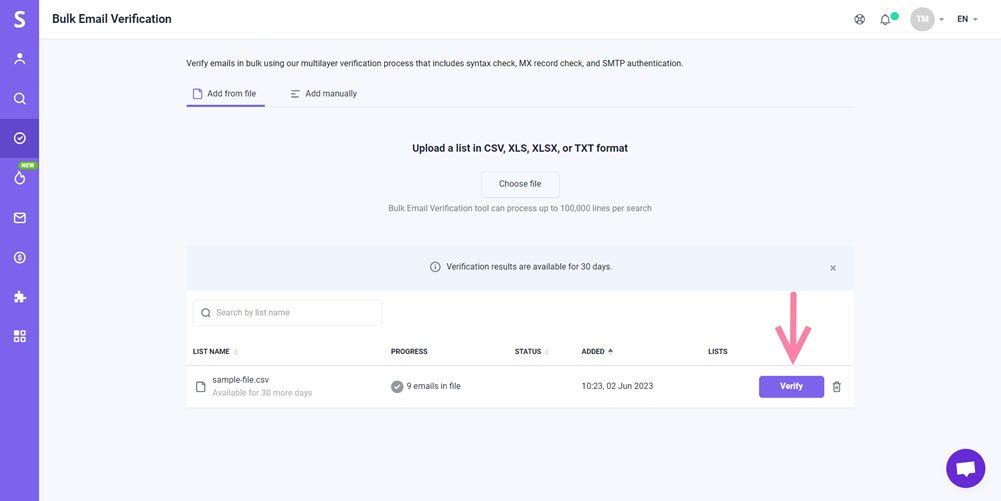
Once the file has been processed, you will see the total number of emails found in the file. To start the verification process, click the Verify button.
2. Add emails manually
To verify multiple emails manually, use the Add manually option. Enter the emails to the Email addresses field. Separate the emails with commas, semicolons, spaces, or line breaks. Then click Verify emails.

Step 3: Add to list or export verification results
Once verification is complete, you'll see the number of emails for each verification status in the Status column.
To add the verified emails to a list, click the Add to list button and choose the desired list.
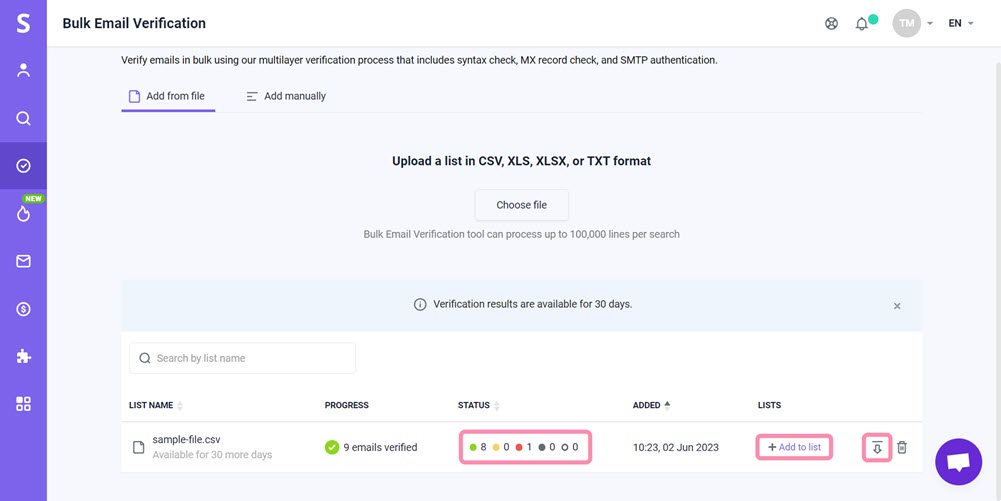
To download the file with emails and their verification results, click on the Export icon.
In the export settings, you have the option to choose which emails with specific statuses you want to export. You can also select the format, such as CSV, XLSX, or Google Sheets.
If you have any questions or need assistance, please contact our Customer Care team. We’re always happy to help!


Sorry about that 😢
How can we improve it?