In this article, you will learn how to set automatic start and end dates for your campaigns.
Prefer to prepare your email campaign in advance and schedule it to align with a certain date or time frame?
Campaign duration is an option that allows you to schedule your email campaign to start and/or end at a future date and time.
Scheduling a campaign to start later
 Activate campaign duration
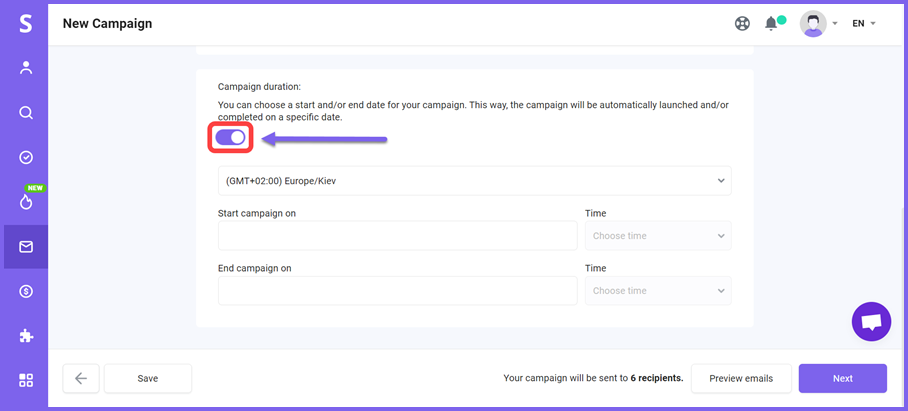
To enable campaign duration option:
- Go to the Sending options step in campaigns builder
- Scroll down and locate Campaign duration section
- Click the radio button to toggle switch on
 Choose a timezone
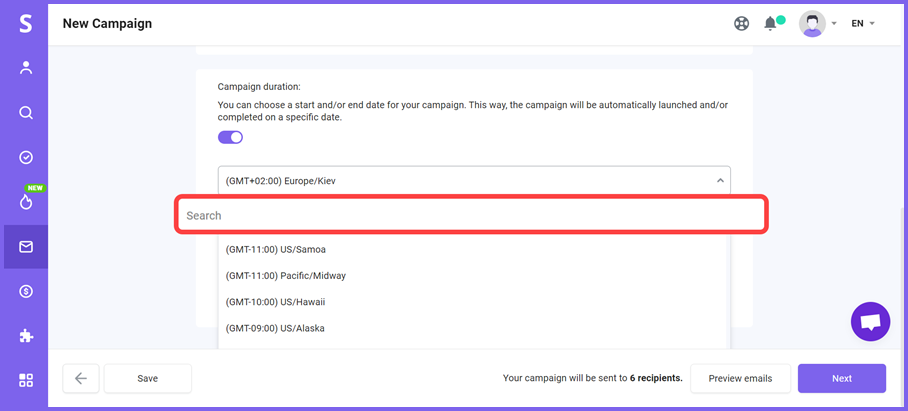
The default timezone is based on your local time, which is set by default in your profile settings.
You can choose a different timezone to match your recipient's location and send at optimal times.
- Clich the timezone field to open a drop-down menu
- Find required timezone and select it
 Set start and/or end date and time
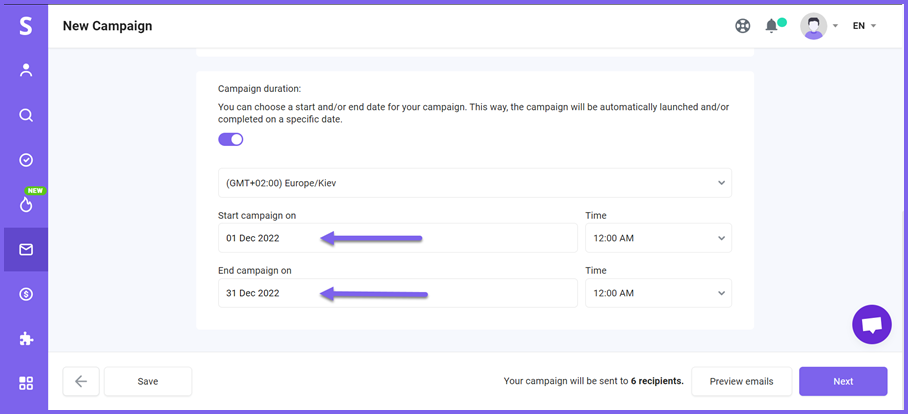
To schedule a campaign to start at a future date and time:
- Click the Start campaign on field
- Choose a start date from the date picker
- Choose a start time on the right
This way, the campaign will be automatically launched on the date and time you select.
To set an end date for a campaign:
- Click the End campaign on field
- Choose an end date from the date picker
- Choose an end time on the right
This way, the campaign will be completed automatically on the date and time you select.
![]() It is important to note that if you choose an end date, the campaign will end on that date even if some recipients have not yet been emailed.
It is important to note that if you choose an end date, the campaign will end on that date even if some recipients have not yet been emailed.
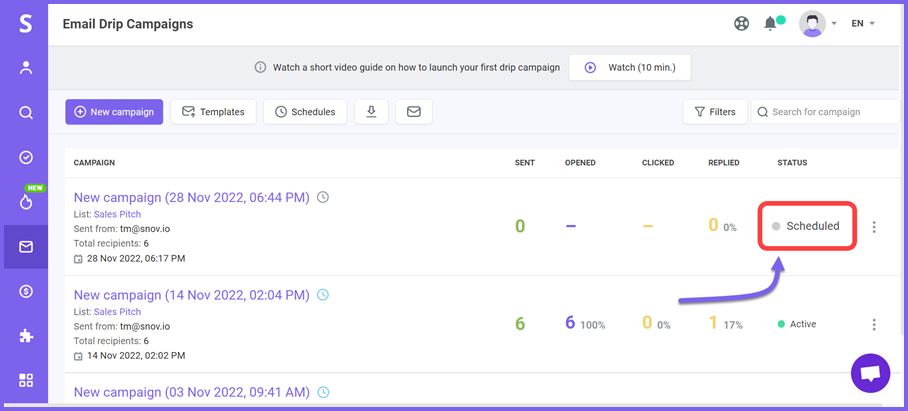
Once you have selected a date and time, finalize other steps in campaign creation and activate the campaign.
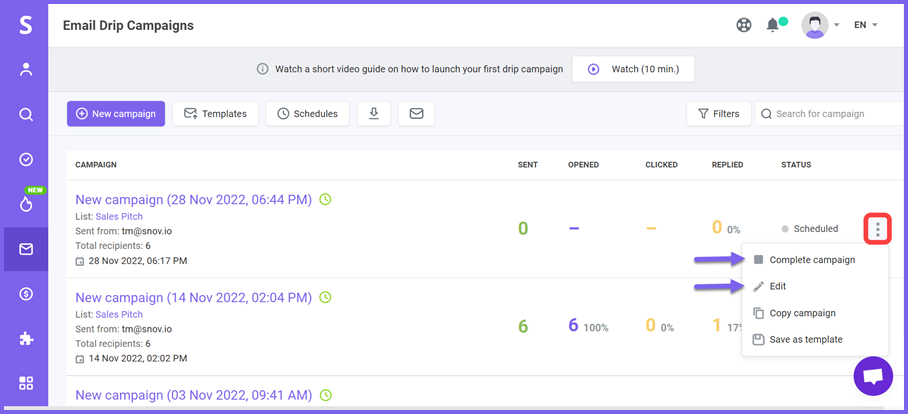
You will see the campaign on the campaigns page with the status Scheduled.
Canceling or editing scheduled campaigns
To cancel a scheduled campaign:
- Go to Campaigns page
- Click the three dots menu next to a scheduled campaign
- Choose Complete
Once you complete a campaign, you can create a duplicate by choosing Copy campaign in the three dots menu. You can make any changes if needed and reschedule it.
To edit a scheduled campaign:
- Go to Campaigns page
- Click the three dots menu next to a scheduled campaign
- Choose Edit
The editing mode allows you to change the campaign's start date (if it hasn't started yet) or end date.
A campaign with a Scheduled status can have all its elements edited before it launches. You will be able to change any parameters in the campaign builder and schedule it again to the same or another date.
Have more questions? Feel free to contact our support team via live chat or at help@snov.io.


Sorry about that 😢
How can we improve it?