This article introduces the newest version of the Snov.io x Pipedrive integration.
We'll point out the main improvements compared to the older version and walk you through the setup process.
Step 1: Connect the integration
Step 2: Choose the integration direction
Step 3: Configure data exchange settings
Step 4: Set up constant fields
Step 6: Transfer unsynced data
What's new in the integration
Snov.io's integration with Pipedrive has been upgraded to become more versatile and useful for you.
These new enhancements let you synchronize data between the two apps and simplify how you manage your leads.
How it helps you: Saving time by letting the integration handle routine tasks for you.
You can easily set up and automate various lead management tasks, where an activity in Snov.io (like email sent) triggers an action in Pipedrive (like a deal creation).
How it helps you: Copying prospect data between both databases -- from Snov.io to Pipedrive and vice versa.
Now, you can transfer your Snov.io prospects to Pipedrive for deal management and your Pipedrive contacts to Snov.io for email campaigns.
How it helps you: Copying all pre-existing data to integrate past records into your current workflow.
Having this option in your arsenal, you can enrich both your databases with leads you collected in either app before the integration was set up.
Step 1: Connect the integration
Let’s begin by creating a connection between Snov.io and your Pipedrive account.
Go to your Snov.io account settings.
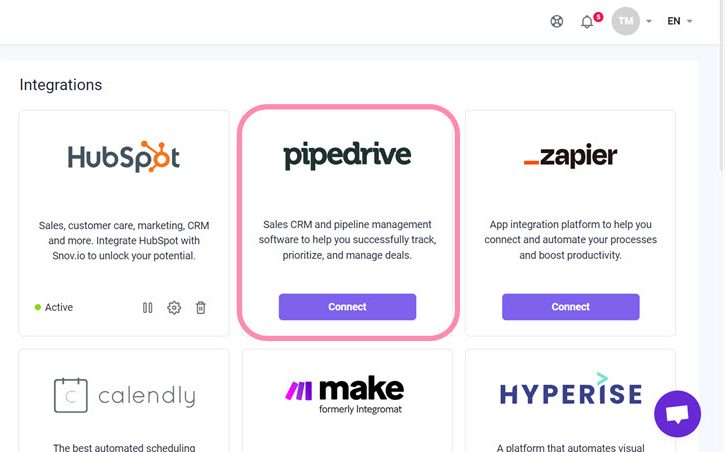
Open the Integrations page.
Click Connect under the Pipedrive section.
For users who have connected the older integration version:
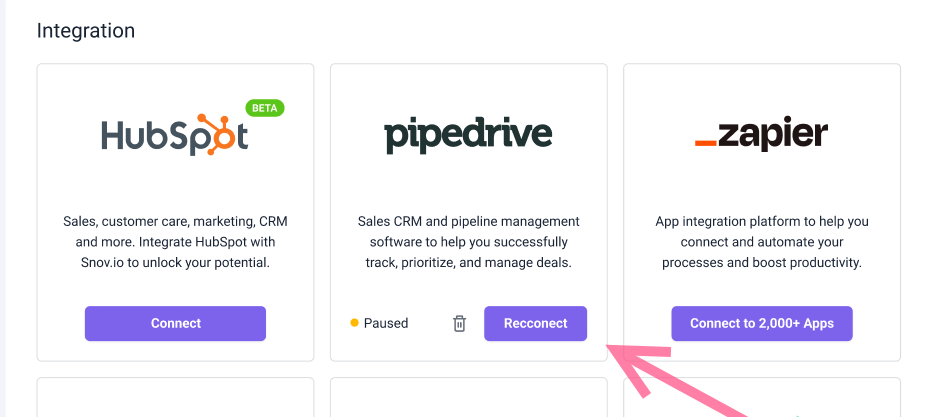
You may notice that the integration status was changed to Paused automatically.
This is because the newer integration version uses the OAuth method instead of an API token to establish a connection.
To access the latest integration features and resume the integration, please reconnect it using the new method.
On the Integrations page, click Reconnect under Pipedrive.
Next, the Pipedrive’s sign in page will open.
Select the required Pipedrive account for the integration and click Choose accounts.
If you are already logged into your Pipedrive account, it will be automatically authorized here. Click Continue to app to proceed.
On the next screen, look through the app permissions required for the integration.
Click Connect app to agree and proceed.
Step 2: Choose the integration direction
You'll return to your Snov.io account, where the integration settings page will open.
In this step, we'll walk you through the integration parameters, so you confidently set them up to suit your preferences.
Let’s begin with a brief overview of how data exchange works.
The integration allows you to sync information between applications in your preferred direction.
In a two-way integration, data changes made in either app are reflected and copied to the other app. Both apps will exchange the information with each other.
In a one-way integration, data changes in the source app are reflected in the recipient app, but changes in the recipient app don't affect the source app. The source app is the one sending the data, and the recipient app is the one receiving data.

Choose the data exchange direction by choosing the integration type — from one app to another or between both apps.
- Data syncs only to Pipedrive: Transfer data from Snov.io to Pipedrive. Reflect changes made to the data in Snov.io.
- Data syncs only to Snov.io: Transfer data from Pipedrive to Snov.io. Reflect changes made to the data in Pipedrive.
- Data syncs between apps: Transfer data in both directions—from Snov.io to Pipedrive and from Pipedrive to Snov.io. Reflect changes made to the data in both accounts.
Step 3: Configure data exchange settings
In the Field mapping section, you’ll set up custom parameters for the data exchange.
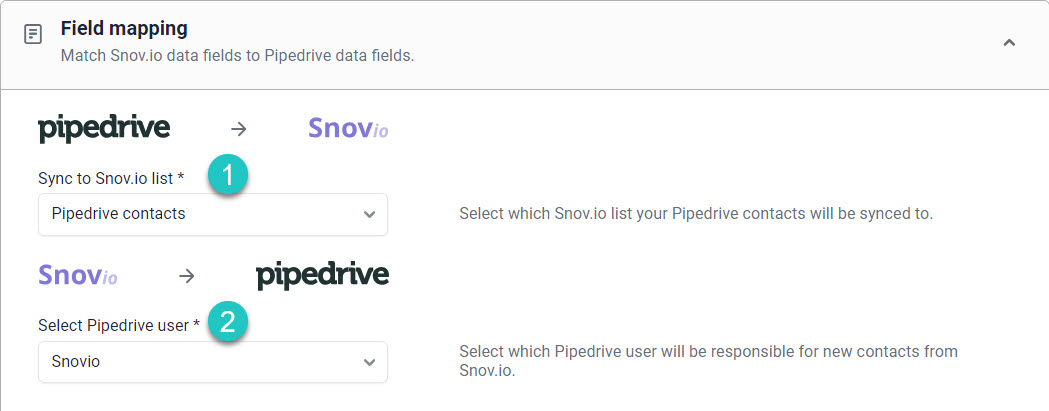
1) Sync to Snov.io list:
First, select the Snov.io list where you want to store contacts from Pipedrive.
This parameter is a must – a chosen list will be the one receiving data from Pipedrive.
2) Select Pipedrive user:
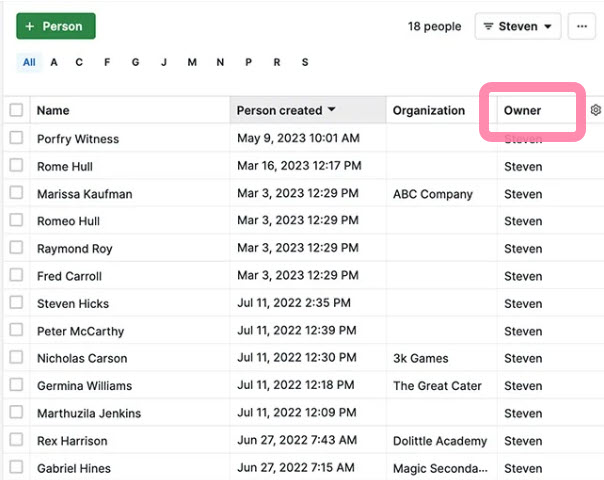
Choose a Pipedrive user here to be the Owner of contacts synced from Snov.io.
This parameter helps to assign the person responsible for managing new contacts as they are transferred to Pipedrive.
3) Sync from Snov.io lists:
Choose the Snov.io lists here that will participate in the integration.
This parameter allows you to select the exact lists for transferring data and exclude the others that you don’t want to transfer to Pipedrive.
Click on All lists to deselect or select all prospect lists.
To sync prospects from specific lists only, make sure that you select only the required lists.
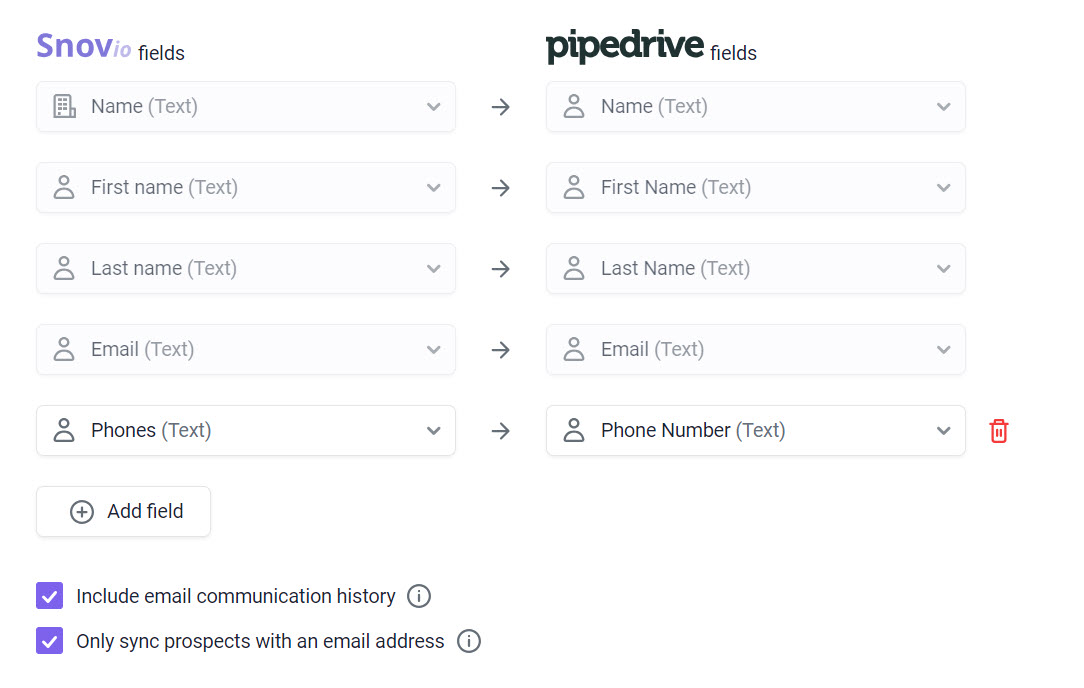
4) Map fields:
Next, you'll set up field mappings. Field mapping helps customize and enrich data exchange during the integration.
It means matching Snov.io fields with the corresponding Pipedrive fields that will share the data with one another.
For example, information from the First name field is sent to the corresponding First name field in the other app.
Below are the default pairs of fields mapped between Snov.io and Pipedrive.
You can add extra fields for data exchange as needed.
To add field mapping:
Click +Add a field.
First, choose a Snov.io field from the drop-down list on the left.
Remember:
To complete the mapping, choose the corresponding Pipedrive field on the right. You must do this before adding the next mapping.
Both fields must share the same data type – you can only map a Text type field with another Text type field.
To undo a mapping:
Click the trash icon next to the row of mapped fields. Removing the mapping won't delete the custom field itself.
Set additional data exchange settings
At the bottom of the field mapping section, you'll find additional parameters for data exchange.
1) Include email communication history
Emails sent to prospects through Snov.io campaigns will show up in Pipedrive's contact Activities tab as completed tasks.
The synced data includes the email content and its activity status (opened, replied, clicked, etc.).
2) Only sync prospects with email addresses
By default, only prospects with an email address in their profile will be transferred to avoid duplicates.
If you disable this option, there might be duplicates because the integration checks for them using the email address.

If the validity of the contacts is uncertain, make sure to verify your list to confirm the email addresses are active and valid.
Step 4: Set up constant fields (optional)
In this section, you'll set up constant parameters.
A constant is a custom field that holds the same information (constant value) for every prospect or contact.
This helps you identify the contact's source (origin) after it has been transferred to the other app.
You'll add a constant for one app in a one-way integration and for both apps in a two-way integration.
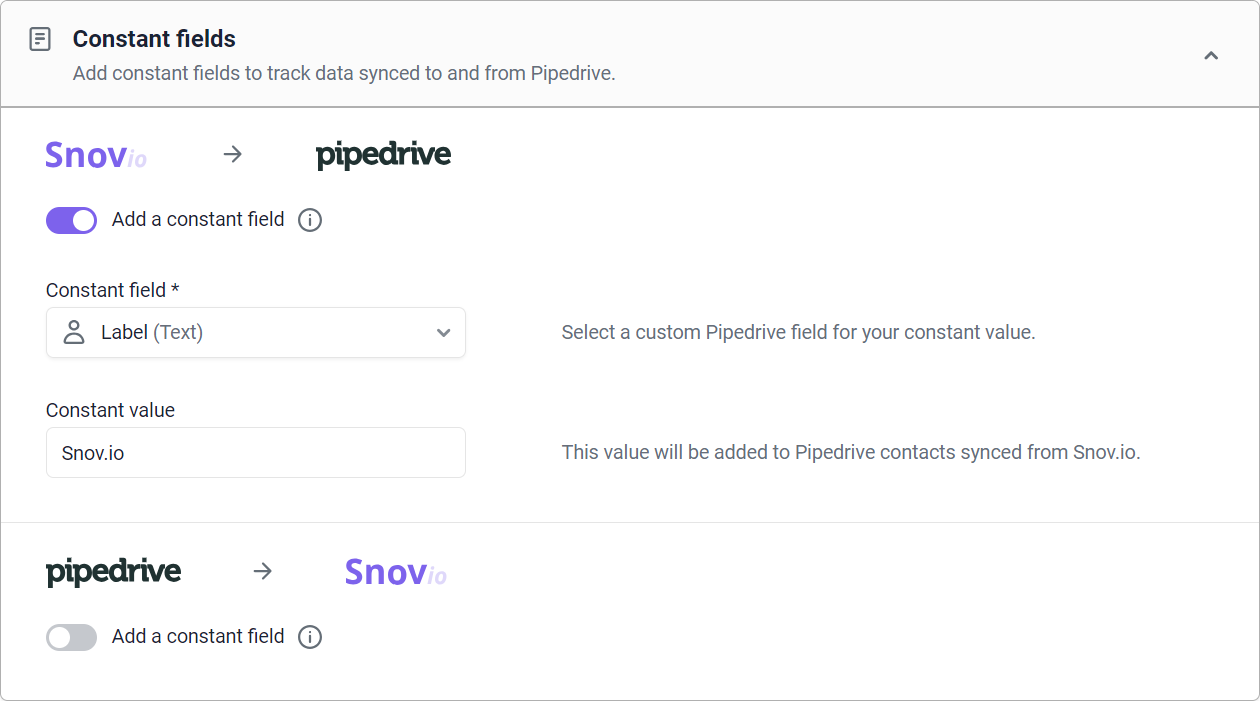
To add a constant:
From the Constant field menu, choose a custom field from the drop-down list.
In the Constant value field, enter the text that will be added to the selected custom field, such as "from Snov.io" or "from Pipedrive".
During the data transfer, a constant field with a specified value will be added to each contact.
Step 5: Set up automations (optional)
This feature is available with both two-way integration and one-way integration from Snov.io to Pipedrive.
In this last section, you’ll set up scenarios to automatically perform routine tasks in your Pipedrive account.
You can create deals, move them through pipeline stages as prospects engage, and add records to the contact’s activity timeline.
Automations work by linking an event to an action: when an event (trigger) occurs in Snov.io, the corresponding action takes place in Pipedrive.
Triggers refer to activities within your Snov.io account. The available triggers are listed below.
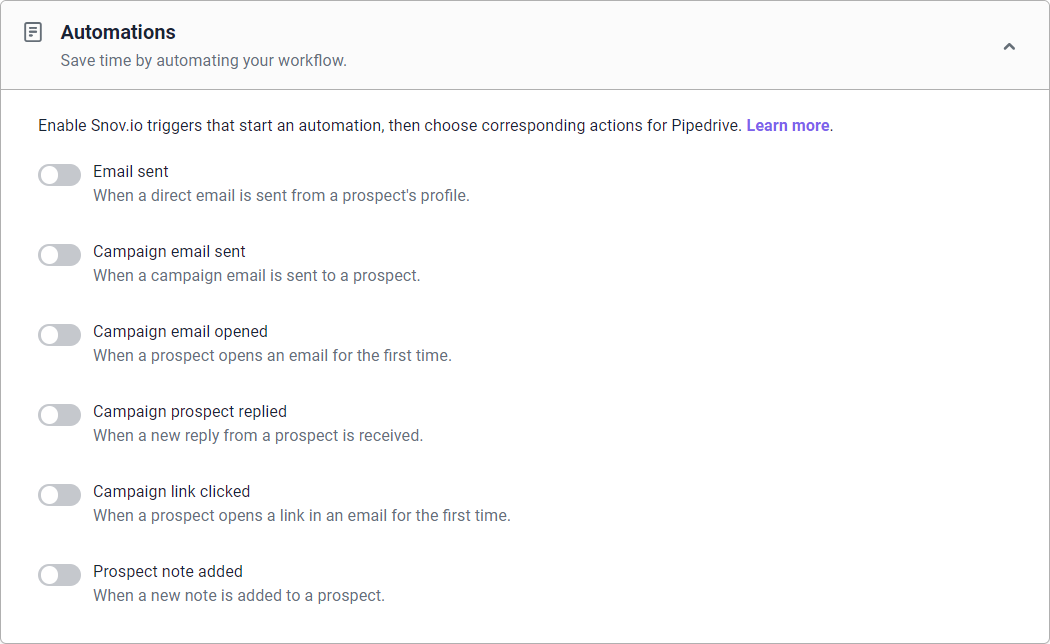
To add an automation:
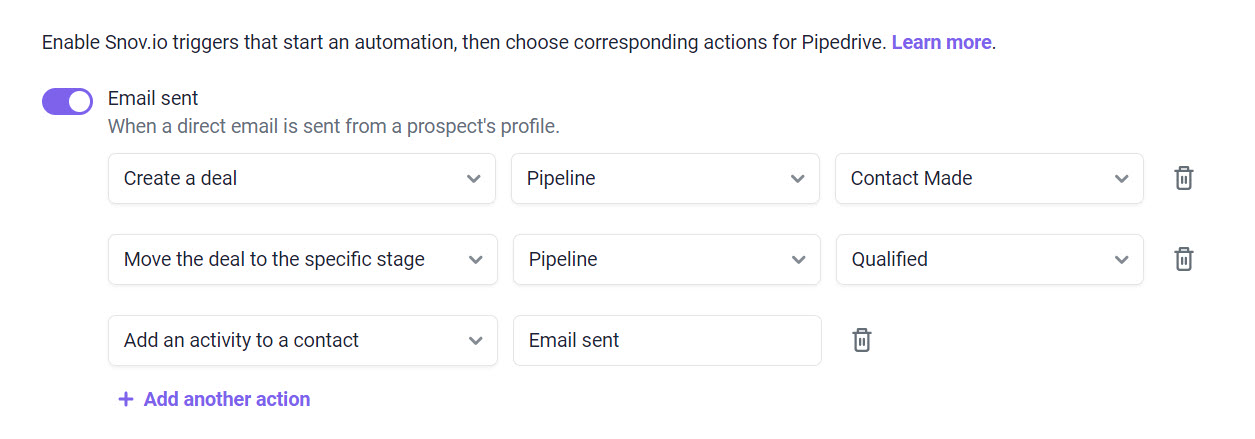
Activate a Snov.io trigger using the toggle button.
Select the corresponding Pipedrive action and its required parameters (like pipeline and stage for a deal).

Click +Add another action to add more actions.
Default Pipedrive actions are the same for all Snov.io triggers, and you can reuse them in different automations. However, you cannot use the action more than once with the same trigger.
You can turn off, edit, or remove automations at any time during the integration.
Pipedrive actions list |
|
| Create a deal | A new deal will be created for a contact in Pipedrive when a chosen event happens in Snov.io. The deal will be titled with the prospect's name, like "John Smith deal."Required parameter: Select a pipeline in Pipedrive. |
| Move the deal to a specific stage | If there’s an Active deal (all except Won or Lost) found for the contact in Pipedrive, it will be moved to the selected stage of the chosen pipeline.
If no deals are found for this contact, the action cannot be performed. Required parameters: Select a pipeline and a stage. |
| Move the deal to the next stage | If there’s an Active deal (all except Won or Lost) found for the contact in Pipedrive, it will be advanced to the next stage within its current pipeline.
If no active deals are found for this contact, the action cannot be performed. |
| Add an activity to a contact | This action creates a new task for the Pipedrive’s contact when a chosen event (trigger) happens in Snov.io.
You can apply this action to several automations and create multiple tasks for the same Pipedrive contact. Remember: By default, the integration moves email communication history to contact’s Activities timeline in Pipedrive as Done tasks.
Activities recorded through automations will be created as active tasks. Mark them as Done manually as you complete them.
Required parameter: Specify the task’s name/description. |
How it works:
After an activity in Snov.io (campaign email sent) --> a deal is created in Pipedrive in the chosen pipeline --> Then, the deal is moved to the selected stage --> Finally, a new active task is created for the Pipedrive contact.
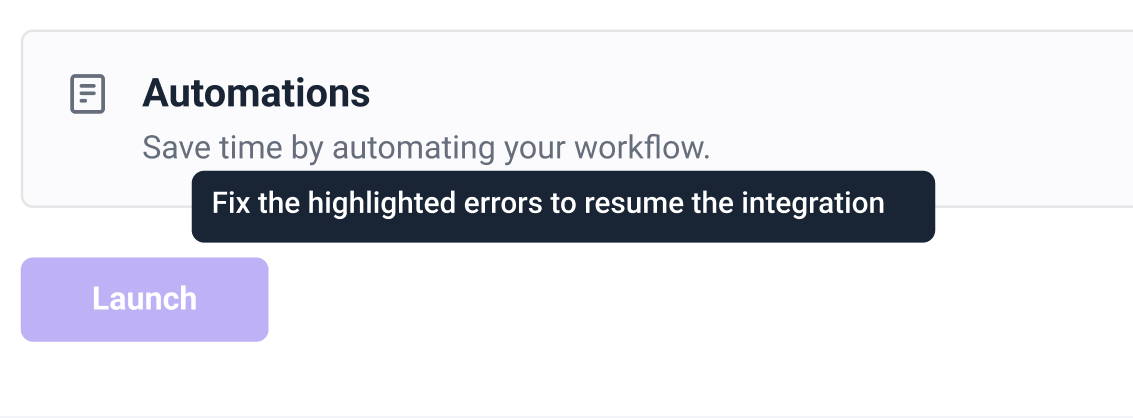
Launch the integration
The integration is nearly ready to go—fantastic work!
Take a moment to review the settings, and when you're ready, click Launch at the bottom of the page.
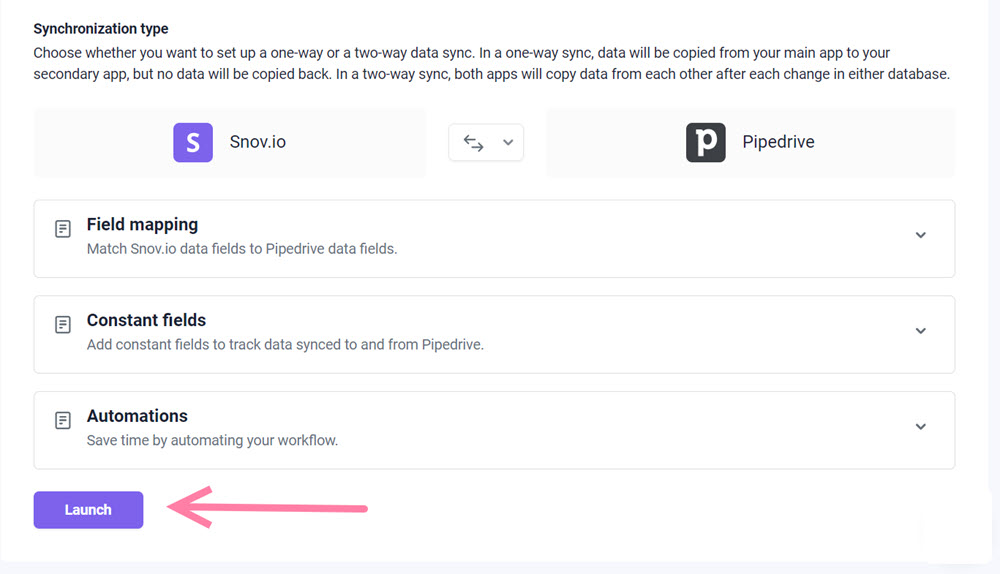
Upon the initial launch, we'll recommend transferring unsynced data.
Continue reading to understand more about this process.
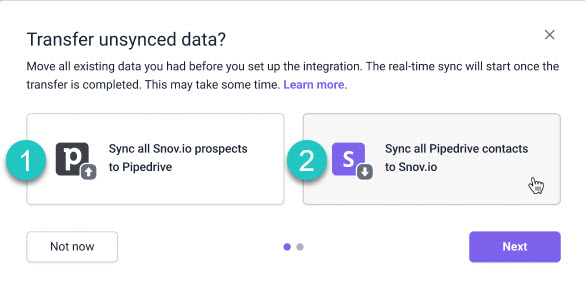
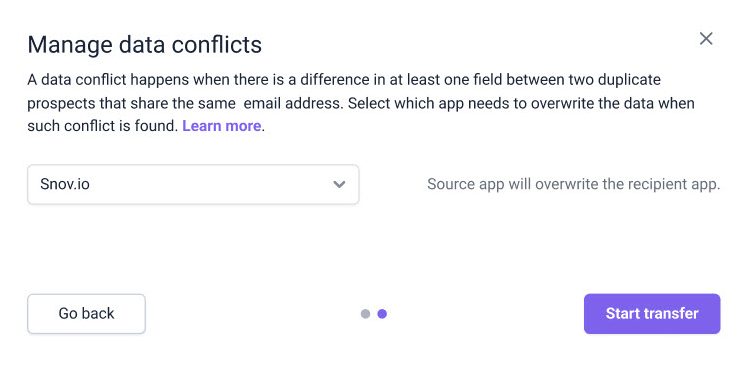
Step 6: Transfer unsynced data (manual sync)
This process is optional. If you wish to skip it for now, click Not now.
You can use manual sync to move the data you collected before setting up the integration.
To proceed, select the direction for the data transfer:


Sorry about that 😢
How can we improve it?