
hello@snov.io looks perfectly valid. The format is right, the domain exists, but will the mailbox actually accept your email? That’s the question SMTP handshake verification helps answer. And with 28.4% of senders struggling to reduce bounces, it’s an important one.
In this guide, we’ll see how SMTP handshake email verification works, where it falls short, and how to use it effectively.
TL;DR
Simple Mail Transfer Protocol (SMTP) handshake email verification checks whether a receiving mail server is willing to accept email for a specific recipient without sending an actual email.
The process goes something like this:
- Finding the mail server. The domain’s Mail Exchange (MX) records identify the server responsible for receiving email for the domain.
- Starting the connection. A connection is established with the receiving mail server, and EHLO or HELO starts the SMTP conversation.
- Checking the recipient. MAIL FROM and RCPT TO are sent to see how the server responds to the recipient address.
- Reading the response. SMTP response codes indicate whether the recipient was accepted, rejected, or couldn’t be confirmed.
- Closing the connection. The session ends before the DATA stage, so no actual email is sent.
The mail server’s response provides a much stronger signal than syntax or domain validation alone. But SMTP has its blind spots. Catch-all domains, greylisting, rate limits, and server restrictions can all leave us without a definite answer.
That’s why tools like Snov.io use SMTP as just one part of a broader 7-step verification process.
Format Type Server status Auto-generated Catch-all

What is an SMTP handshake email verification process?
A Simple Mail Transfer Protocol (SMTP) handshake is an exchange of commands and responses between an email-sending system and a receiving mail server. It happens at the start of email delivery, when the two sides establish communication and the receiving server decides whether to accept a specific recipient.
This exchange can also be used to check an email address without actually sending a message. The recipient address is presented to the mail server, its response is checked, and the connection is closed before any email content is transmitted.
But don’t take a positive SMTP response as proof that the mailbox exists. All it tells you is that the server was willing to accept the recipient at the time of the check.
To make up for this, SMTP is usually combined with other verification signals, including syntax and Mail Exchange (MX) record checks, catch-all detection, disposable address checks, and more.
Why use SMTP for email verification?
An email can have the right format and a working domain and still be invalid. Syntax and domain checks can only tell you so much. Neither can confirm what happens when you actually try to reach the recipient.
SMTP gets us closer to that answer by checking directly with the receiving mail server, without actually sending a message. This helps catch invalid addresses before they drive higher bounce rates, hurt your sender reputation, and affect inbox placement — a key challenge for 48% of marketers.
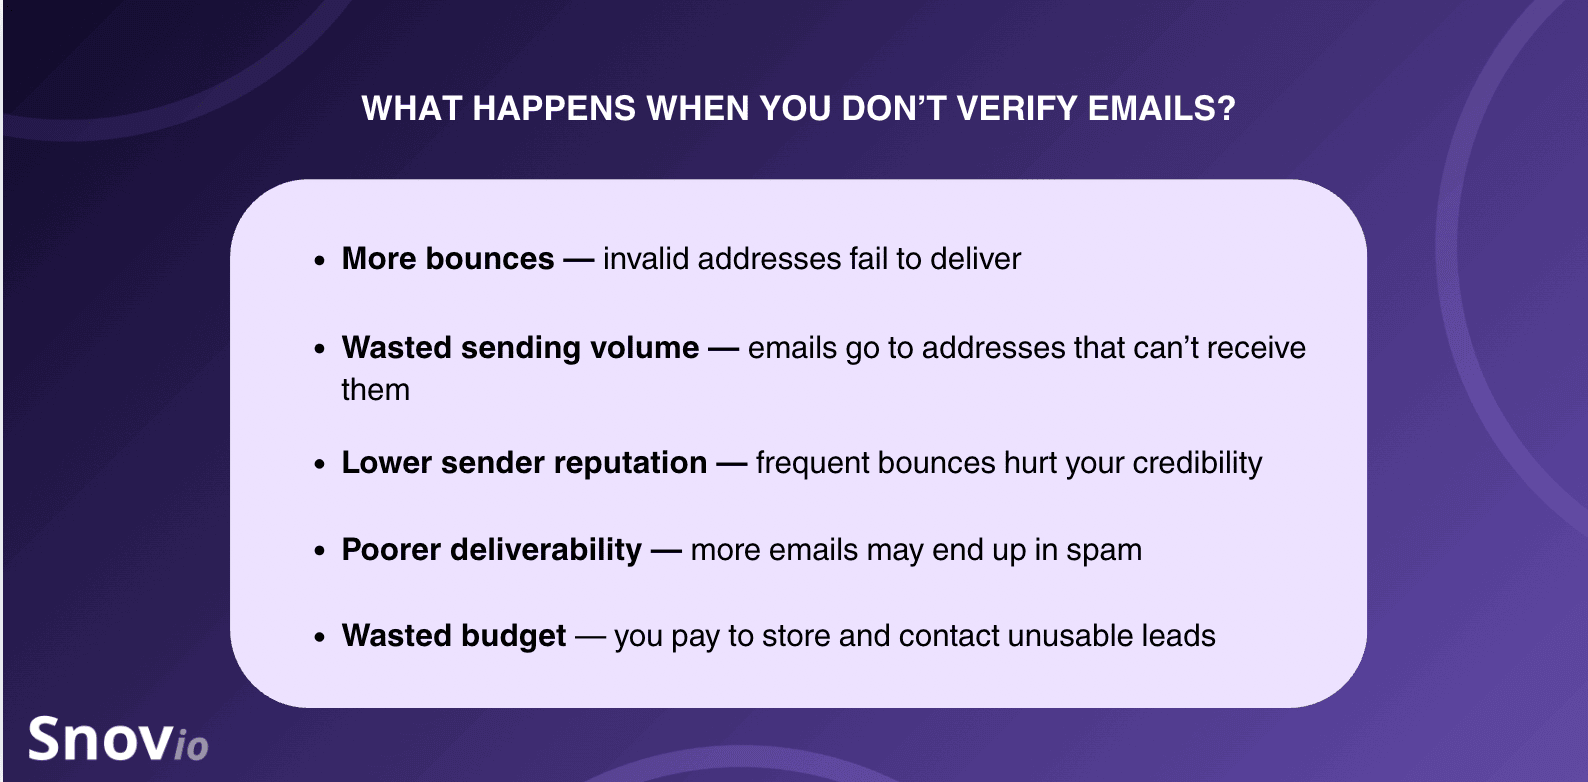
But as I mentioned earlier, SMTP has its limits. That’s why it works best alongside other verification signals.
SMTP vs. other email verification methods
So, what are the other checks? Let’s take a closer look:
| Check | What is verifies |
|---|---|
| Syntax | Is the email formatted correctly? |
| Domain/MX | Does the domain have a mail server? |
| SMTP | Will the server accept this recipient? |
| Catch-all | Does the server accept addresses indiscriminately? |
| Disposable email check | Is the address associated with a temporary email service? |
| Risk analysis | Are there other signals that make the address risky to contact? |
The point? No single check tells you the whole story. Looking at these signals together helps catch what one check alone might miss.
Snov.io’s email verification tool, for example, combines SMTP with 6 other checks in a 7-step verification process, reaching 98% accuracy.
How the SMTP email verification process works step by step
The SMTP email address verification process involves 7 steps, from finding the receiving mail server and connecting to it to checking how it responds to the recipient address.
To better understand how it works, imagine you want to send a package to your friend staying at the Hilton Hotel, and you’re checking whether the hotel can accept it.
Step 1: Finding the mail server
First, the domain’s MX records are checked to find the mail server responsible for receiving email for that domain. If several MX records exist, the server with the lowest preference number has the highest priority.
You look up which reception desk handles deliveries for the Hilton Hotel. If several desks are listed, you try the highest-priority one first.
Need a quick view of your domain authentication? Do an instant free DNS records lookup with Snov.io.
Step 2: Connecting to the server
Next, a connection is made to the receiving mail server via SMTP, typically on port 25. A 220 response means the SMTP service is ready to begin the exchange.
You are calling the hotel’s delivery desk and get the response “Hello. That’s the Hilton Hotel. How can we help you?”
Step 3: Sending EHLO
Once connected, the SMTP conversation begins with the EHLO (Extended Hello) command, which identifies the connecting host. A successful response confirms that the server accepted the command and may also list the SMTP features it supports.
If the server doesn’t support EHLO, HELO (Hello) can be used instead.
You are introducing yourself to the hotel’s receptionist in your language (EHLO). If they understand you, your connection is established. The receptionist may also tell you what kinds of requests they can handle. If they don’t understand you, you use another language (HELO).
Step 4: Send MAIL FROM
The next step is to specify the sender address: MAIL FROM:<sender@yourdomain.com>
A 250 response means the command was accepted and the process can move on to the recipient.
You are telling the receptionist who the package is coming from. The receptionist acknowledges you as the sender (250 response).
Step 5: Send RCPT TO
Now comes the key part: checking the recipient address with:
RCPT TO:<recipient@example.com>
A response such as 250 2.1.5 Recipient OK means the server is willing to accept mail for the recipient, while 550 5.1.1 User unknown can indicate that the address doesn’t exist.
But even a 250 response isn’t definitive. Catch-all servers, for example, may accept any recipient address, including nonexistent ones.
You’re finally asking whether they can accept a package for your friend. The receptionist may say ‘Yes’ (250 Recipient OK response) or answer smth like ‘There’s no such person here’ (550 User unknown).
Interestingly, getting a “yes” doesn’t necessarily prove that your friend is actually a guest. The hotel might have a policy: “We accept packages addressed to anyone. We’ll sort them out later.” That’s how catch-all servers behave.
Step 6: Check the response
The response code helps show what happened:
- 2xx — the command was successful
- 4xx — a temporary issue occurred
- 5xx — the command failed
Here, “xx” represents the remaining digits in the three-digit response code. The specific code and accompanying message provide more context about the result.
These codes represent the receptionist’s possible answers, telling you why you actually received that response.
Step 7: End with QUIT
After the RCPT TO response is checked, the SMTP session ends with QUIT. The server normally responds with 221 and closes the connection.
You already know whether the hotel would accept the package, so you just say, “Thanks, that’s all I needed.” The conversation ends.
Since the process ends before the DATA stage, no actual email is sent. Metaphorically, you aren’t delivering the package yet; you’re just asking whether it’s possible.
How to automate SMTP email address verification
Sounds like a lot to handle manually? Well, there’s no need to. Email verification tools handle these checks automatically, so you don’t have to deal with the technical side yourself.
With Snov.io, for example, you can verify an email in just a few clicks.
Simply open the Email Verifier, enter the email address you want to check, and click ‘Verify email.’
The result will fall into one of 3 categories:
🟢 Valid — the address passed the checks and is likely able to receive email.
🟡 Unverifiable — Snov.io couldn’t get enough information to confirm the address reliably, often because of the receiving server’s settings.
🔴 Invalid — the address failed verification and is likely to bounce.
Behind the scenes, Snov.io runs the address through several checks, including SMTP, and gives you the final result without requiring you to perform the handshake manually.
After testing 90% of similar tools, I’ve concluded that Snov.io’s email verifier is the best on the market. You can be sure that if it’s verified (green), then it will hit the inbox.
Full-Cycle Sales Specialist at JetOctopus

Limitations of SMTP handshake email verification
SMTP provides a stronger signal than syntax or domain checks because it queries the receiving mail server about a specific recipient.
However, email verification isn’t always that straightforward. The receiving server can simply refuse to give a definitive response.
Below are a few common reasons why SMTP email verification may not bring the desired results:
- Catch-all domains: Some servers accept any address at their domain, even nonexistent ones. Verifiers test a random address to detect this behavior. If it’s accepted too, SMTP can’t confirm whether the actual mailbox exists.
- Greylisting: A server may temporarily reject an unfamiliar connection and accept it on a later attempt.
- Rate limiting: Mail servers can restrict repeated SMTP requests, producing temporary or inconclusive responses.
- Anti-verification policies: Some mail servers deliberately block verification attempts or hide mailbox information to prevent automated checks.
These cases may return an unknown result. But don’t always read them as invalid; it can simply mean there isn’t enough information to reliably classify the address.
Best practices for reliable email verification
As you see, SMTP email validation isn’t a one-and-done process. Email data changes all the time, so getting reliable results means making a few best practices part of your regular routine.
Verify before sending
Always verify both new and older lists you plan to use for your upcoming campaign.
You never really know which addresses have gone inactive since you collected them. The older your list gets, the more disengaged contacts it has. It’s better to catch the invalid addresses early so you don’t face bounces later.
Even a huge list isn’t much of an issue. With Snov.io’s bulk verification, for example, you can check up to 100,000 email addresses at once. Simply upload your list, and the Verifier will run every address through its 7-tier verification process.
Reverify stored contacts
Your email list might be perfectly clean today, but it won’t stay that way forever. People change jobs, companies close, and mailboxes become inactive.
That’s just the nature of it, which is why Snov.io recommends reverifying your database every 3–6 months, or before using an older list again.
It’s natural that email lists decay. It’s often beyond your control. What you can do is keep invalid contacts to a minimum. I recommend that users clean their lists every 3-6 months to maintain strong email deliverability.
Email Deliverability Specialist

Treat unknown results separately
As I mentioned earlier, unknown isn’t the same as invalid.
Sometimes the mail server simply doesn’t give the verifier enough information to make a clear call. If any addresses are marked as unverifiable, move them to a separate list and try verifying them again later.
Test deliverability
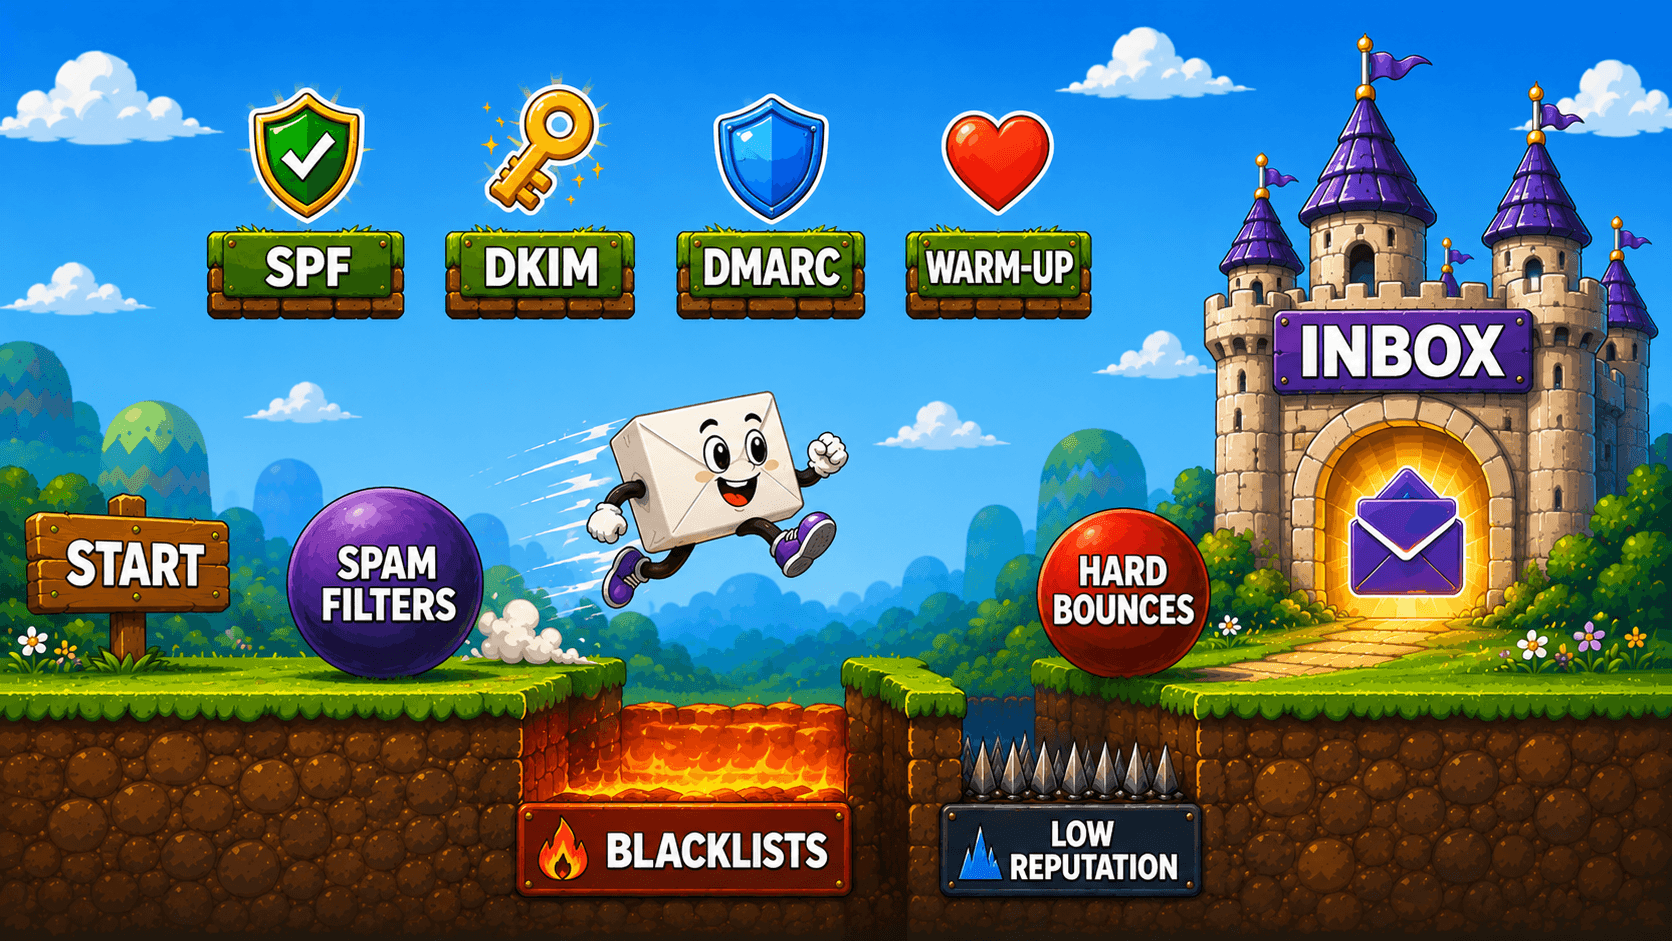
A valid address doesn’t guarantee your email will land in the inbox. That’s why it’s also worth running a quick deliverability test to see how many emails reach the inbox versus spam.
As a benchmark, aim for 90%+ inbox placement in your test. If you’re consistently below that, it’s time to look at what might be getting in the way.
While running a deliverability test with Snov.io, you’ll not only spot potential inbox placement issues but also get personalized recommendations for fixing them.

Keep an eye on your metrics
Your campaign results are often the clearest telltale sign of how things are going, so keep an eye on them even after you’ve verified your list.
What exactly should you watch? Start with your bounce rate: 1–2% is generally healthy, while 3–5% is worth looking into. The same goes for rising spam complaints or declining inbox placement and reply rates.
→ Learn more about how to verify emails before outreach to reduce bounces
Key takeaways
SMTP handshake verification gets us much closer to knowing whether an email address is actually reachable, without having to send a message first.
But as we’ve seen, even a positive SMTP response doesn’t always give us the full picture. That’s why SMTP works best alongside other verification checks, regular reverification, and ongoing campaign monitoring.
Snov.io can handle these checks for you, so you can spend less time dealing with low-quality addresses and more time reaching the right people.