This guide shows you the useful actions to manage your growing list of campaigns.
You'll learn how to:
- Find campaigns using search
- Organize campaigns into folders
- Filter campaigns by different criteria
- Create campaign copies to save time on setup
- Pause campaigns when you need to adjust settings
- Edit campaigns after they've started
- Delete campaigns you no longer need
All these actions are available on your Campaigns page.
Search campaigns
When you need to find a specific campaign and know its name, type it into the search bar at the top.
The system instantly shows matching campaigns in a drop-down menu. Click the name you want to open its dashboard.
This quick search saves you from scrolling through long campaign lists.
Organize campaigns
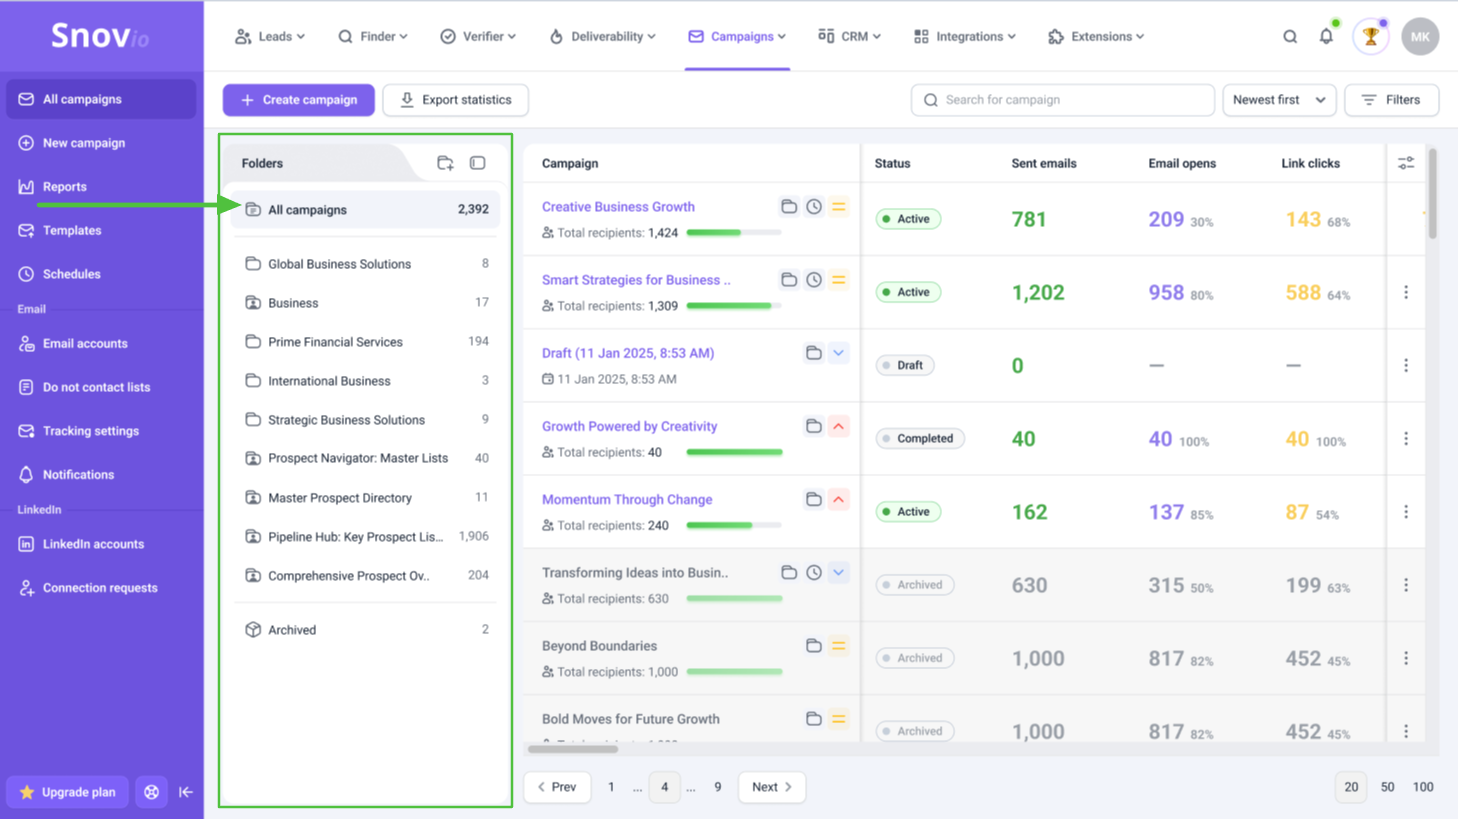
To make it easier to manage and access your campaigns, organize them with folders.
You can create up to 100 folders for your campaigns. The number of campaigns that can be added to any folder is unlimited.
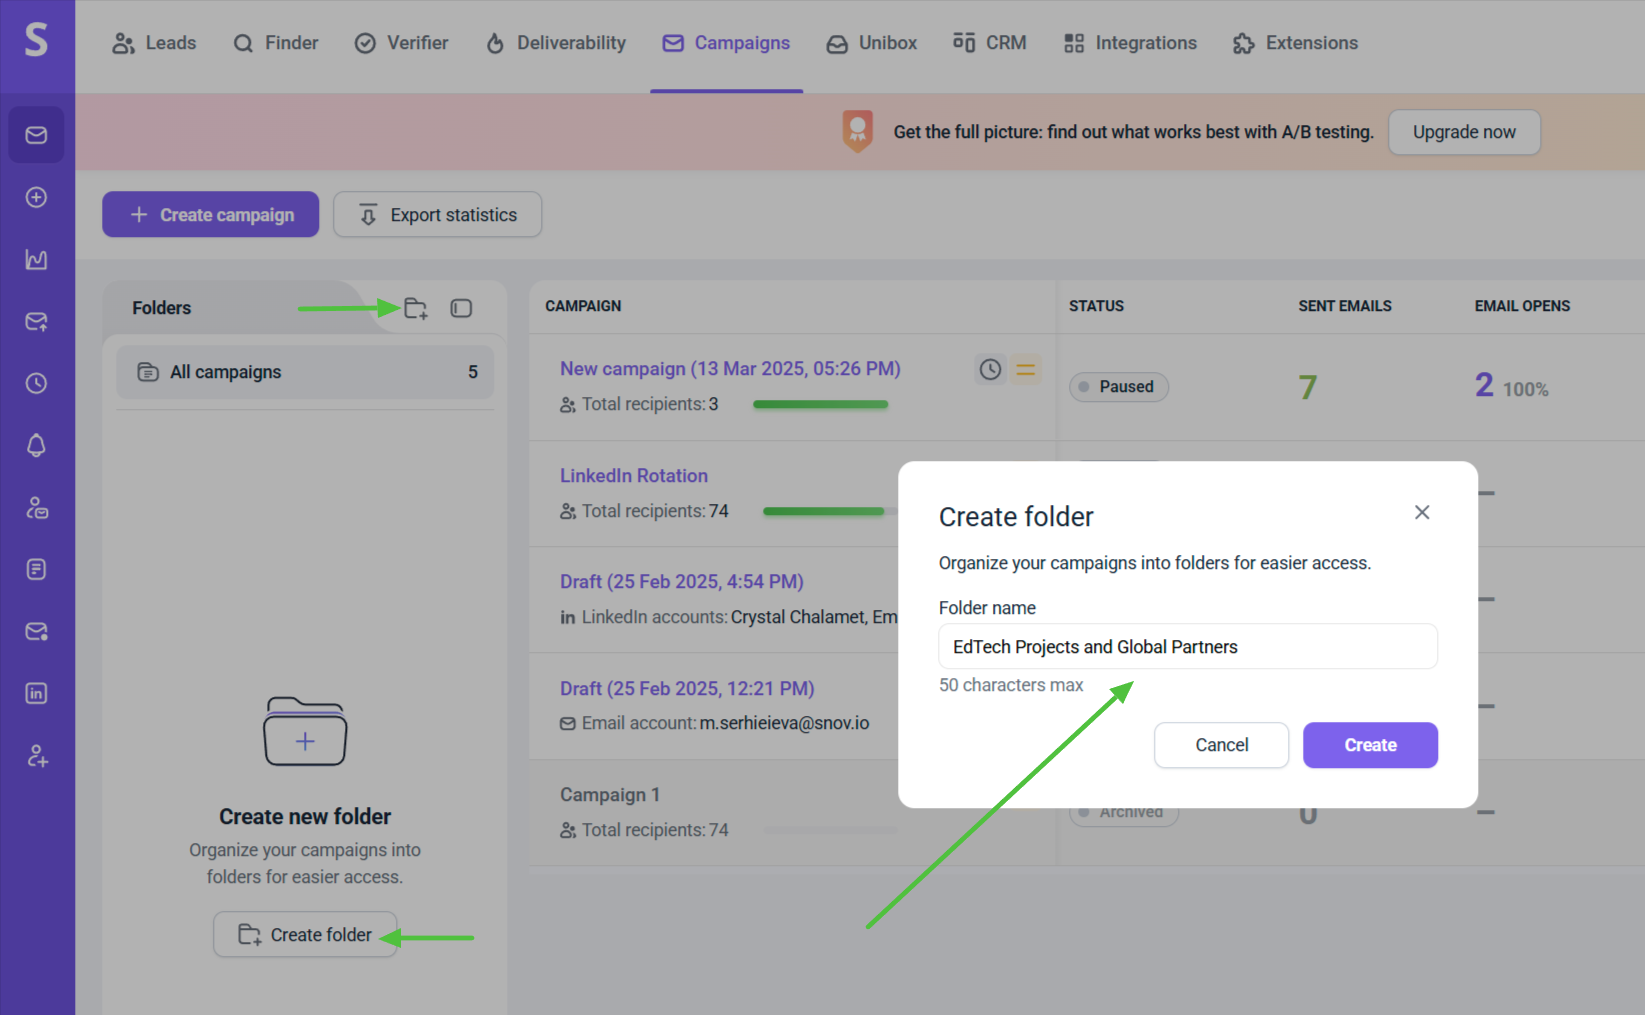
To create a new folder, click the folder icon at the top left of your screen, or the Create folder button in the left side panel.
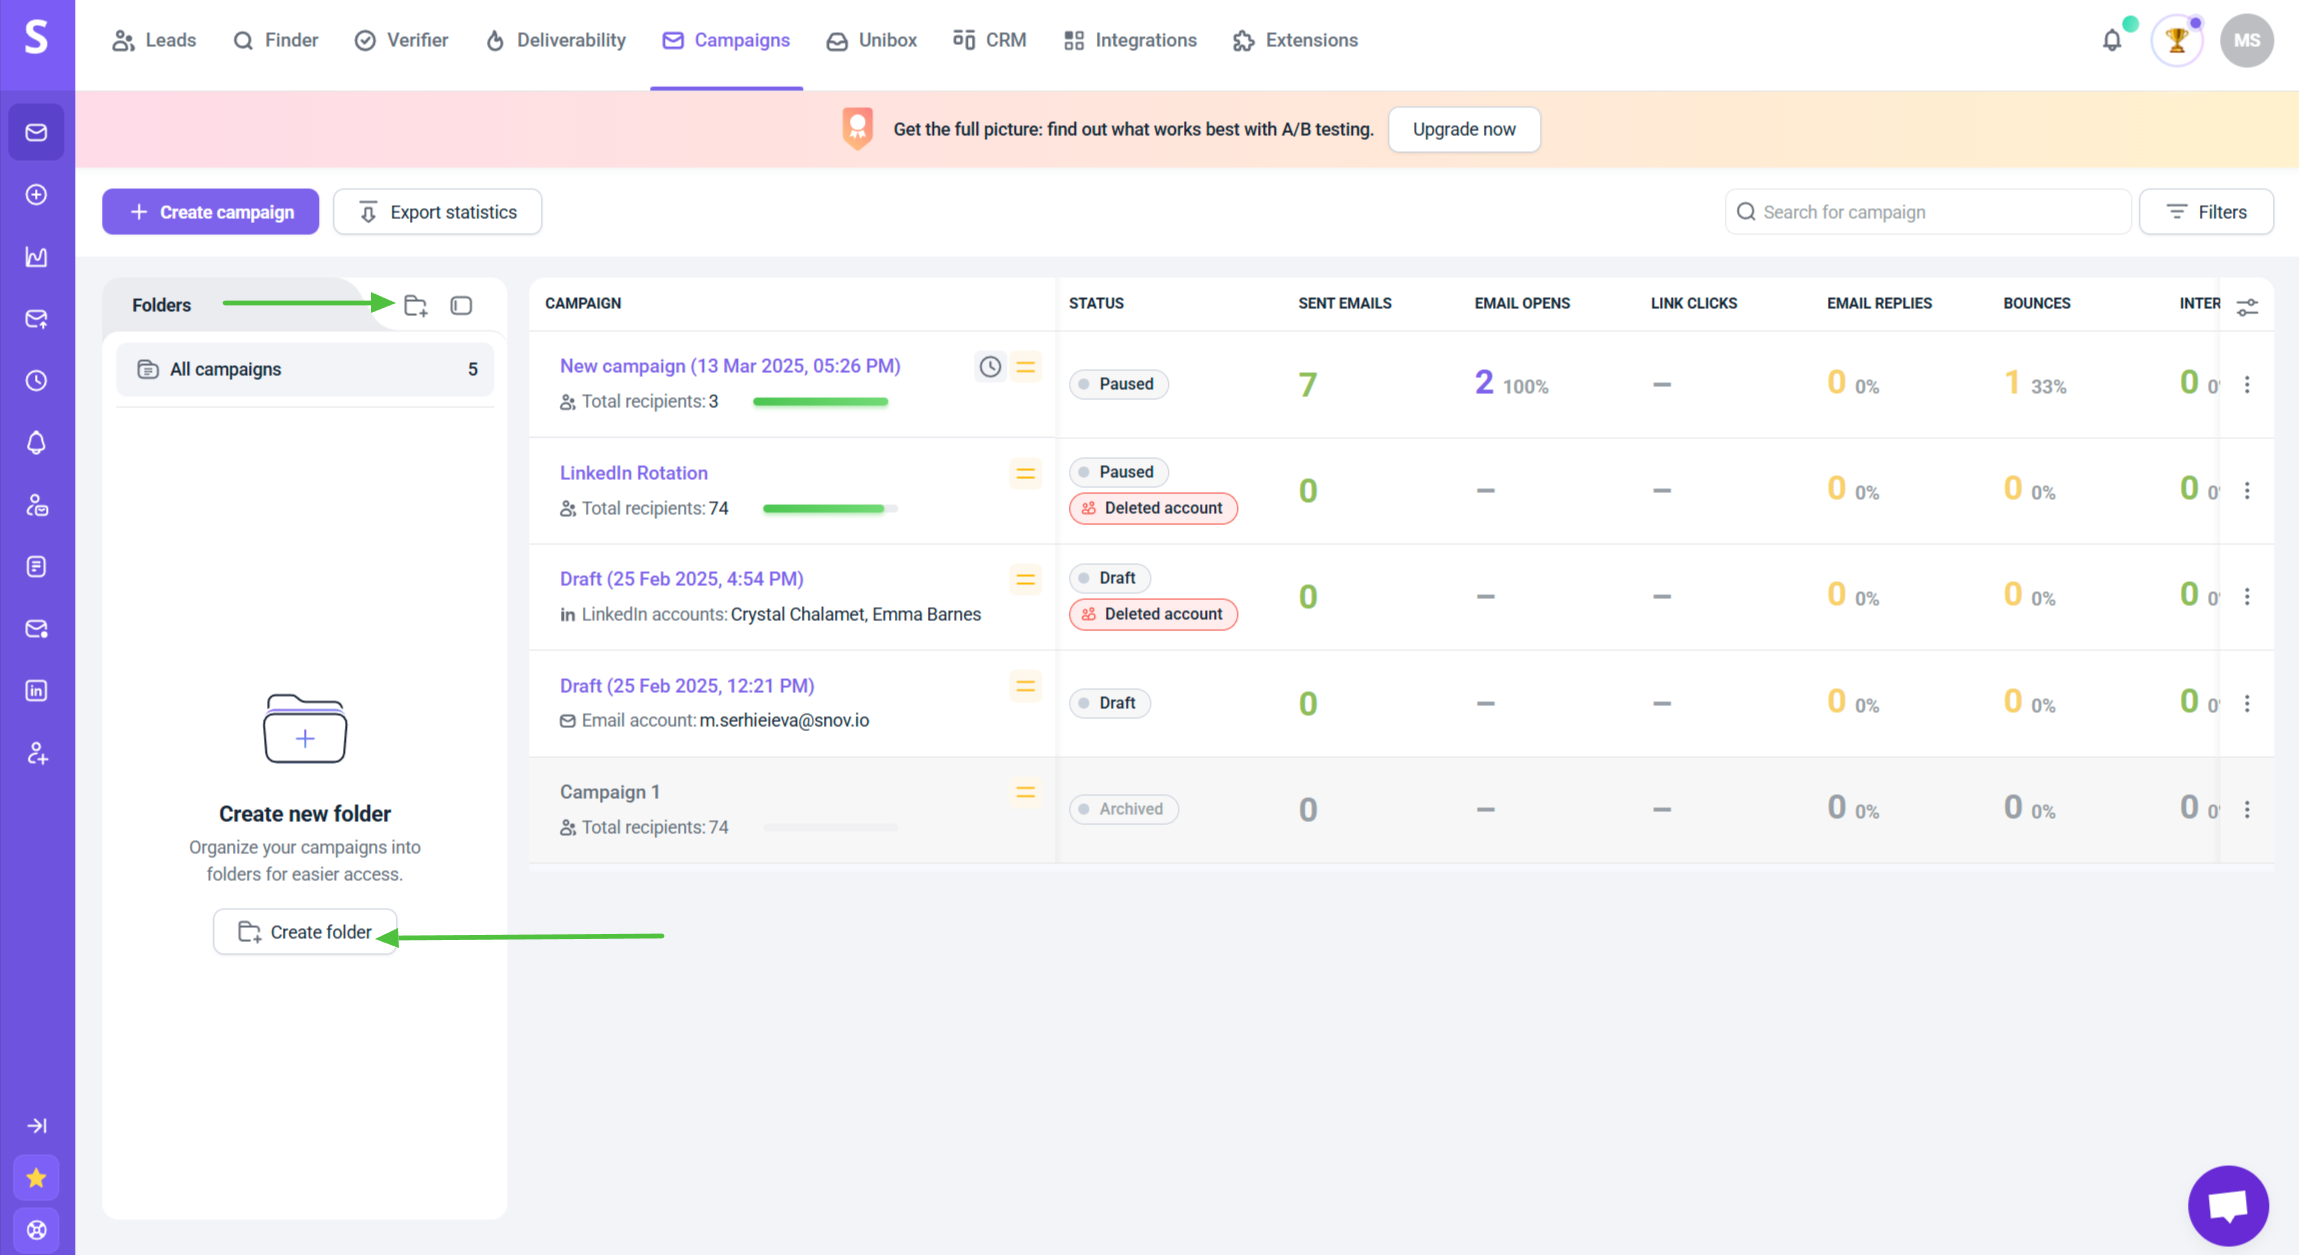
Enter the name of the new folder in the pop-up window. It can be 50 characters max.
 You can rename and delete folders you created.
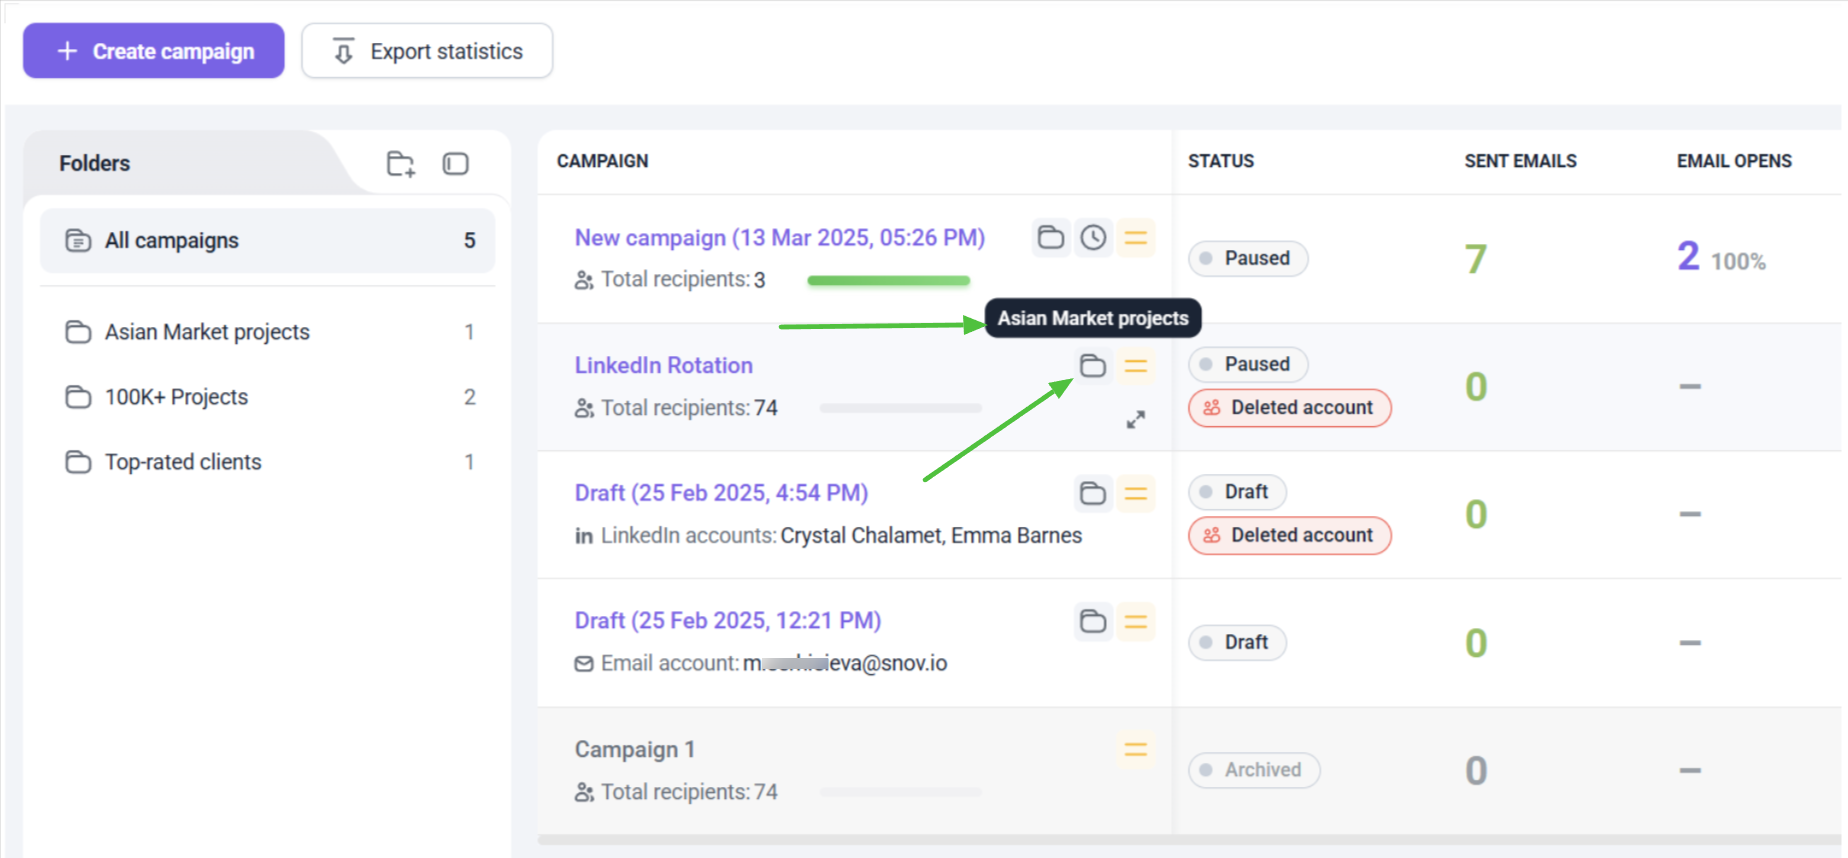
Hover over the folder name and click the three dots to rename or delete the folder.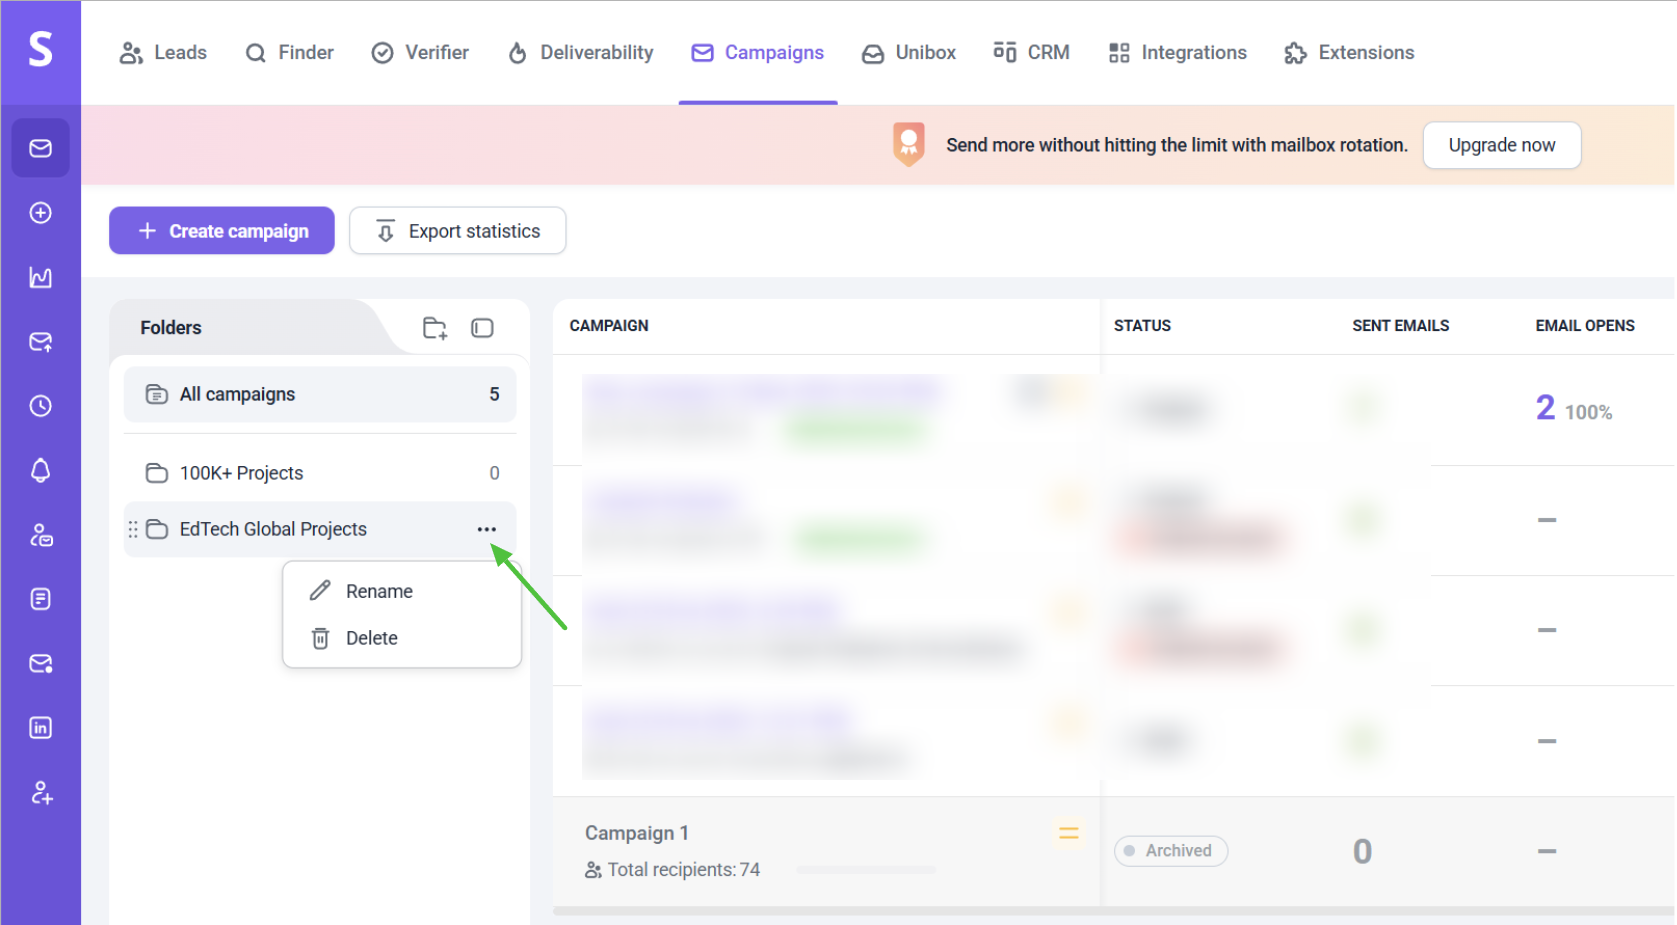 To move campaigns between folders, click the three dots on the right and select the Move to folder option from the quick actions menu.
  Your archived campaigns are stored in the Archived folder at the bottom of the left panel.
How folders work for Team accounts in Snov.io:
- Only members with the View team records permission can view folders created by other team members
- Members with team access can add their own campaigns to shared team folders
- Only the folder creator can delete or rename their folders
- When a new member joins, they'll see other members' folders below their own
- If someone leaves the team, their folders disappear from team view. Any campaigns added to their folders by other team members are automatically moved to the All campaigns section in the team view
Filter campaigns
When you need to view campaigns with common details or status, use the Filter option at the top right. You can apply one or multiple of these filters:
Note: if you store campaigns in folders
When inside a folder, filters only apply to campaigns in that specific folder. To filter through your entire campaign list, go to the All campaigns folder and apply your filters.
- Name: Enter any keyword from your campaign title
- Recipient list: Select which prospect list was used
- Creation date: Find campaigns created on specific dates
- Sender account: View campaigns from particular email addresses
- Status: Filter by active, paused, or completed campaigns
Click Apply after selecting your filters.
This option helps when you want an overview of campaigns that meet certain criteria.
You can also export statistics for those campaigns. Filter them first, then click Export statistics at the top.
Copy campaigns
If you need to create a similar campaign quickly, you can duplicate any existing or past campaigns. This saves you time on setting up everything from scratch when you need to restart a campaign for a new prospect list.
To duplicate any campaign, click the three-dot menu next to the campaign name. Select the Copy campaign option.
Pause and resume campaigns
When you need to temporarily stop your campaign, you can pause it.
To pause a campaign, click the three-dot menu next to the campaign name and select the Pause option.
Remember that you can add a schedule if you want the campaign to be automatically paused at certain times and days.
When resumed, the sequence continues from the step where it left off.
Edit campaigns
You can adjust the settings of your campaign even after it's launched. This helps you optimize based on early results or update something you missed during the initial setup.
Here's what you can adjust:
- Email or message content and subject lines
- Tracking settings
- Sending schedule
- Follow-up messages
Delete campaigns
You can delete campaigns you don't plan to use again. If you might need the campaign later, don’t rush to delete it.
Before deleting a campaign, change its status to Completed first.
Once completed, you can delete it. Click the three-dot menu again and choose the Delete option.
Click the three-dot menu next to the campaign name. Select the Complete option.


Sorry about that 😢
How can we improve it?