This article provides a step-by-step guide to linking your Ionos Email account with Snov.io.
Snov.io lets you connect your own business or personal mailbox and send emails through your email provider's servers to have total control over your sender account's performance.
If you have an email account with Ionos, you can take advantage of its emailing capabilities and connect it to Snov.io.
The connection process consists of three primary steps:
1) Getting your Ionos SMTP email credentials
2) Configuring a new email account in Snov.io
1) Getting your email credentials
The first step is to obtain the SMTP username and password for your Ionos email account.
SMTP username is the Ionos email address you want to use as a sender.
SMTP password is the password for this email address.
To see a list of your Ionos emails:
- From your Ionos homepage, open Email menu.
- On the Email Addresses page, select the mailbox you want to connect to Snov.io.
- On the mailbox settings page, find its credentials.
2) Adding a new email account in Snov.io
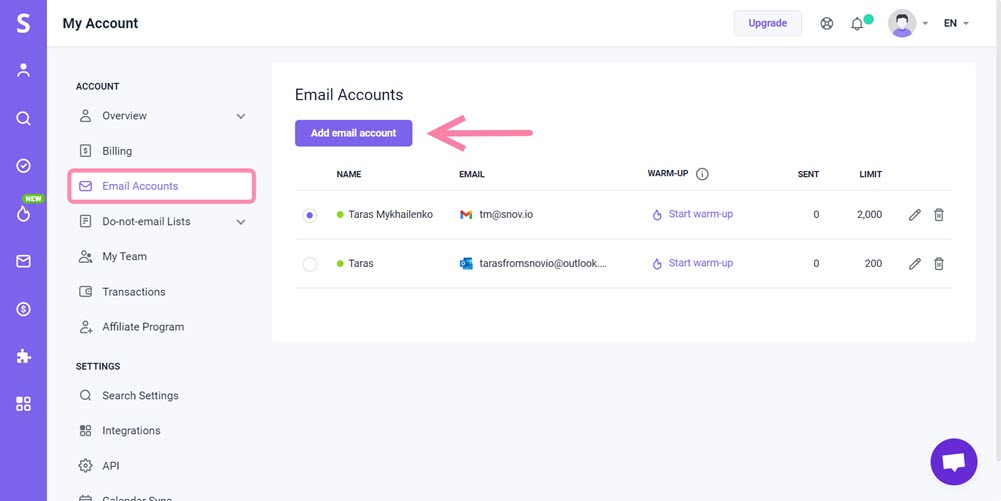
- Go to the Email Accounts page.
This page lists all the email accounts that you’ve added before or will add to Snov.io.
Start adding a new email account by clicking the Add email account button.
- Choose Ionos from the email service providers list.
The email account settings page will open.

Note: Please select an appropriate provider so we can suggest you default server settings during the setup.
 Entering SMTP settings
Snov.io connects to your provider's SMTP server to send emails to your recipients.
In the SMTP section, enter your SMTP credentials and the provider's server settings for sending emails.
Refer to the explainer table below for guidance on the information you need to enter in each mandatory * field.
SMTP credentials:
| Field | Explainer |
| (1) From name | Enter your name or company name that will appear in the "from:" field for your recipients when they receive your email. |
| (2) From email | Enter your SMTP username (your Ionos email address).
Tip: Your recipients will also see this email address in "from:" when they receive your email. Enable Use different account name if you want to set another "from:" email. |
| (3) Email Password | Enter your SMTP password (the password for your Ionos email address). |
SMTP server settings:
| Field | Default provider's value | Explainer |
| (4) Host | smtp.ionos.con - default for Ionos email accounts | Select SMTP host from a dropdown menu. |
| (5) Port | 587 for TLS encryption | Select SMTP port from a dropdown menu. |
Entering IMAP settings
The IMAP server is responsible for tracking incoming responses and letting Snov.io to log them into the email campaign statistics.
Note: To let Snov.io track replies received to a different email, enable the Use different email account for receiving emails option and enter IMAP credentials of that mailbox.
IMAP server settings:
| Field | Default provider's value |
| (1) Host | imap.ionos.com |
| (2) Port | 587 for TLS encryption |
Attention: Adding IMAP settings is optional, but if you don't add them, your email account will be connected conditionally.
As a result, Snov.io will not be able to track responses to emails sent from this email account and reply statistics may be inaccurate.
Read more about conditional connection here ⇒
Send a test email to check connection
Complete your email account setup by testing the connection after entering all required settings.
- Click the Check connection button.
Snov.io will send you the test email with subject "Testing your new email with Snov.io" confirming the successful connection.
3) Optional settings
The following settings are optional and can be skipped for a quicker setup. Configuring them will allow you more control over your account's performance.
 Daily sending limits (1)
| Setting | Explainer |
| Messages per day | Set a daily sending goal for this email account.
The number should be lower or equal to the provider's daily limit. Snov.io will stop sending emails for the day after reaching this goal. |
| Delay between emails | Сhoose the interval (fixed or random) in seconds between every email message in your campaigns.
Increasing the time gap between your emails can make your email campaigns appear safer to the ESP. |
Add your email signature (2)
Add a signature that will be attached at the end of all emails sent from this email account.
Set up a custom tracking domain (3)
With a custom tracking domain, you can expect up to 20% improvement in deliverability of this sender account.
Warm-up your email account (4)
Start warming up your email account to raise your sender reputation and improve deliverability.
Add your mailbox for a warm-up ⇒
Add a BCC email address (5)
Add your CRM email to forward all emails sent via this email account to your mailbox in the CRM.
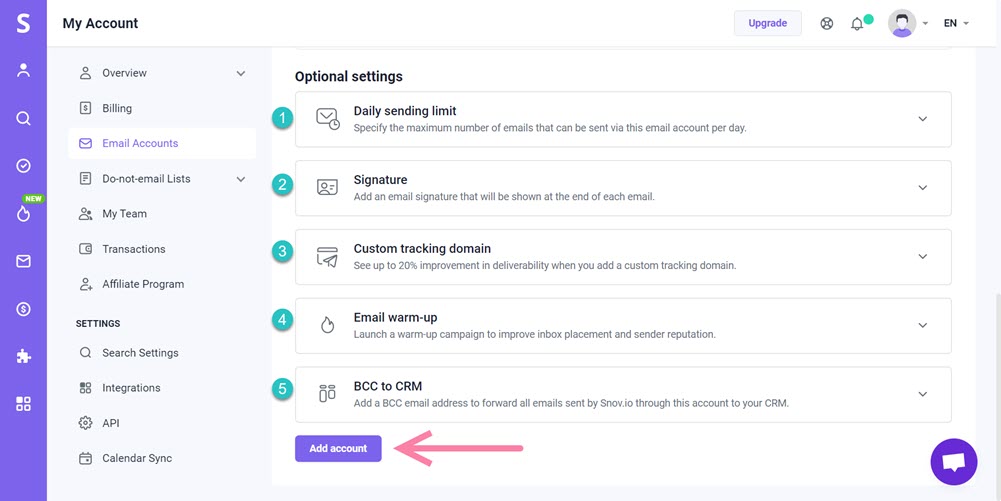
After configuring the desired optional settings, click the Add account button to save it.
Read next:
Launch your email campaign
After connecting your Ionos email account to Snov.io, you can select it as a sender for your email campaign.
Have more questions? We’re here to help at help@snov.io or live-support chat.

Sorry about that 😢
How can we improve it?