This guide shows how prospect enrichment works in your lists: how to start it, which tools are available, where to find your results once they're ready, and what you can do with enriched data next.
Enrichment in Snov.io adds more data to your prospects, so you can personalize outreach without manually researching every profile.
Get verified emails and phone numbers, professional insights, company details, and public data from the web, all from one place.
View full data in bulk columns

Before you start. To use any enrichment, make sure you have:
1) Prospects in a list. All enrichments need existing data to start. Add prospects to a list first, import from a file, or use Database Search. Learn what data each action requires.
2) Tokens. All enrichments cost tokens, which are purchased separately from your plan credits. Learn more about tokens.
How to use Enrichment
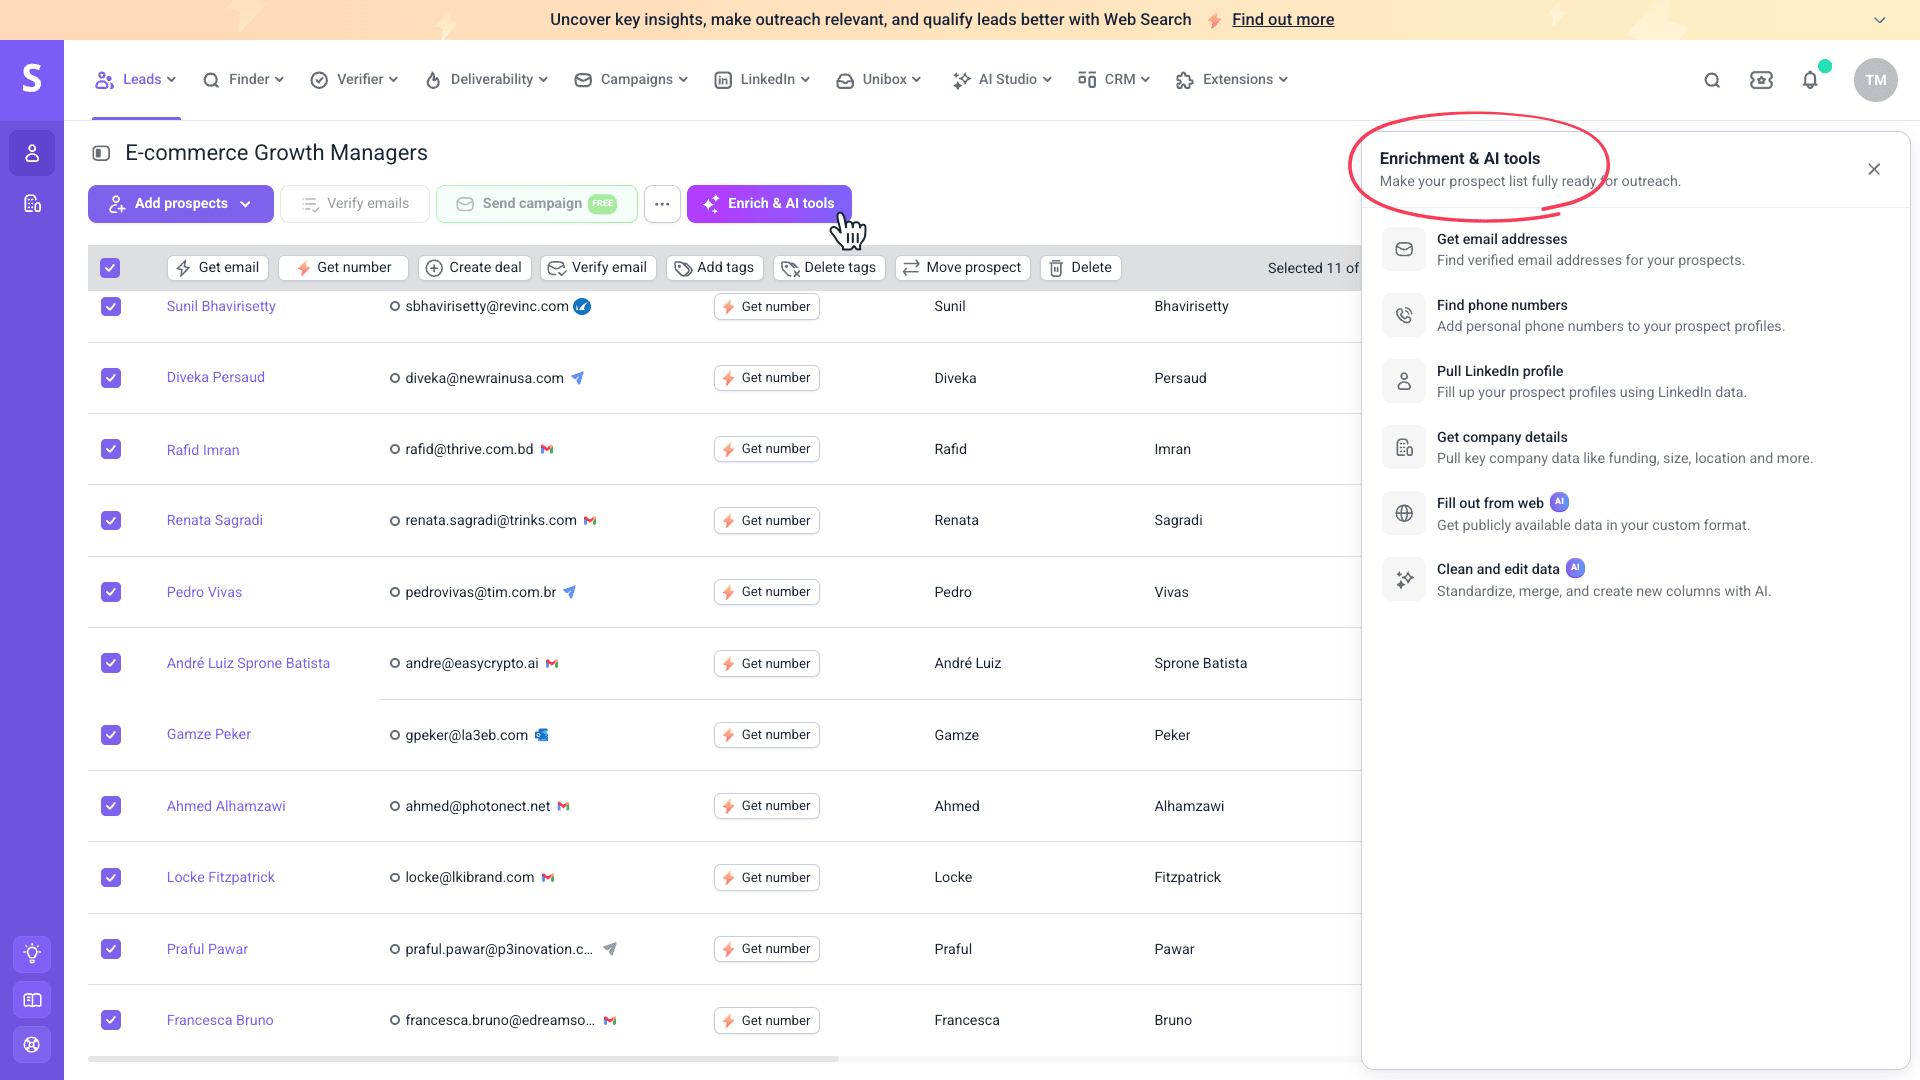
Go to your Prospects and choose the list you want to enrich. Click Enrich & AI tools and choose the tool you need.
You can start enrichment on selected prospects, a segment filtered by tags, or your entire list.
Pick action
Depending on the data you need, choose the enrichment option.
Click a link below to see what exact data you get with each option, or scroll down for setup steps and where to find your enriched data.
- Get email addresses
- Find phone numbers
- Pull LinkedIn profile
- Get company details
- Fill out from web
- Clean and edit data
Choose prospects to enrich
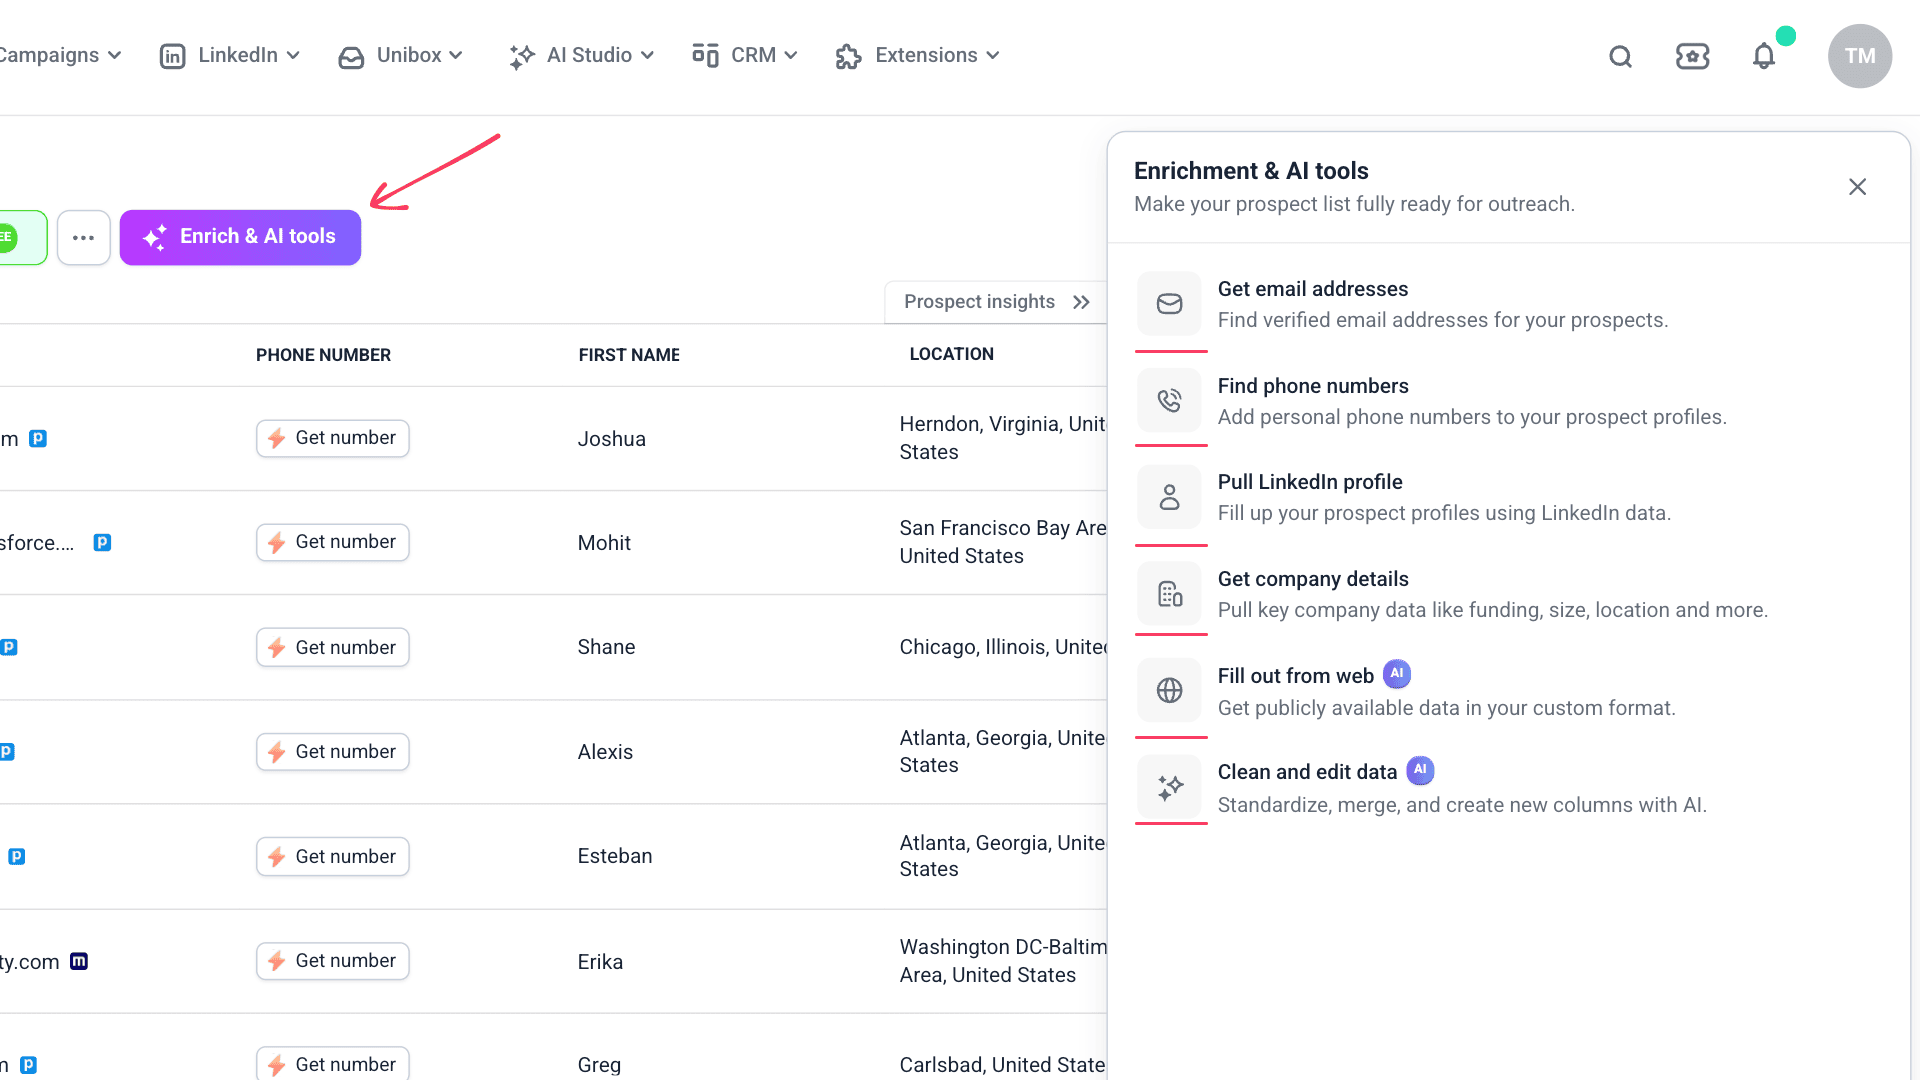
After selecting the data you need, choose which prospects to enrich. The dropdown at the bottom of the sidebar gives you these options:
- Selected prospects: only the prospects you manually checked
- Current page: all prospects shown on the page you're viewing
- List: all prospects in the list
Check your token balance
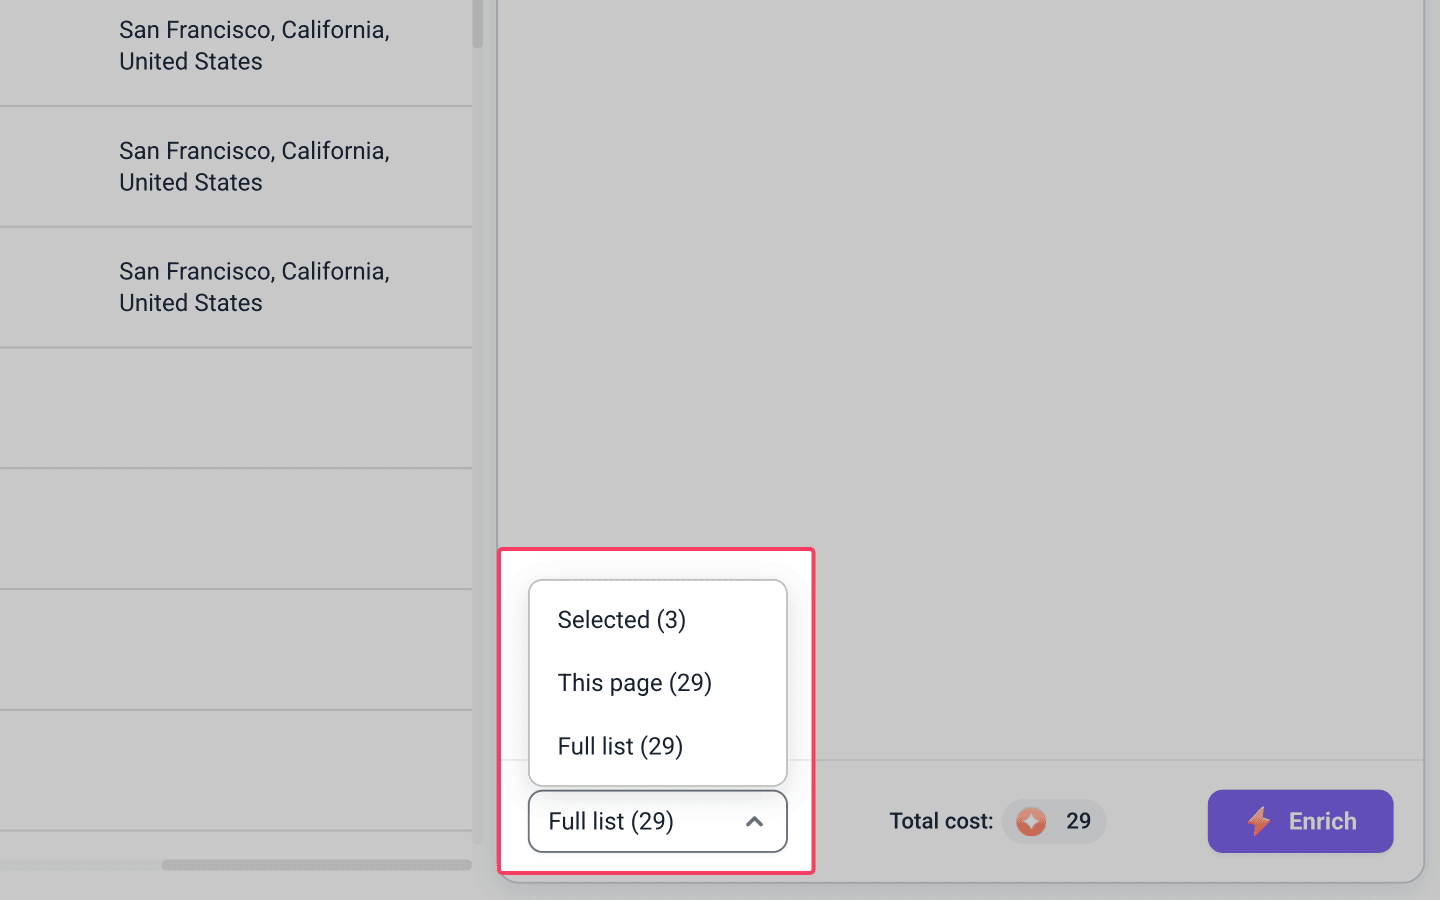
The total cost shown is the estimated maximum. It depends on the enrichment you're running and your list size.

Token charging varies by enrichment tool.
Tools that pull data from Snov.io's database or our data partners, like Find email addresses, Pull LinkedIn profile, and Get company details, charge only for successful results.
AI enrichments charge for every prospect. See how each tool charges tokens in the tokens guide.
Before starting, make sure you have enough tokens. Get more tokens from Billing settings.
Start the enrichment
Click Enrich to start the data search. When the "in progress" icon disappears, your data is ready and you can view it. The time it takes depends on your list size and the enrichment you're running.
View enriched data
Snov.io automatically creates new fields and columns to store enriched data. You can view the new data directly in the prospect list or by opening prospects' profiles.
View in prospect list
New data appears as additional columns, depending on the enrichment you've run.
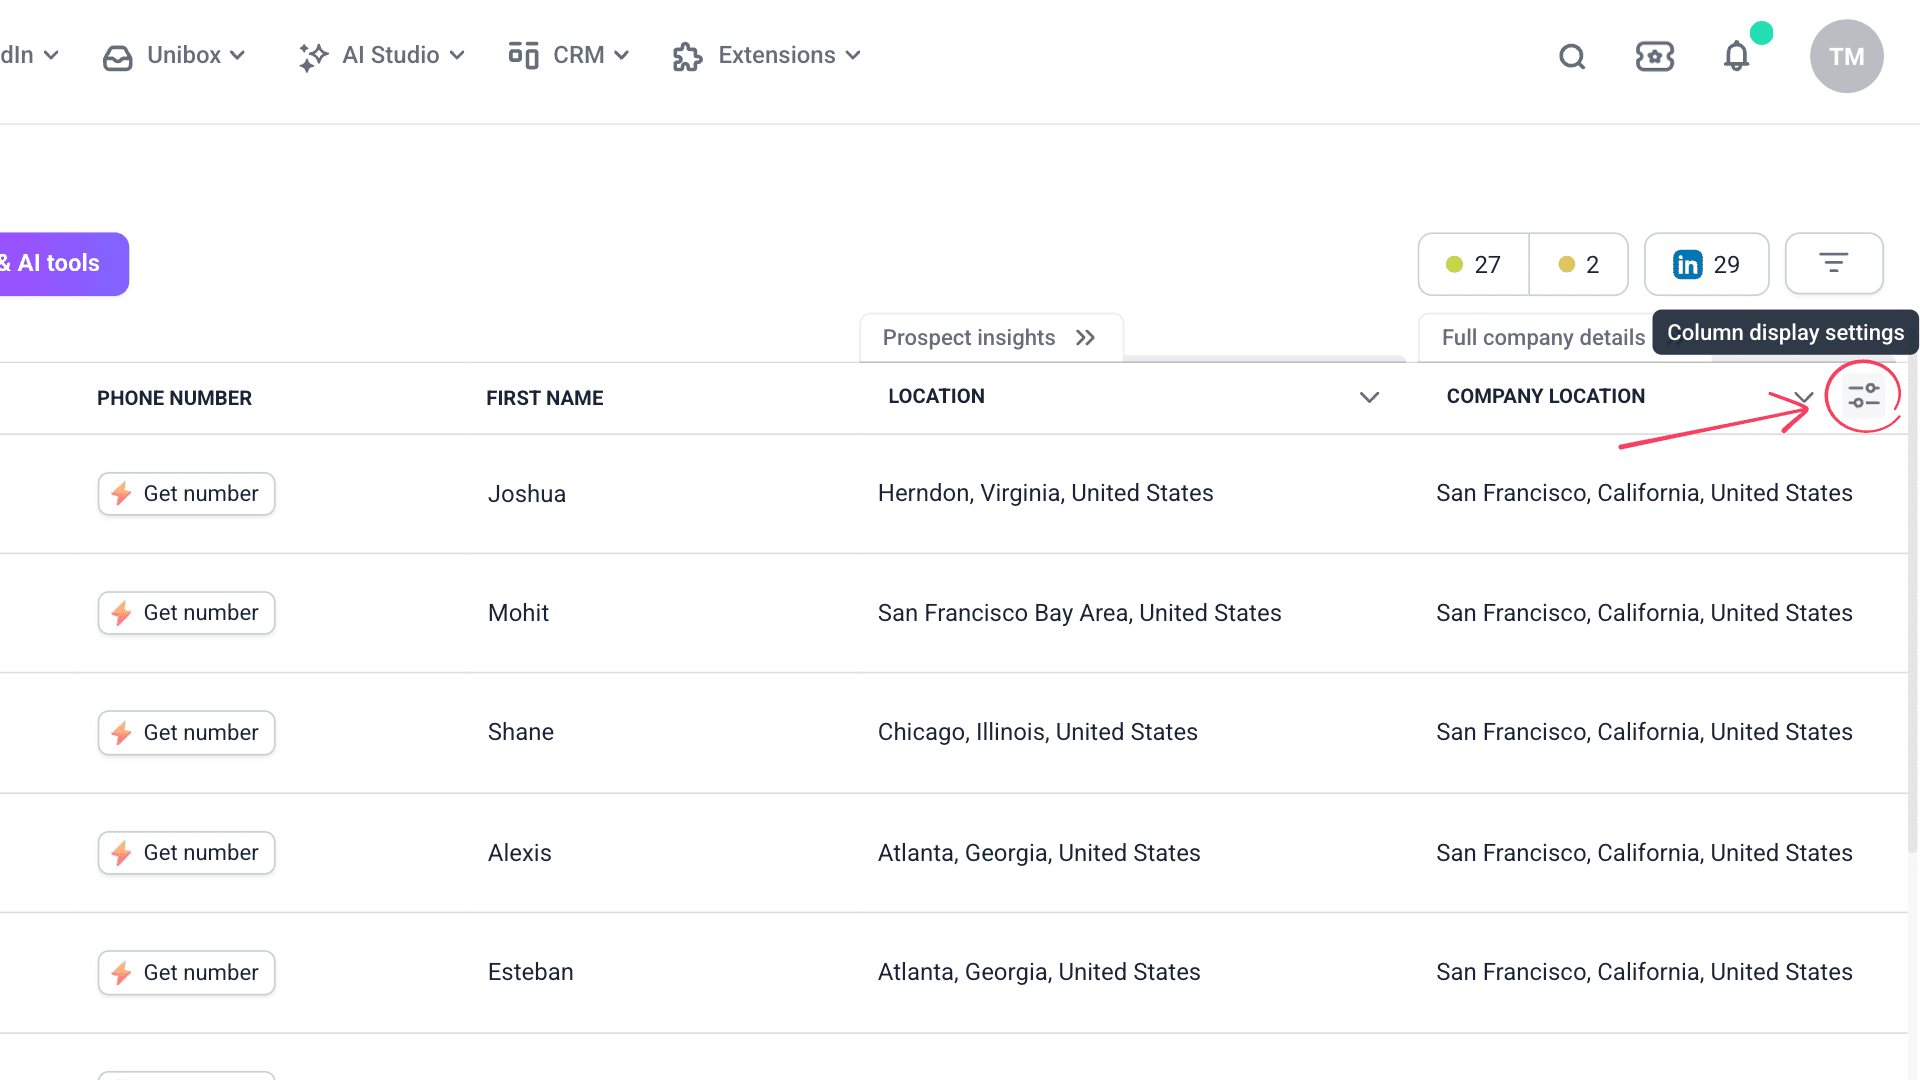
Here's how to find data in the prospect list after running specific enrichments:
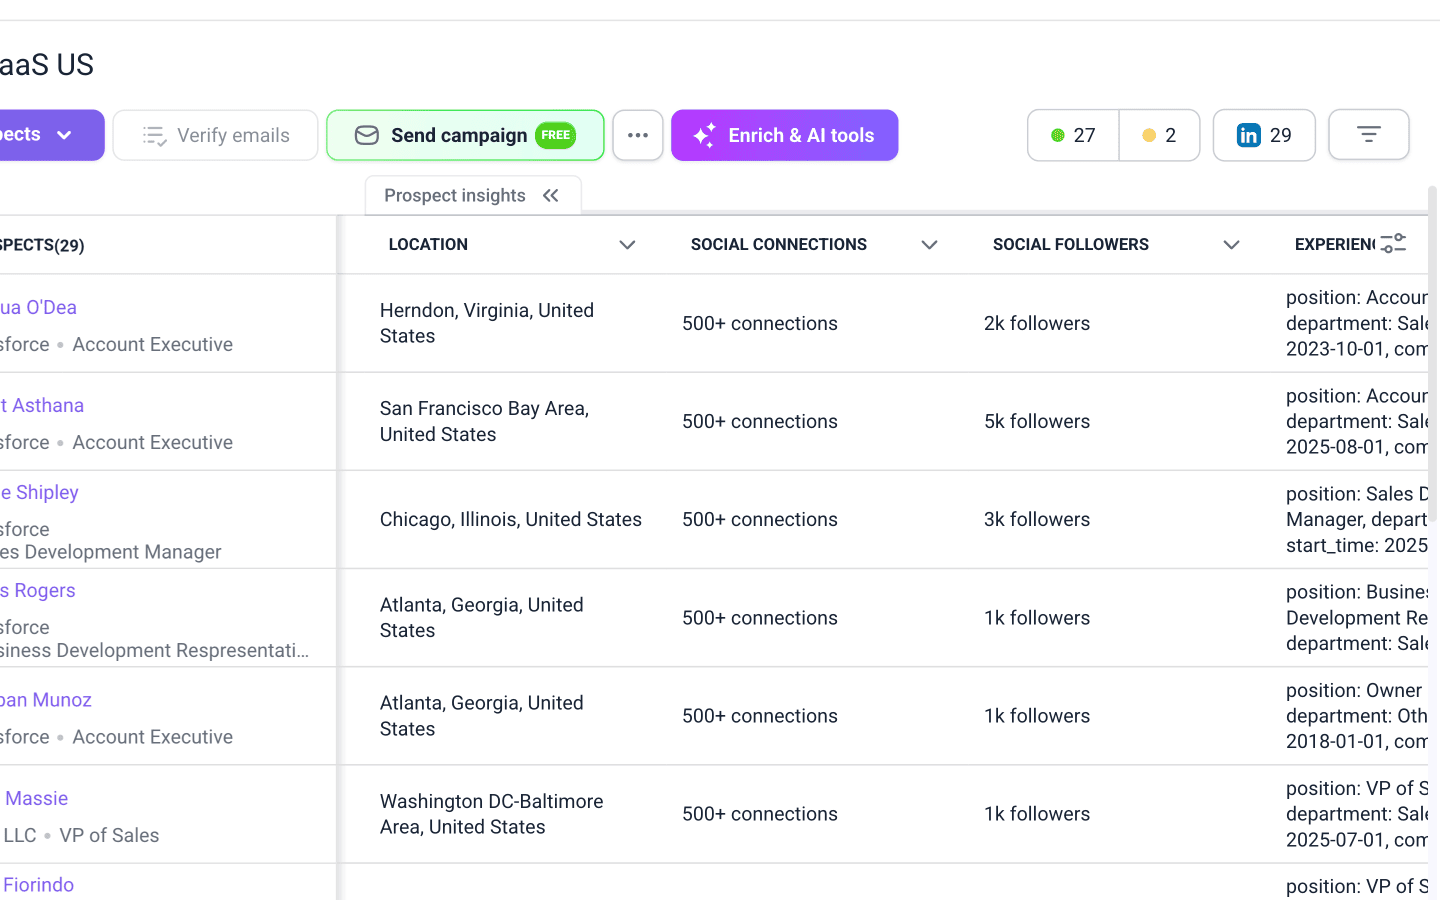
LinkedIn profile data
The enriched data appears as new columns: prospect's bio, experience, education, certifications, etc.
Scroll right in your prospect list and click the Prospect insights tab to expand all columns.
Company details data
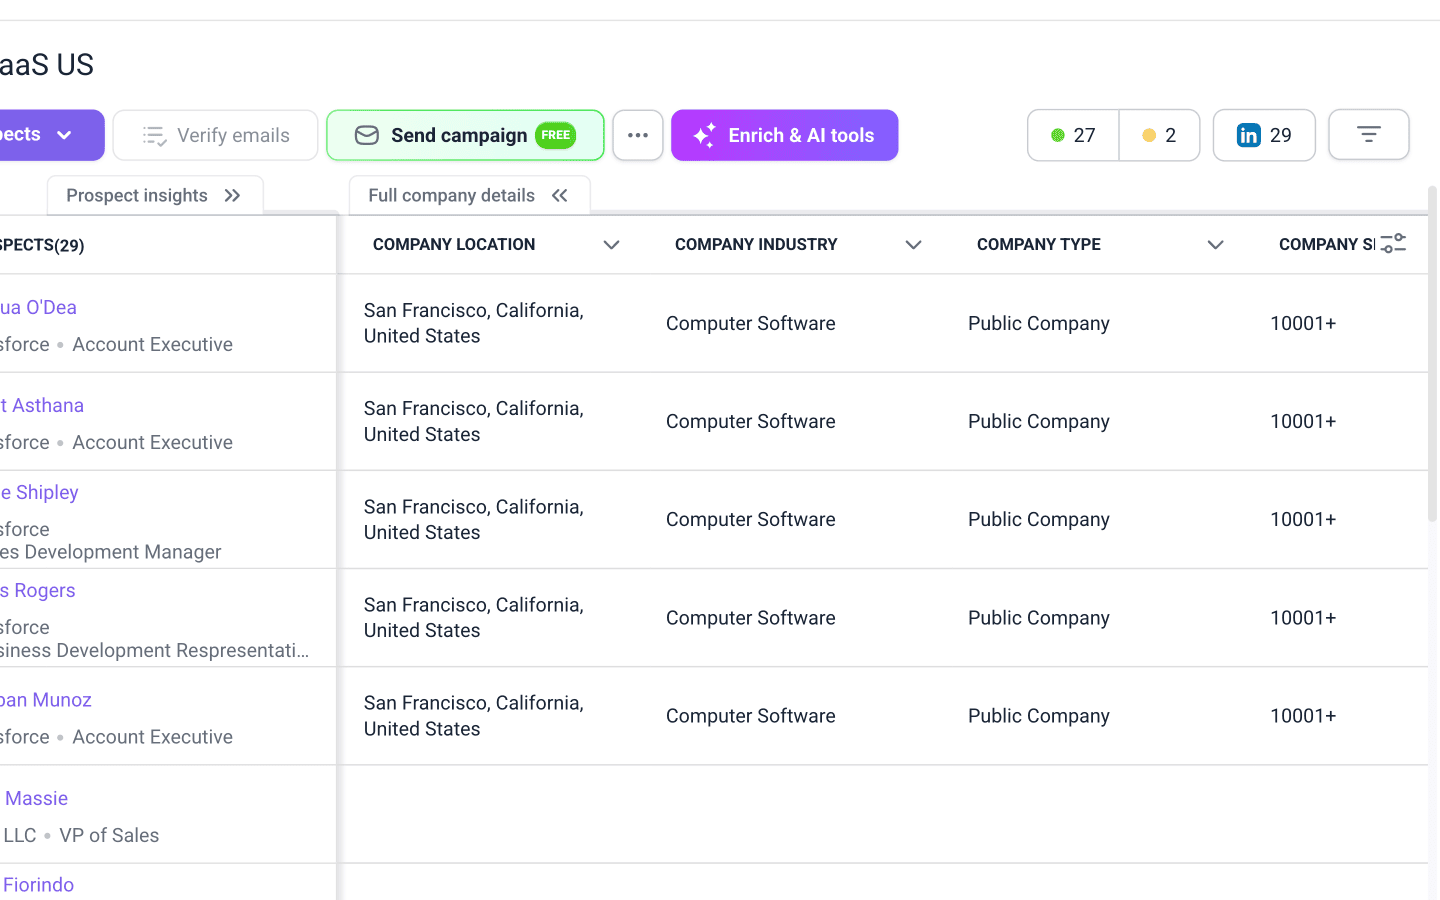
After enrichment, new columns are added to your prospect list. Scroll right and click the Full company details tab to expand all columns.
These columns include company overview details like industry and description, web links to LinkedIn and Crunchbase, and business details like funding, specialties, and similar companies.
View in prospect profile
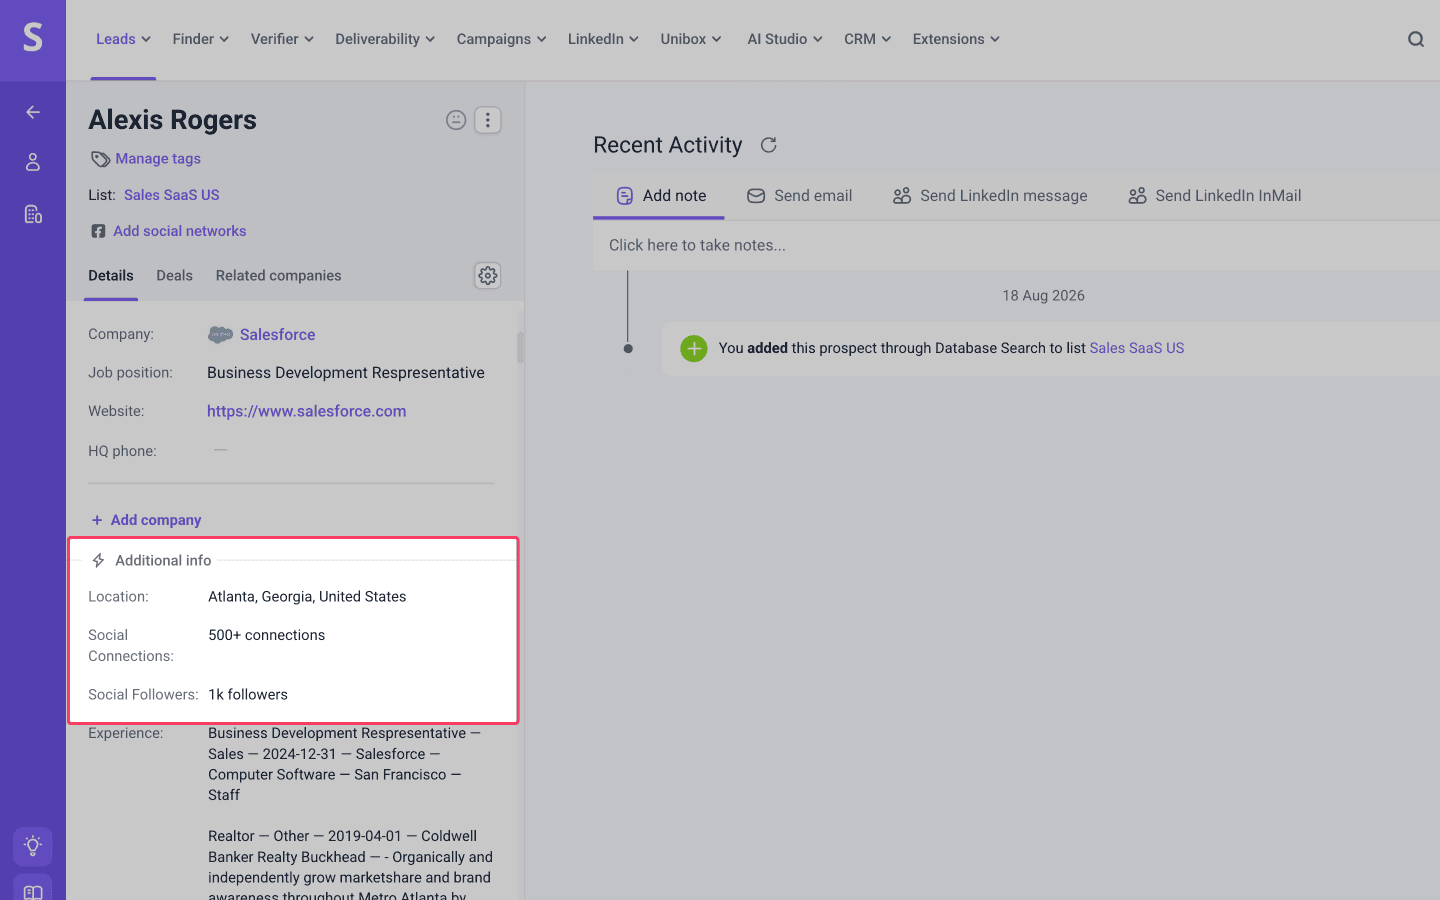
After enrichment, new data appears in each prospect's profile. Click a prospect's name to open the full profile.
Look for the Additional info section below the native and custom fields. This is where all new details appear after each enrichment run, in chronological order.
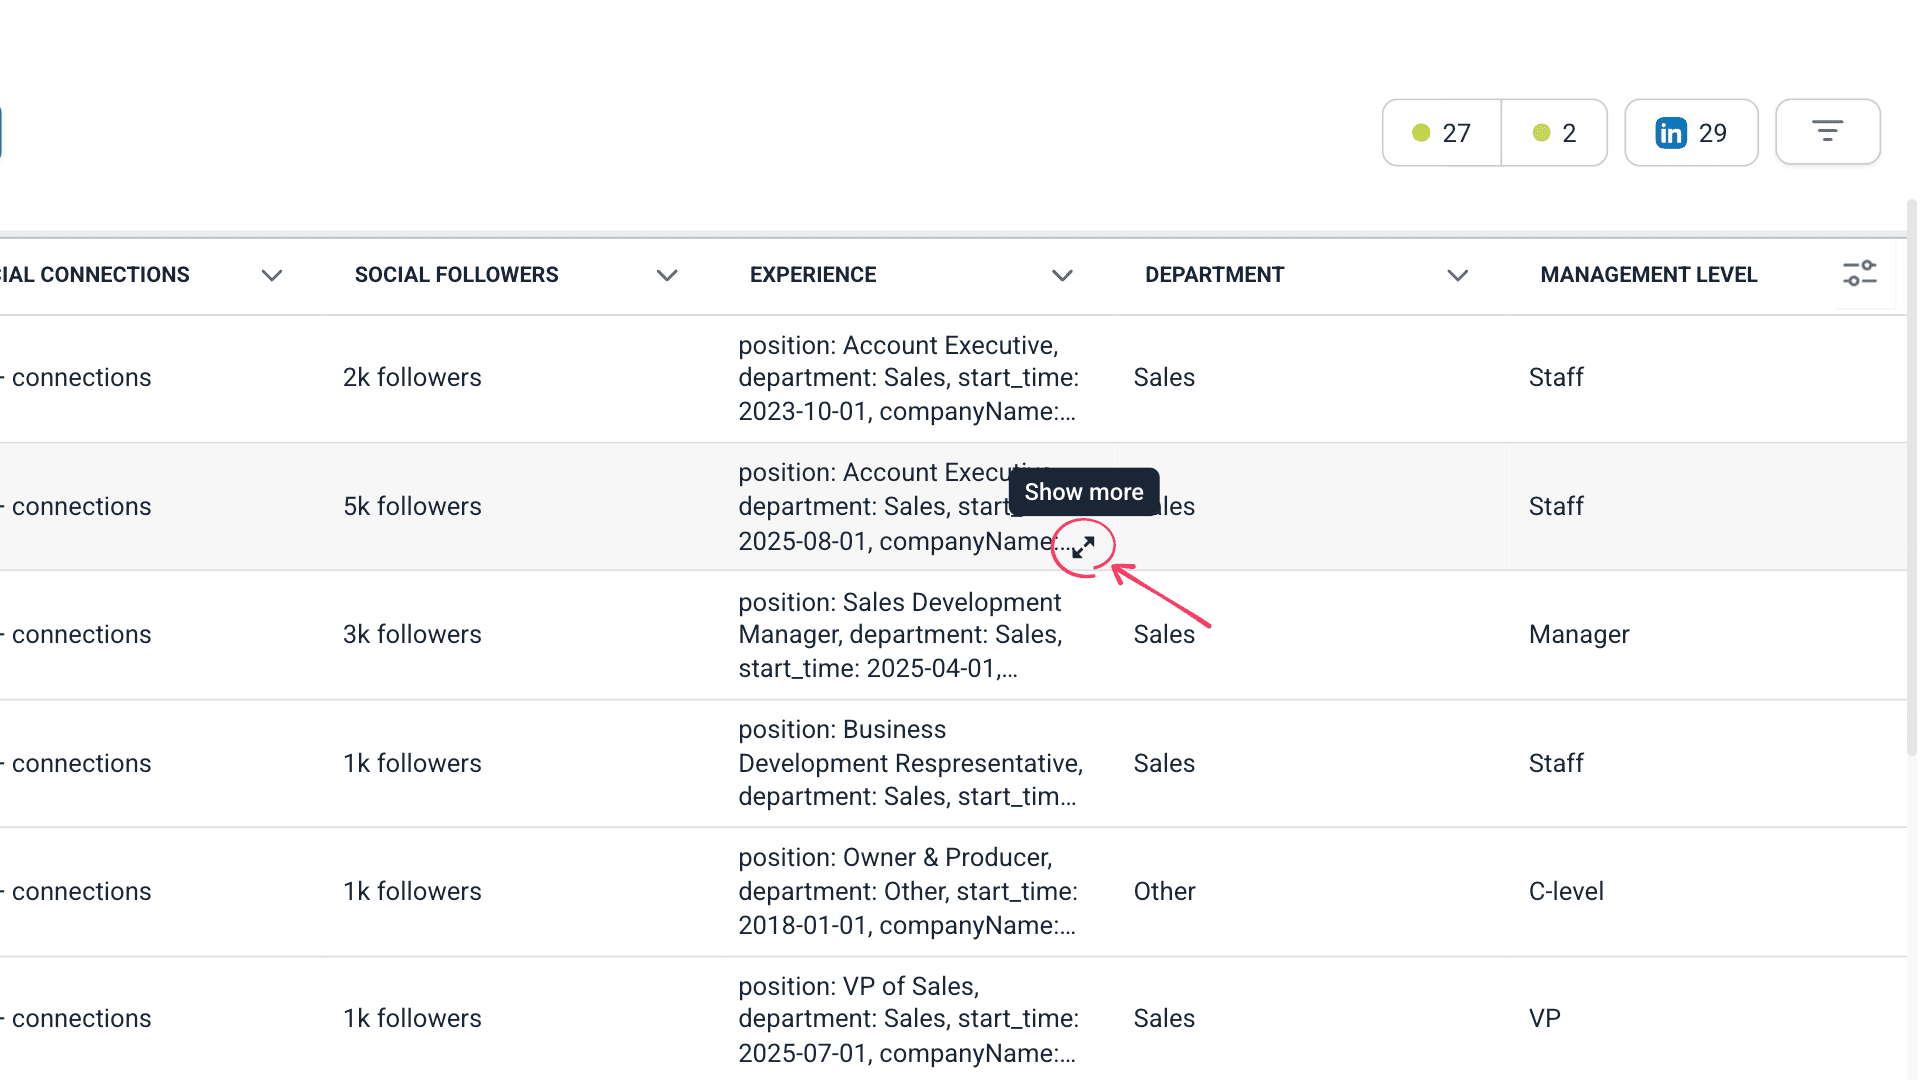
View full data in bulk columns
Some prospect columns store more than one value per prospect. These are bulk columns.
For example, the Experience column stores each past job as a separate record, and the Company funding column stores each funding round.
Once a value has its own column, you can export it or use it as a variable in the Fill out from web or Clean and edit data tools.
For the full list of bulk columns and both ways to extract from them, see Extract data from bulk columns.
Manage data overwrite
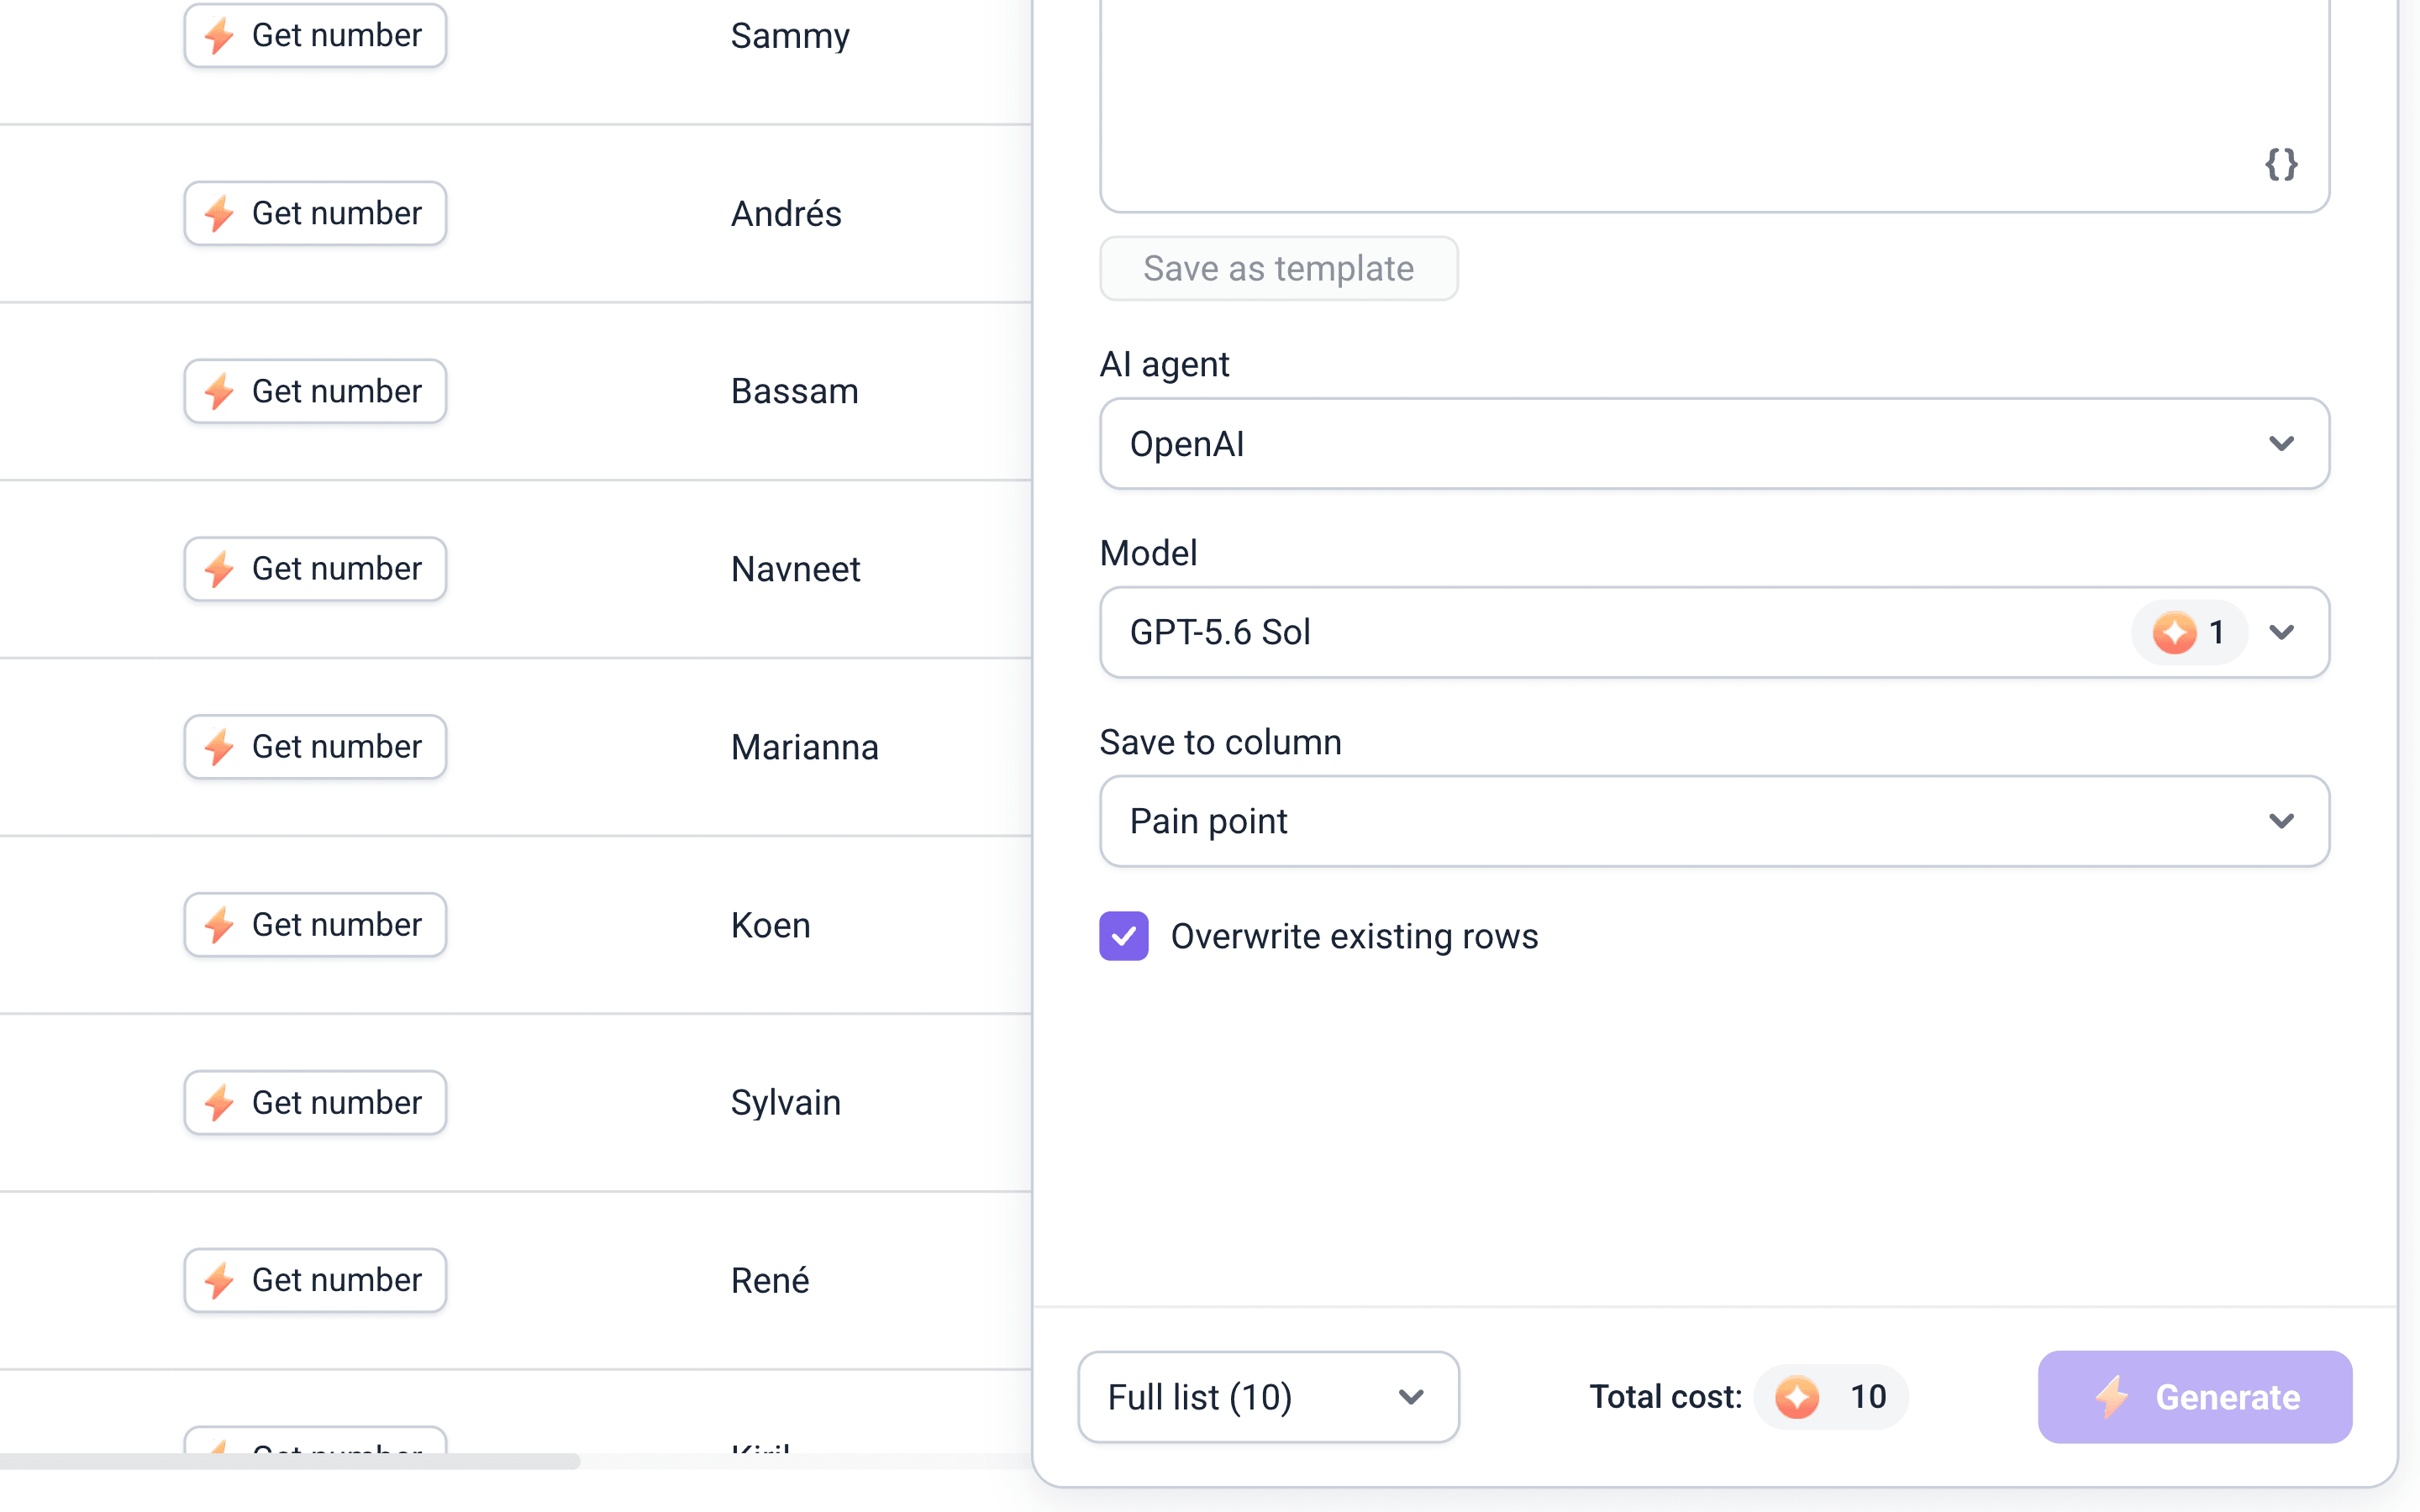
When re-running enrichment on an existing list, you can choose whether to Overwrite existing rows, replacing data fields already filled from previous enrichments or imports.
Keep it off when:
- Enriching the list for the first time
- You only want to update new prospects in an already-enriched list
Turn it on when:
- You want to refresh an old list with the most recent data
Next steps
Once your prospects are enriched, here's how to use the new data.
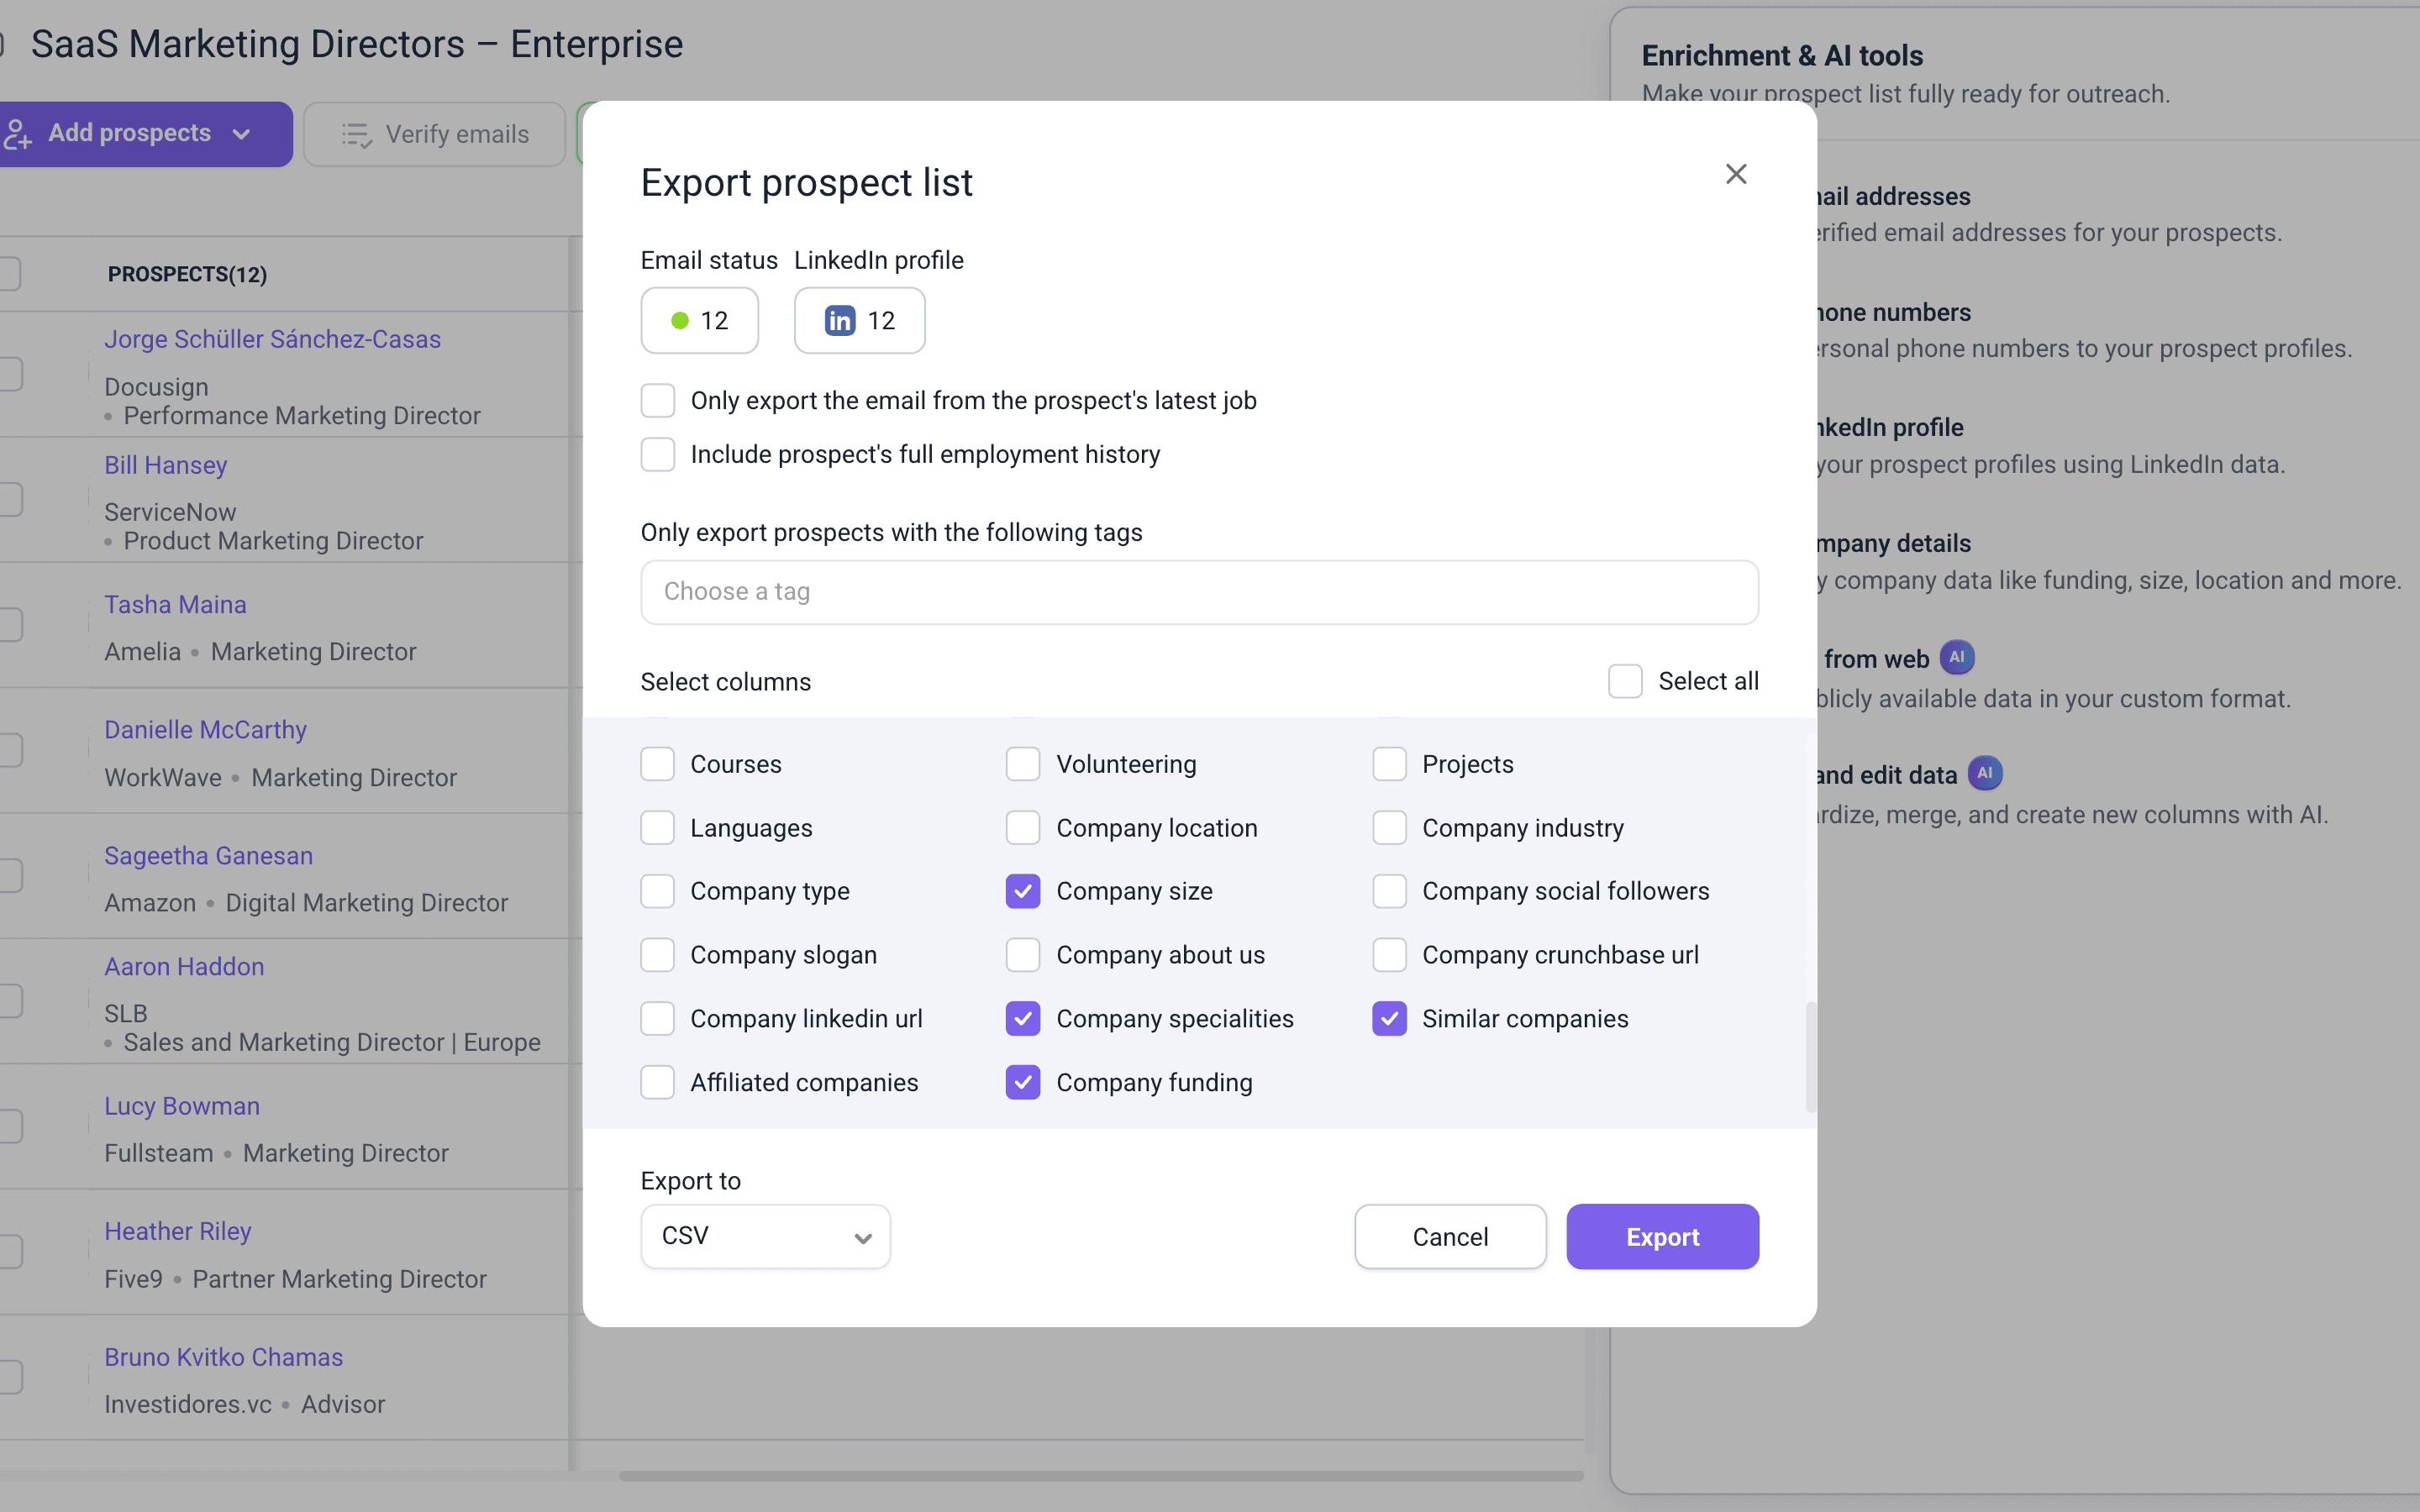
Export to CSV
Download enriched prospects to a file. In your prospect list, click Export and select the enrichment fields you want to include.


Sorry about that 😢
How can we improve it?